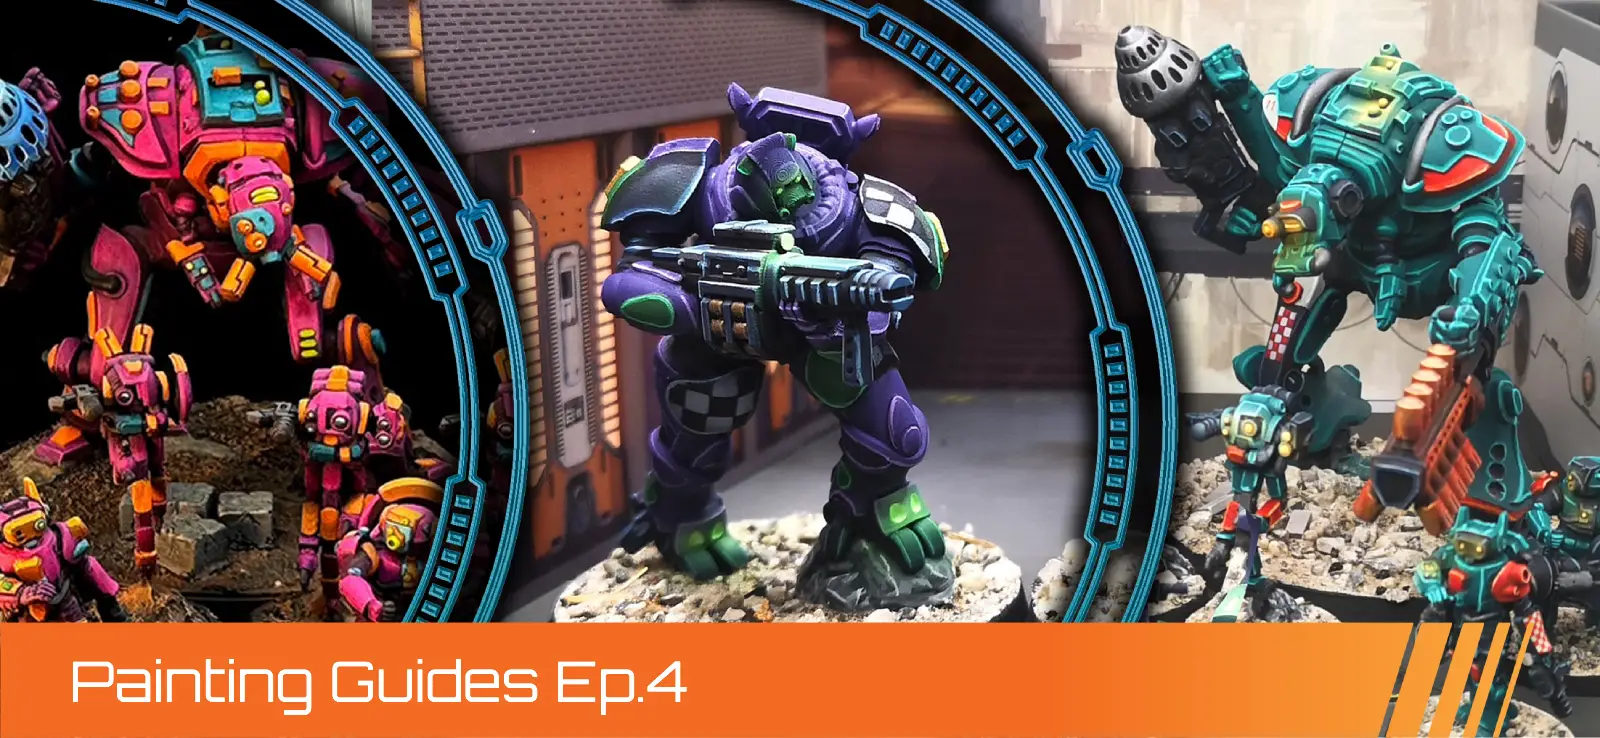
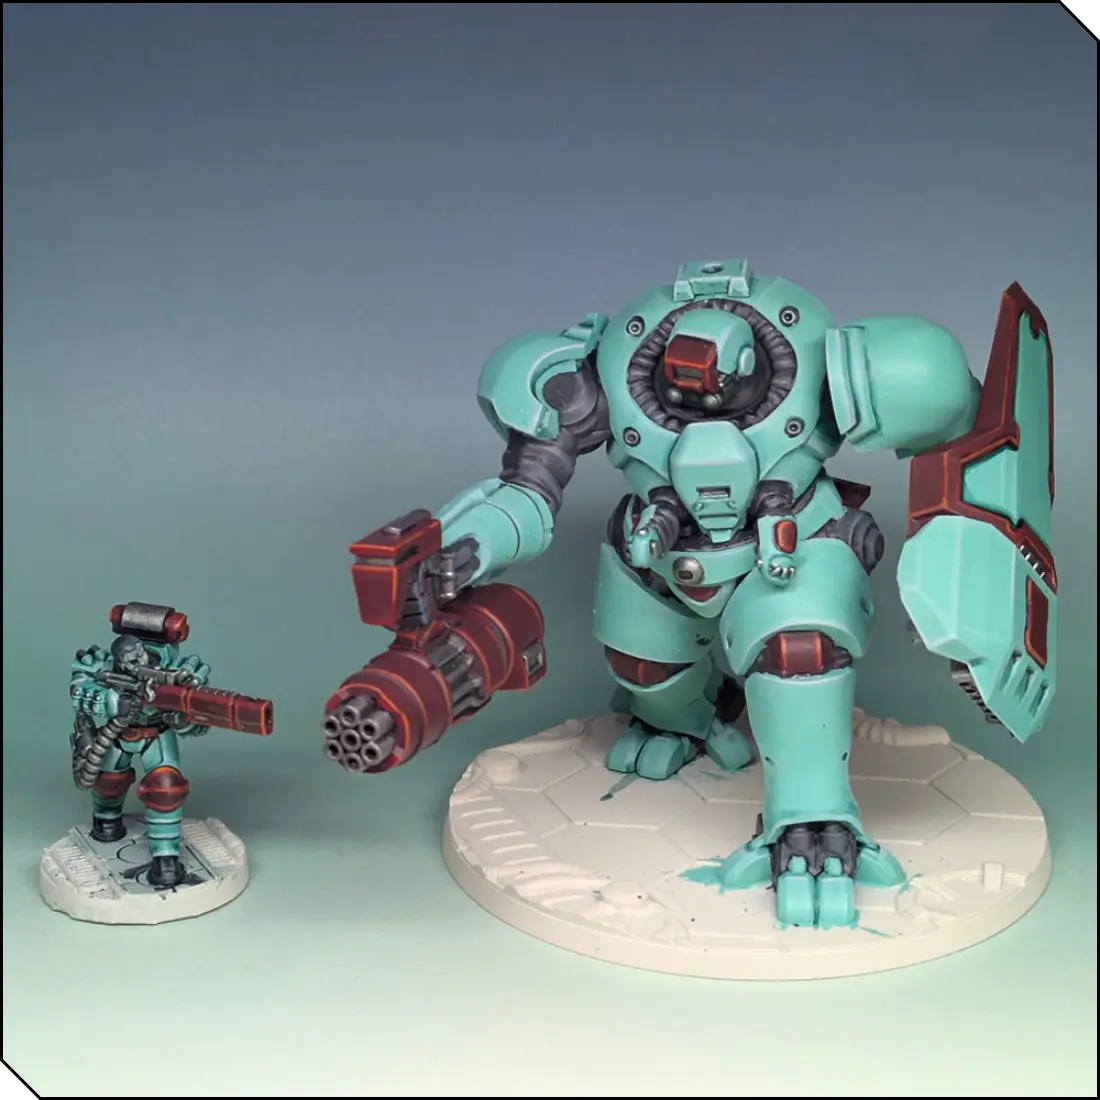
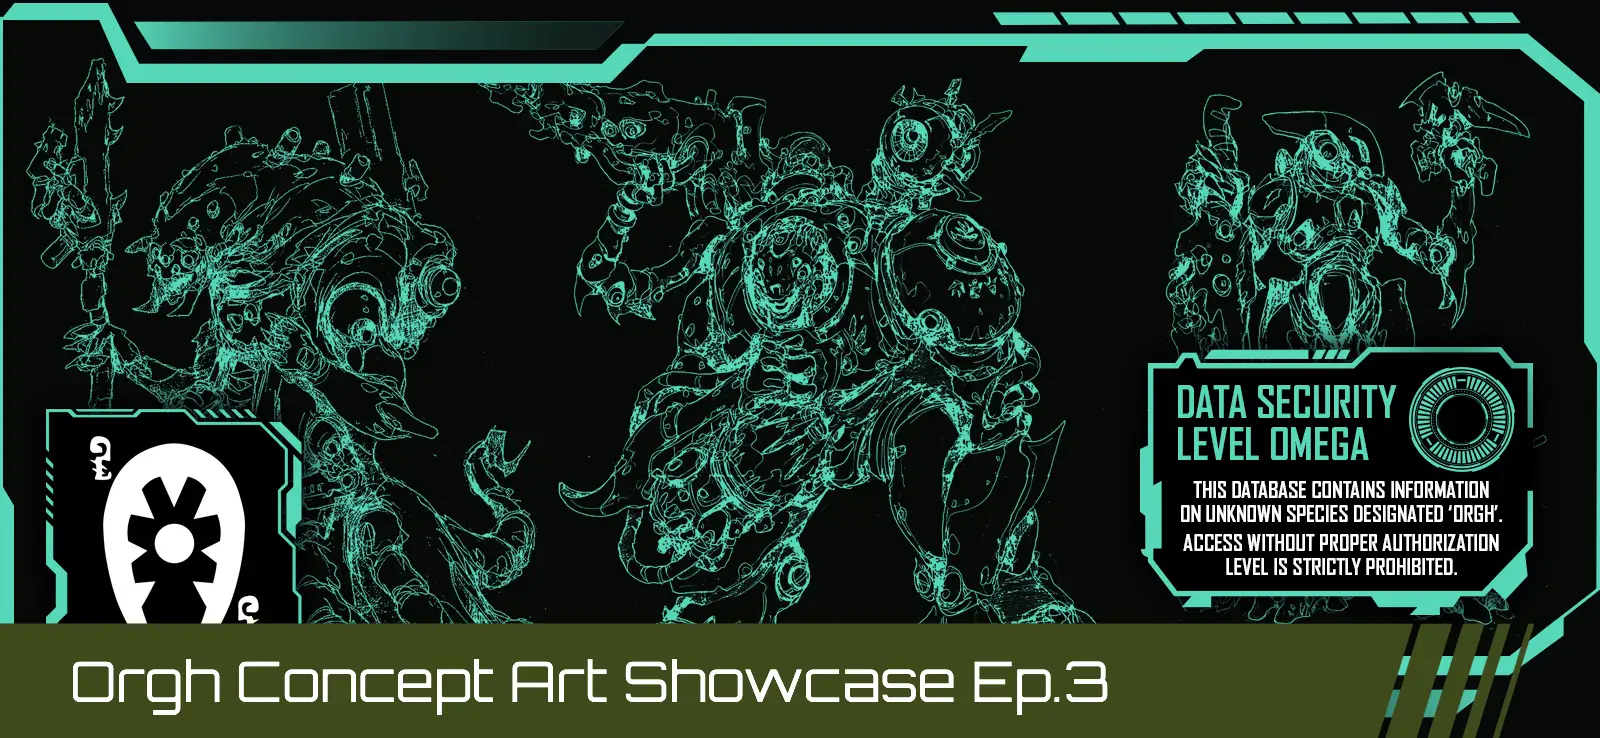
Citadel Response Squadron - Cyber Squad Color Scheme
For this tutorial, I will focus on the Sakura Zeo and Mnemonic Commando, but you can apply these techniques across all the models in the GuardCorps Citadel Response Squadron set.
The paints used are mostly P3, with some washes from Citadel. The full list of paints used is as follows:
- P3 Asheth Grey
- P3 Greatcoat Grey
- P3 Exile Blue
- P3 Frostbite
- P3 Arcantrik Green
- P3 Sanguine Shadow
- P3 Amethyst Rose
- P3 Inferno Orange
- P3 Midlund Flesh
- P3 Ryn Flesh
- P3 Cold Steel
- P3 Umbral Umber
- Vallejo Model Color White Grey
- Citadel Coelia Greenshade
- Citadel Nuln Oil
- Citadel Reikland Fleshshade
You can definitely use approximate colors from the brands you have to hand for this tutorial, so don't feel too tied to the exact colors I've used here.
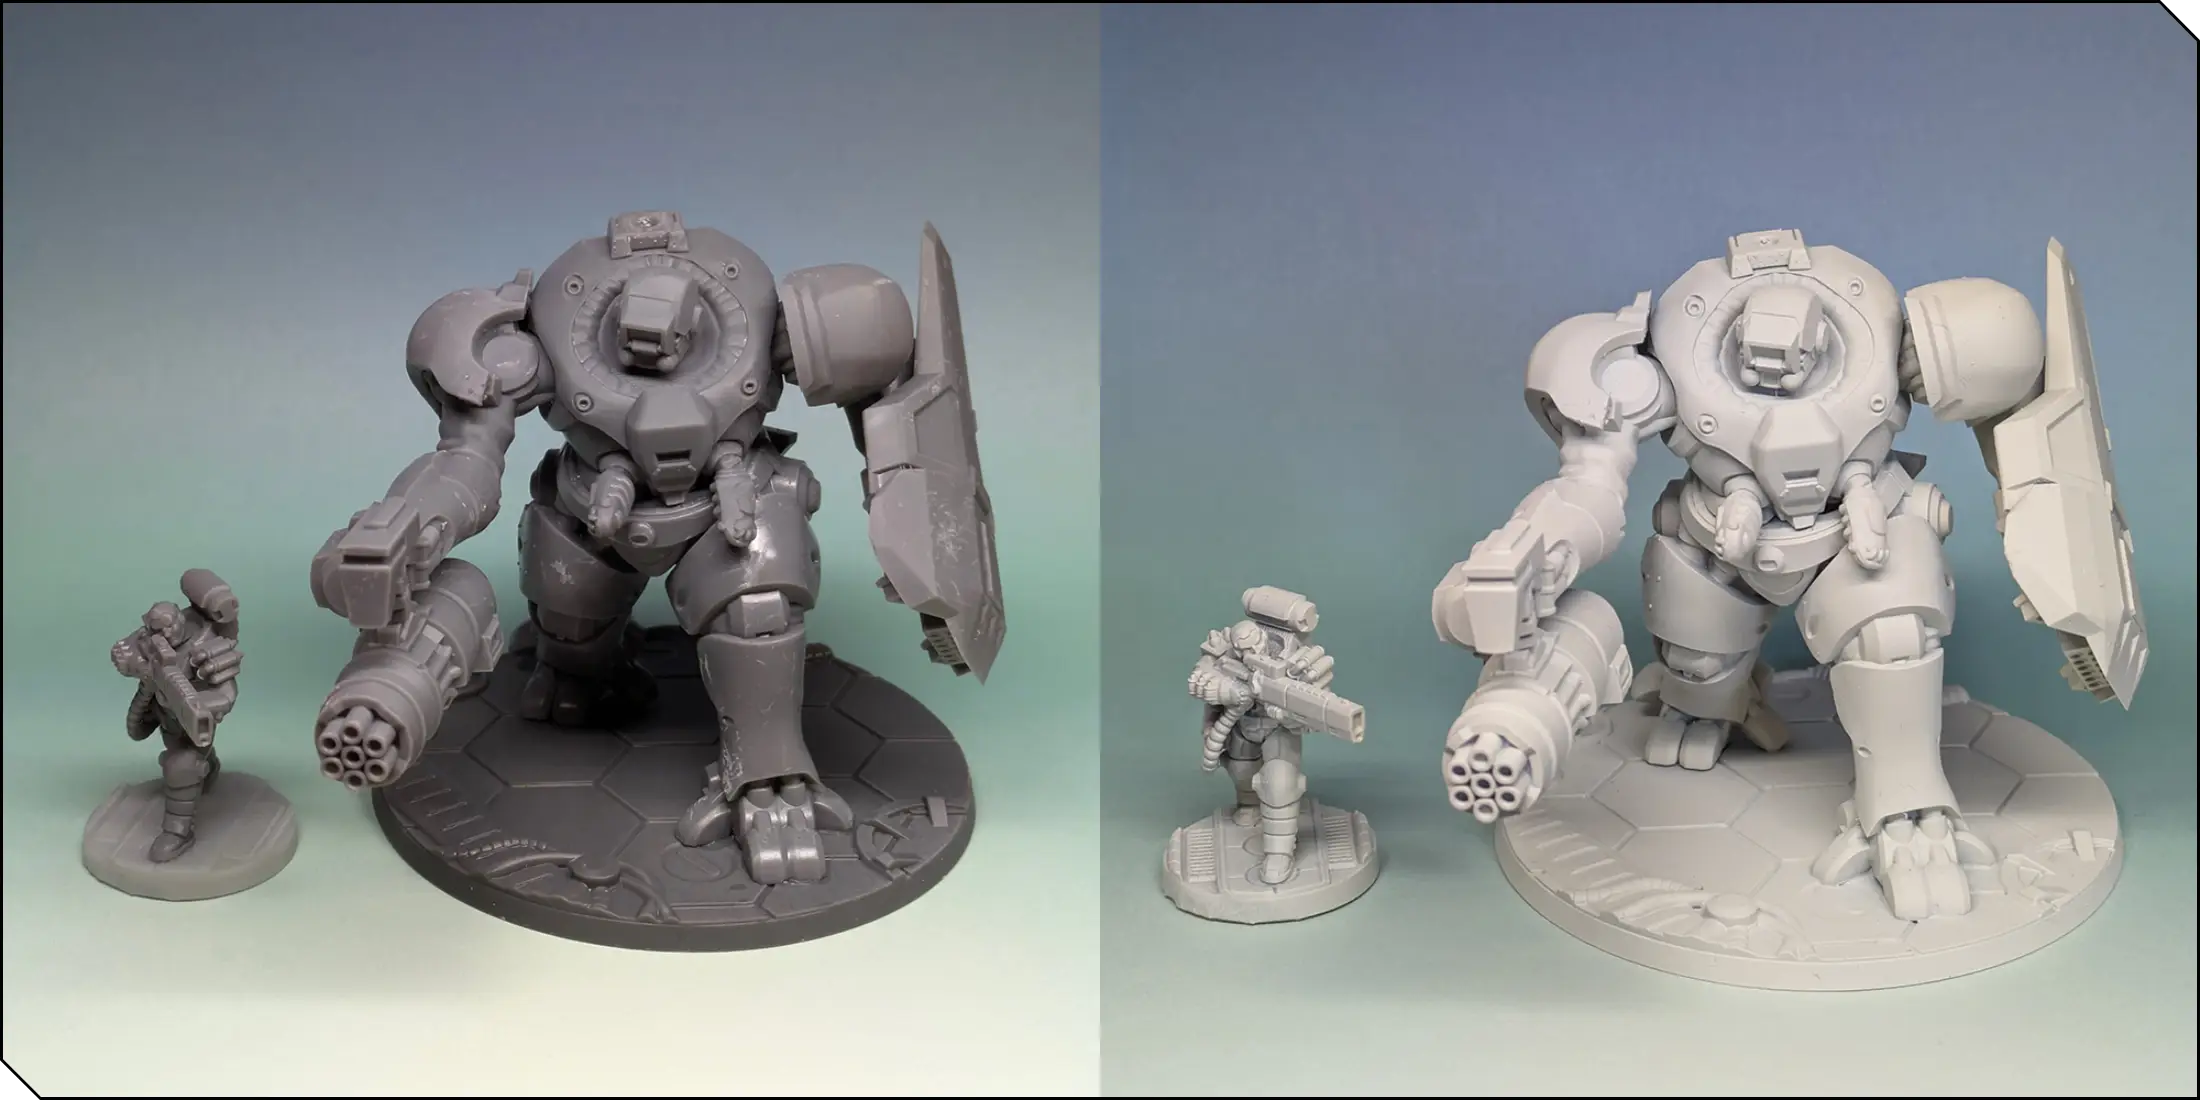
Starting with the assembled models, I primed them with a light bone-white spray primer. You can use any primer you prefer, but I like to use lighter primers for bright schemes.
For ease of painting, you may wish to leave a few pieces separate and assemble at the end. This is called working in subassemblies. This method of painting can aid in reaching some of the fiddlier details or crevices, but for this tutorial I still worked with the models fully assembled.
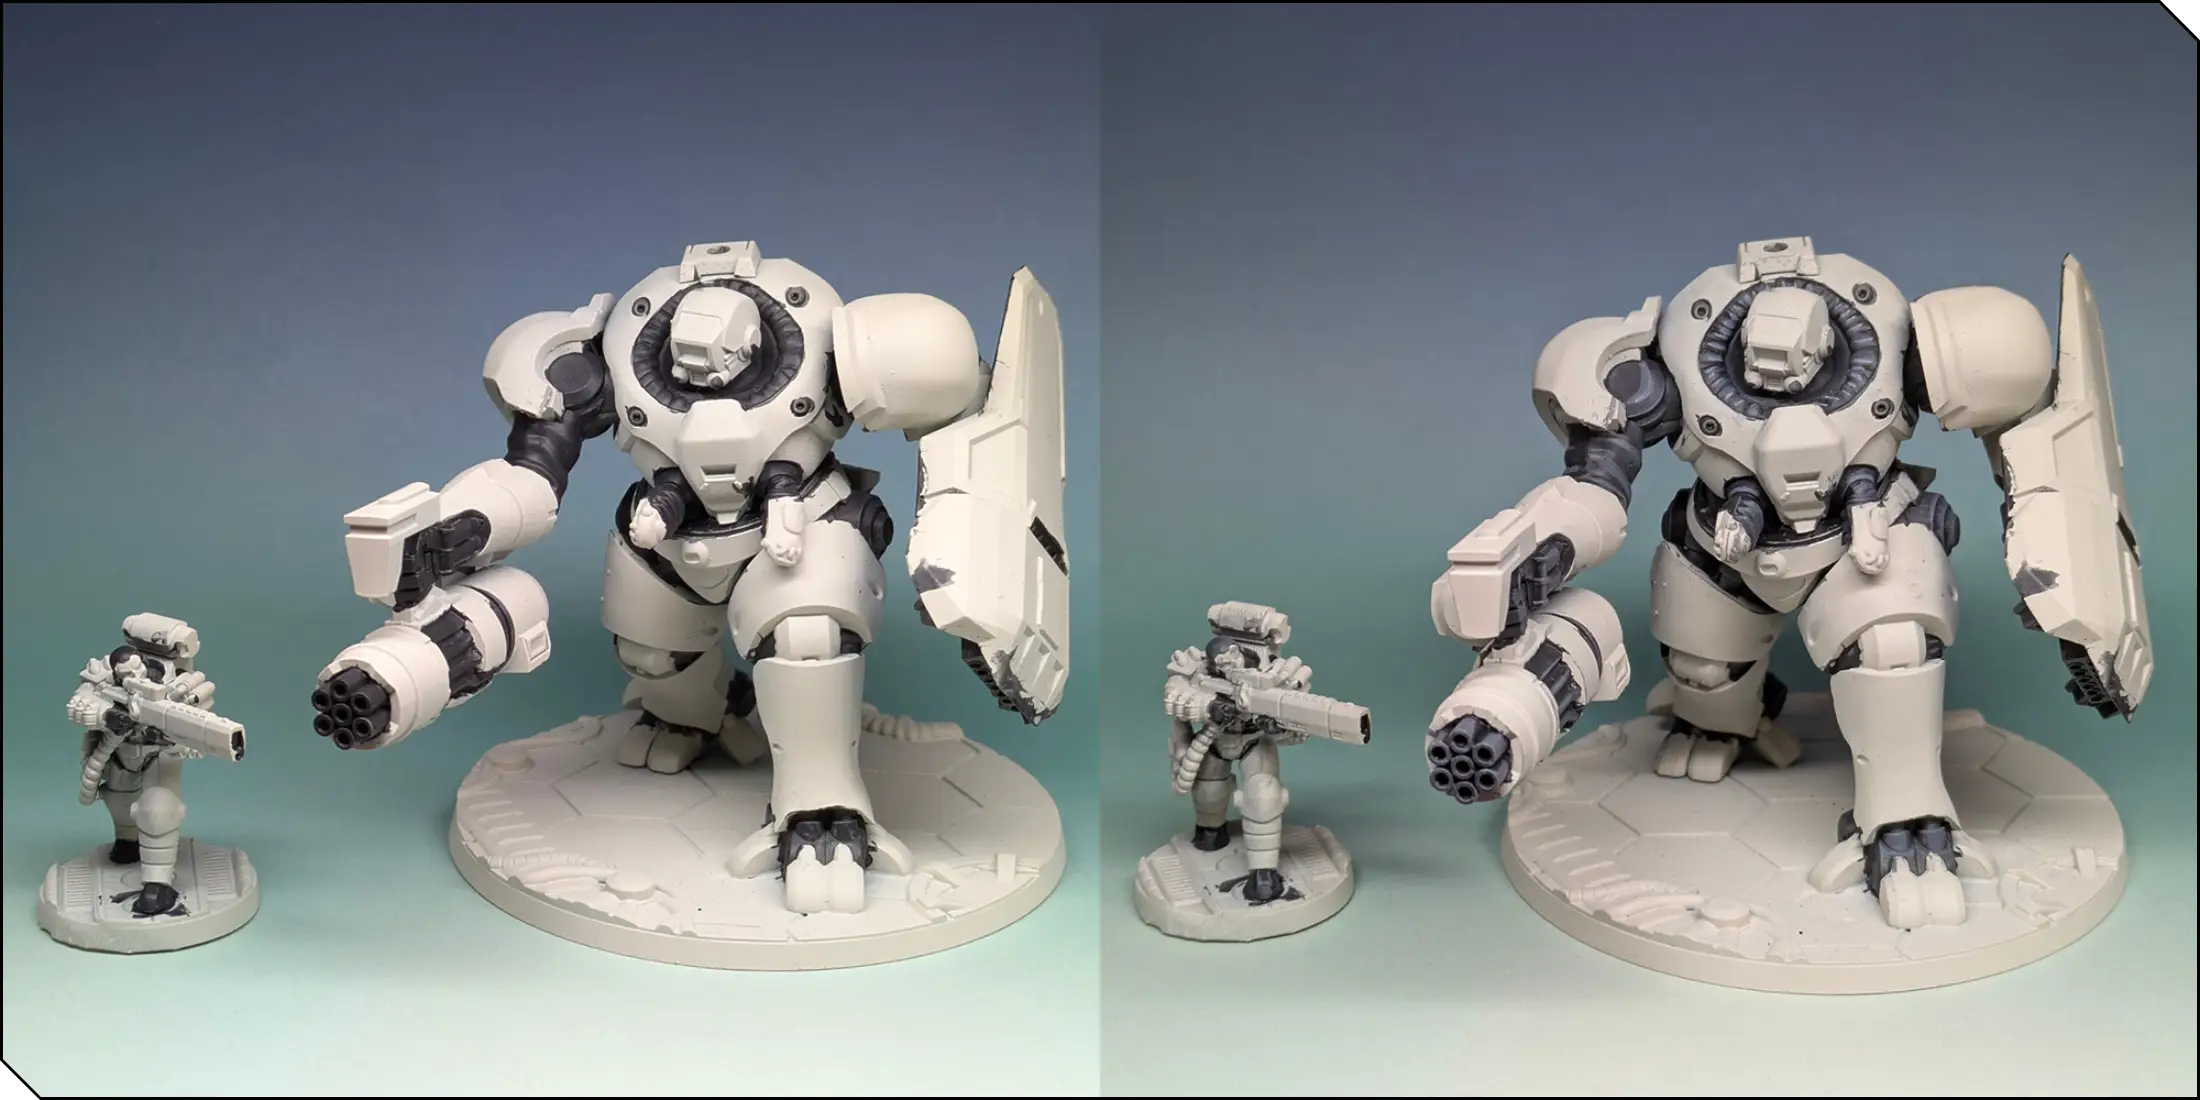
To begin, I started by blocking out the inner workings and undersuit areas in Asheth Grey. It's okay to be a little messy at this stage, since we'll paint over any mistakes in future steps. I went for any inner mechanical parts and fabric areas. When this was dry, I drybrushed these areas with Greatcoat Grey. This highlights the edges and details nicely. I went in with a brush in a few areas and enhanced some of the highlights manually.
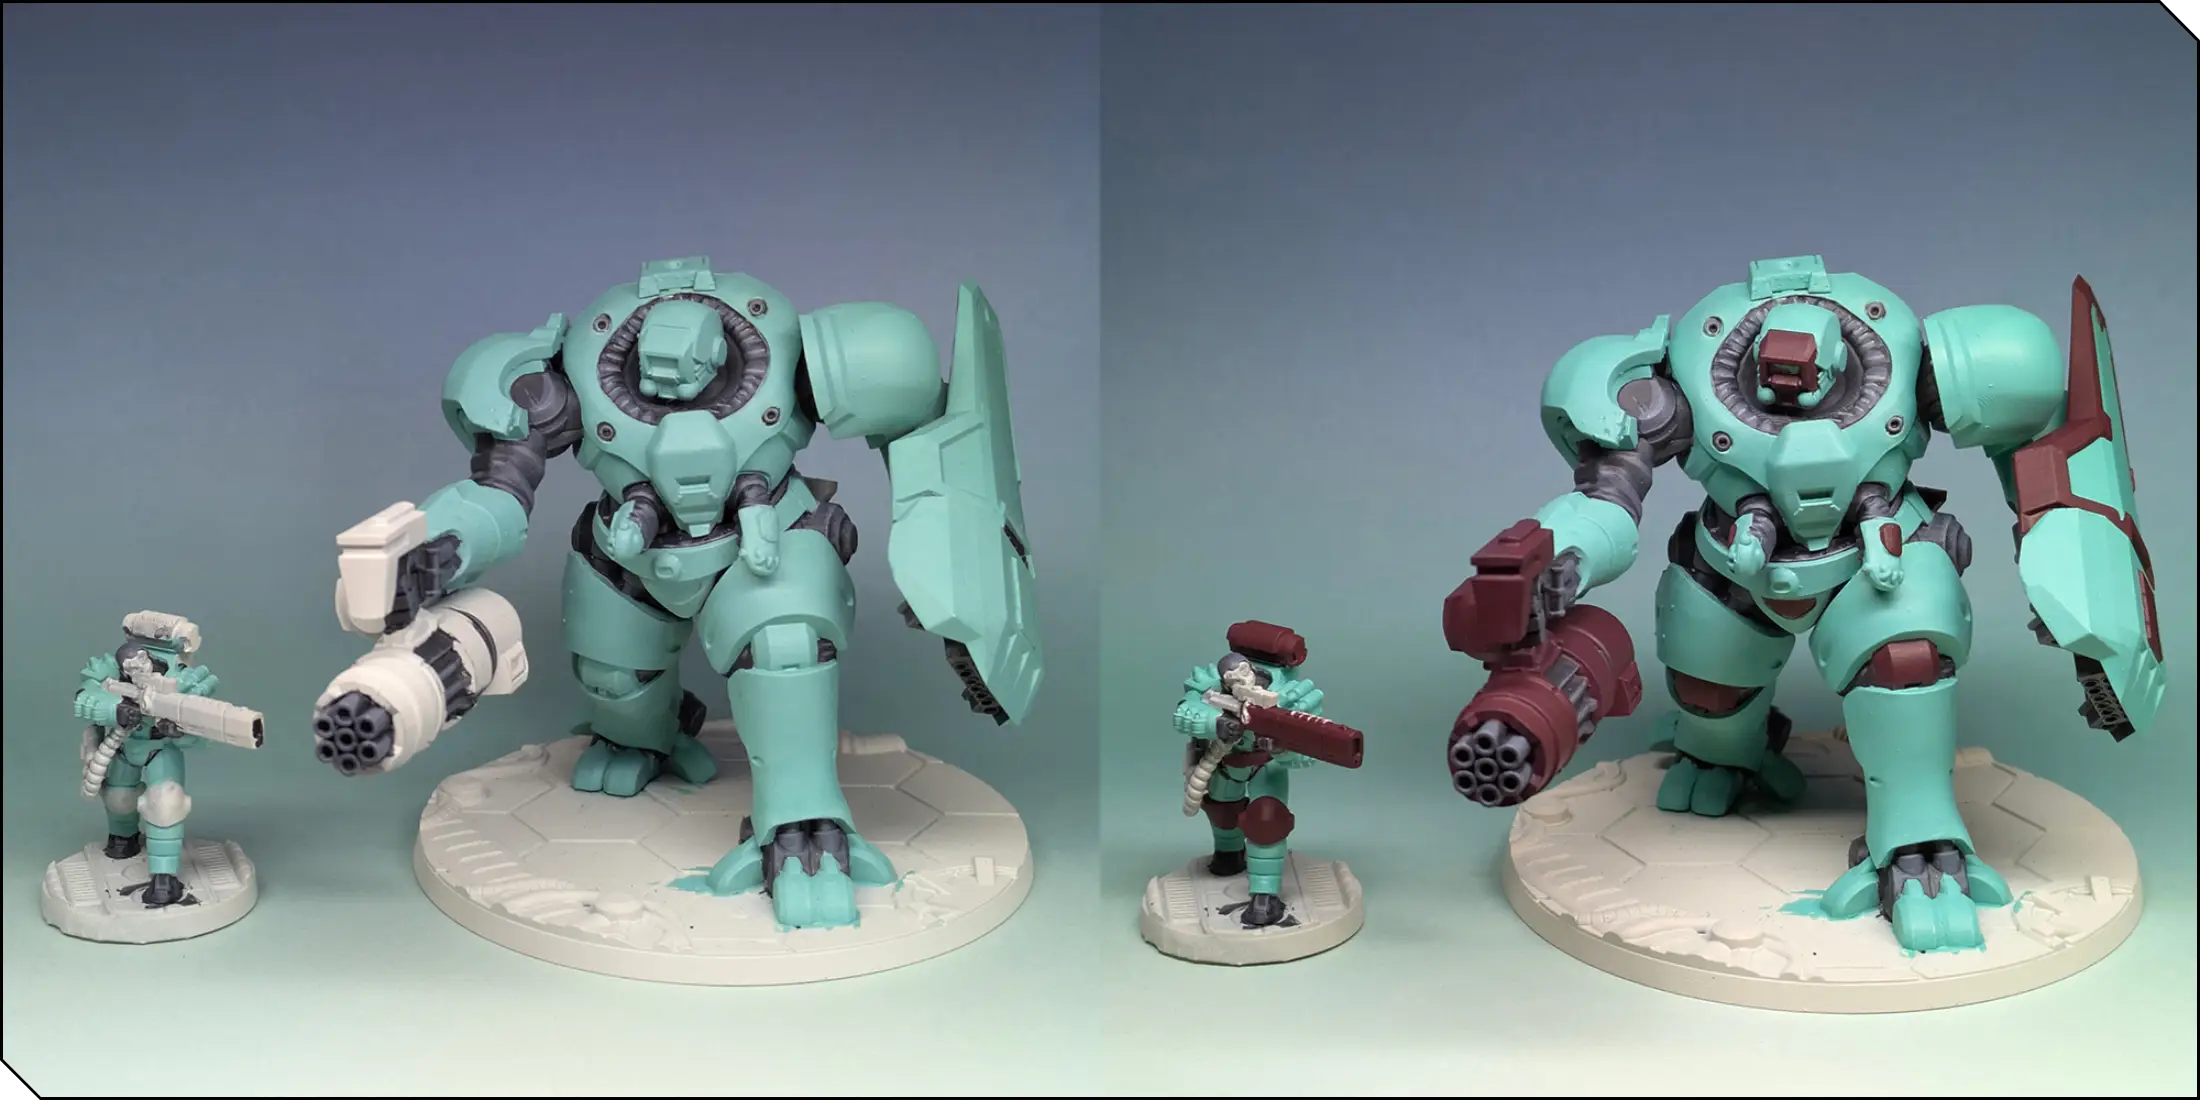
For the next step, I tackled the bulk of the armor panels and bodysuits. Arcantrik Green is a lovely light turquoise color and has surprisingly good coverage. Carefully apply thin layers of this color across the armor, taking care not to paint over the grey areas we did previously. You can clean up any mistakes with Asheth Grey if you miss!
I then picked out weapons, backpack pieces, kneecaps, the visor, and the shield trim with Sanguine Shadow. Again, try to work in thin layers to build up a solid color without patchy areas or brush strokes.
Our final base color is Cold Steel, which we apply to any remaining areas such as mechanical parts of the face, backpack, and weapon details. Once this is done, it's time for shades.
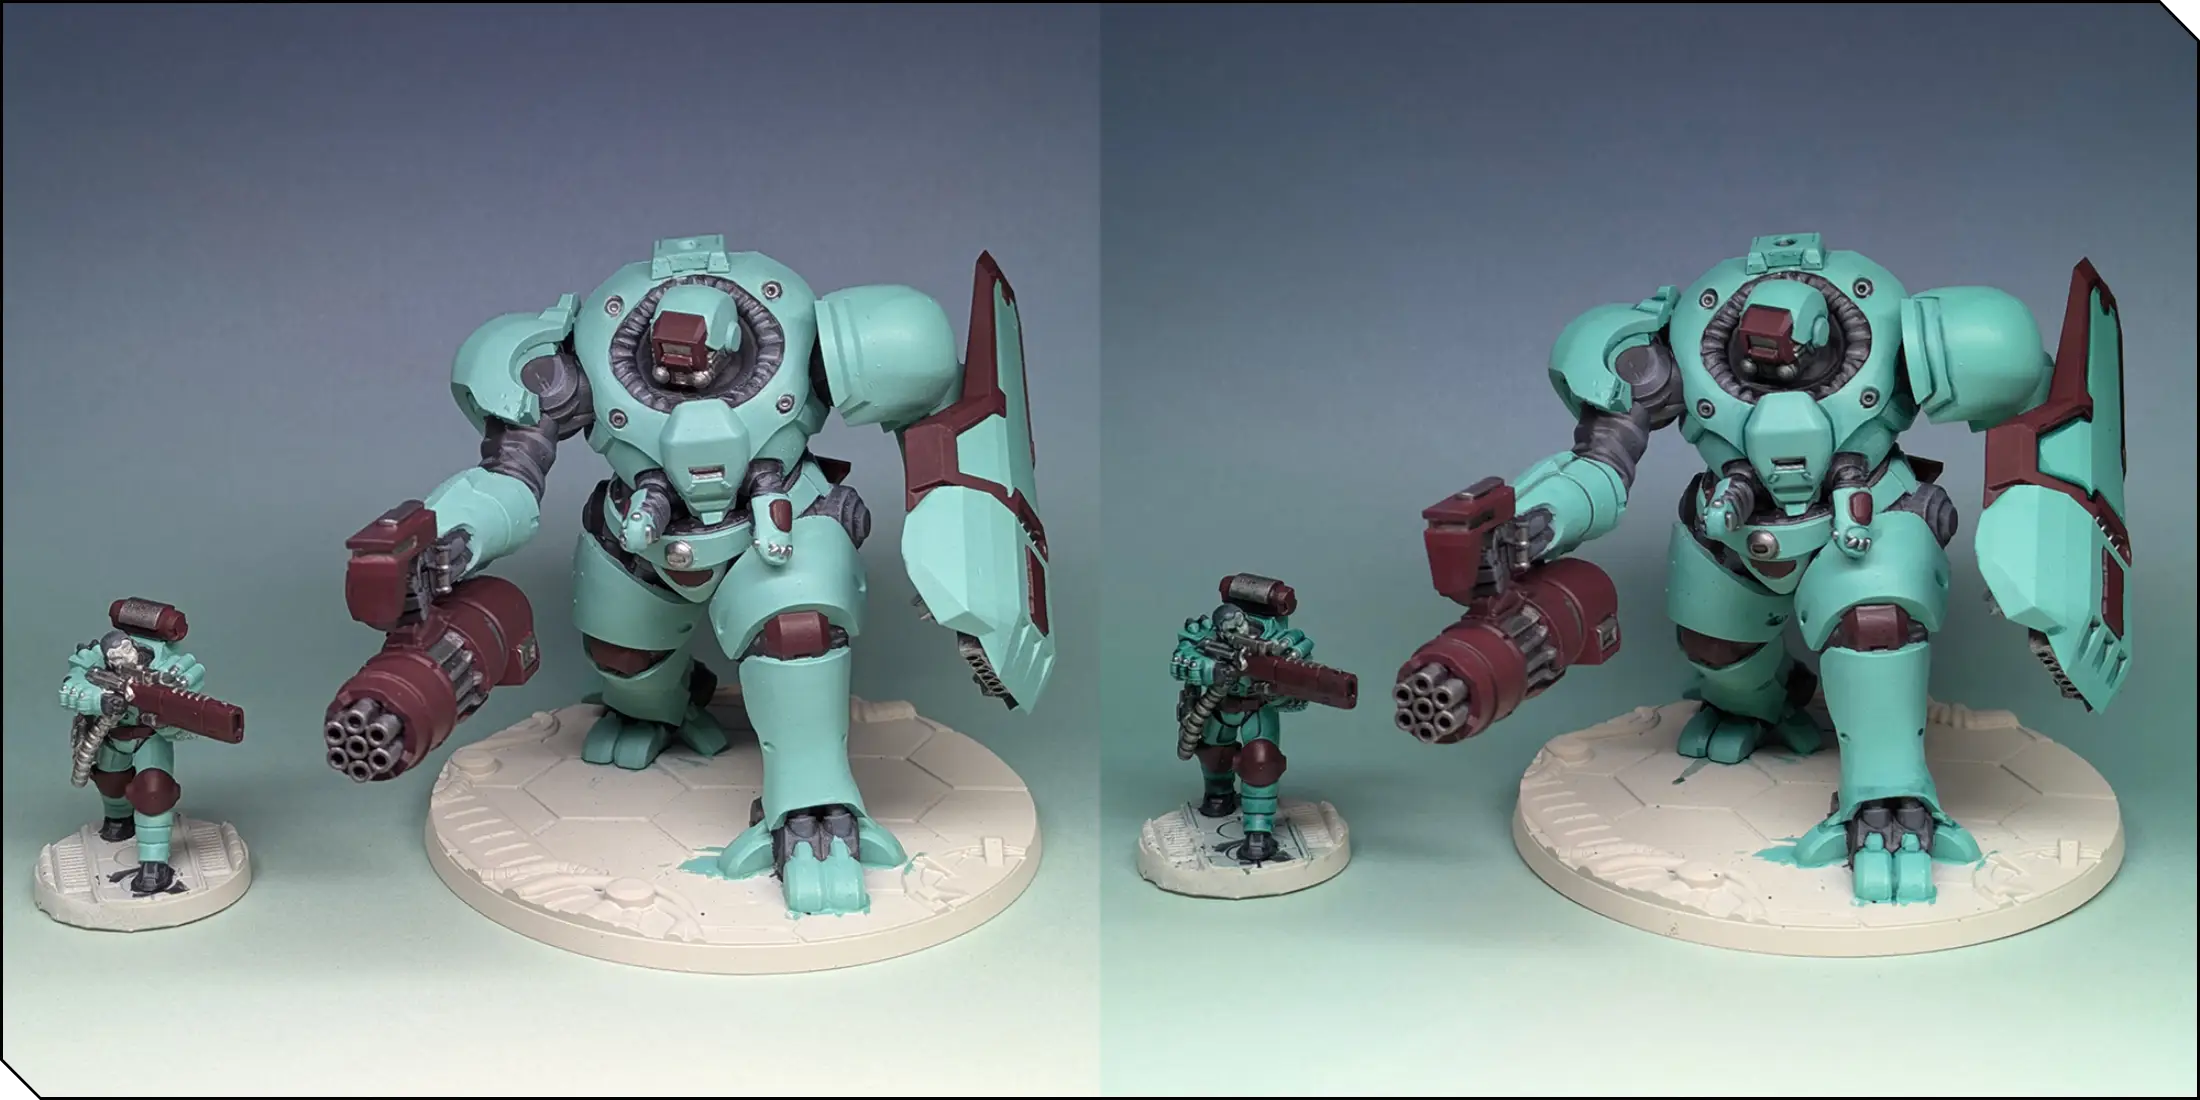
I applied Coelia Greenshade across the whole model for the smaller miniatures, and as a recess shade (that is, painting the shade specifically into the crevices and joins of the model) on the Zeo. This helps add definition and visual separation between areas of single color. I also used some Nuln Oil on the metals and greys on the Zeo for further shading.
On to highlights! I made a mix of 50% Arcantrik Green and Frostbite to create a lighter turquoise color. This was painted as a chunky edge highlight around all the main armor panels. This helps to really make the angular edges and lines pop! Do the same across the red areas using Amethyst Rose.
To really make the highlights pop, let's go one stage further! I used pure Frostbite to enhance the highlights on the armor panels, and Inferno Orange on the red areas. This creates a really striking finish.
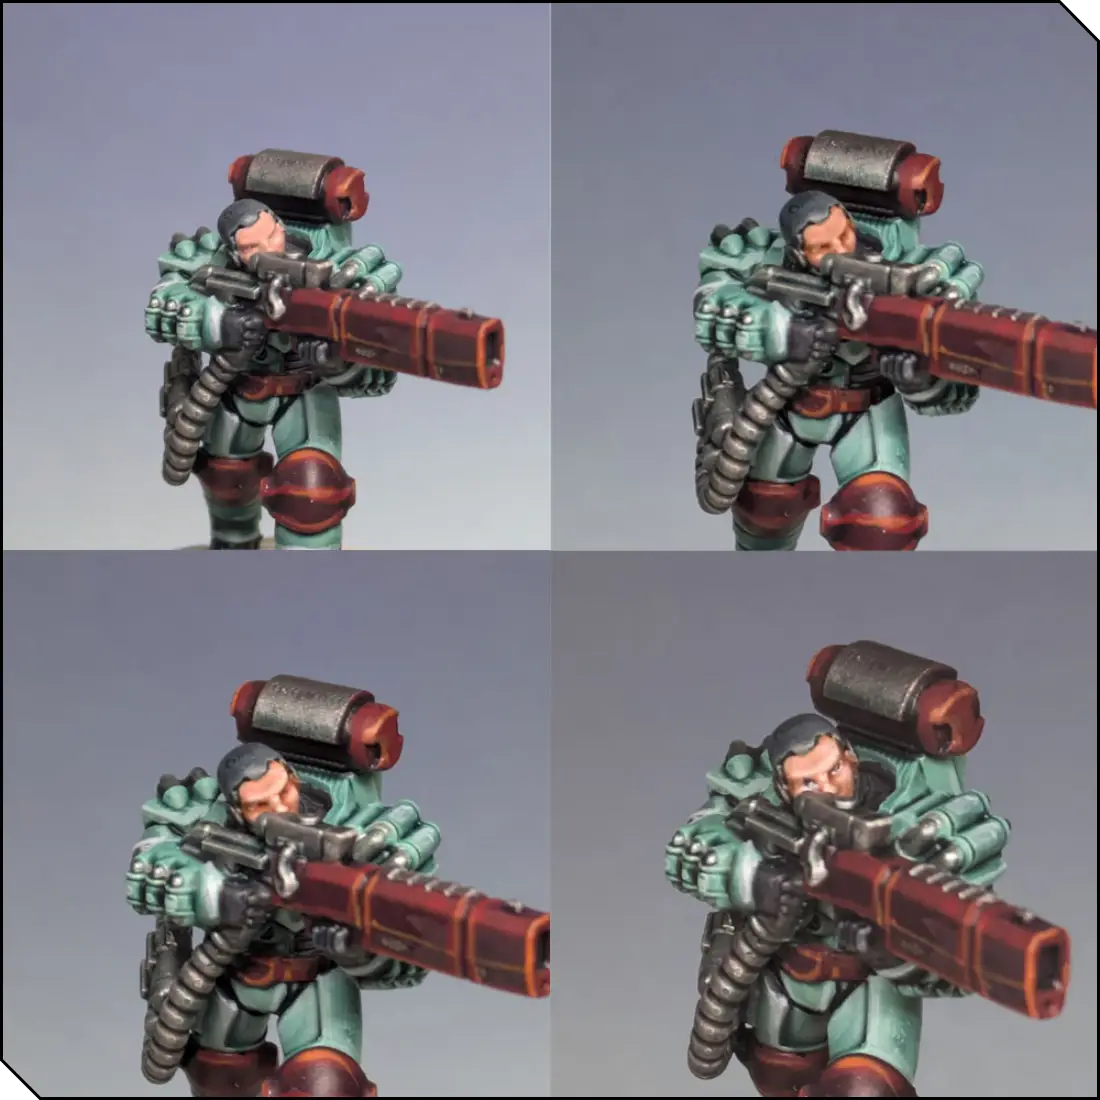
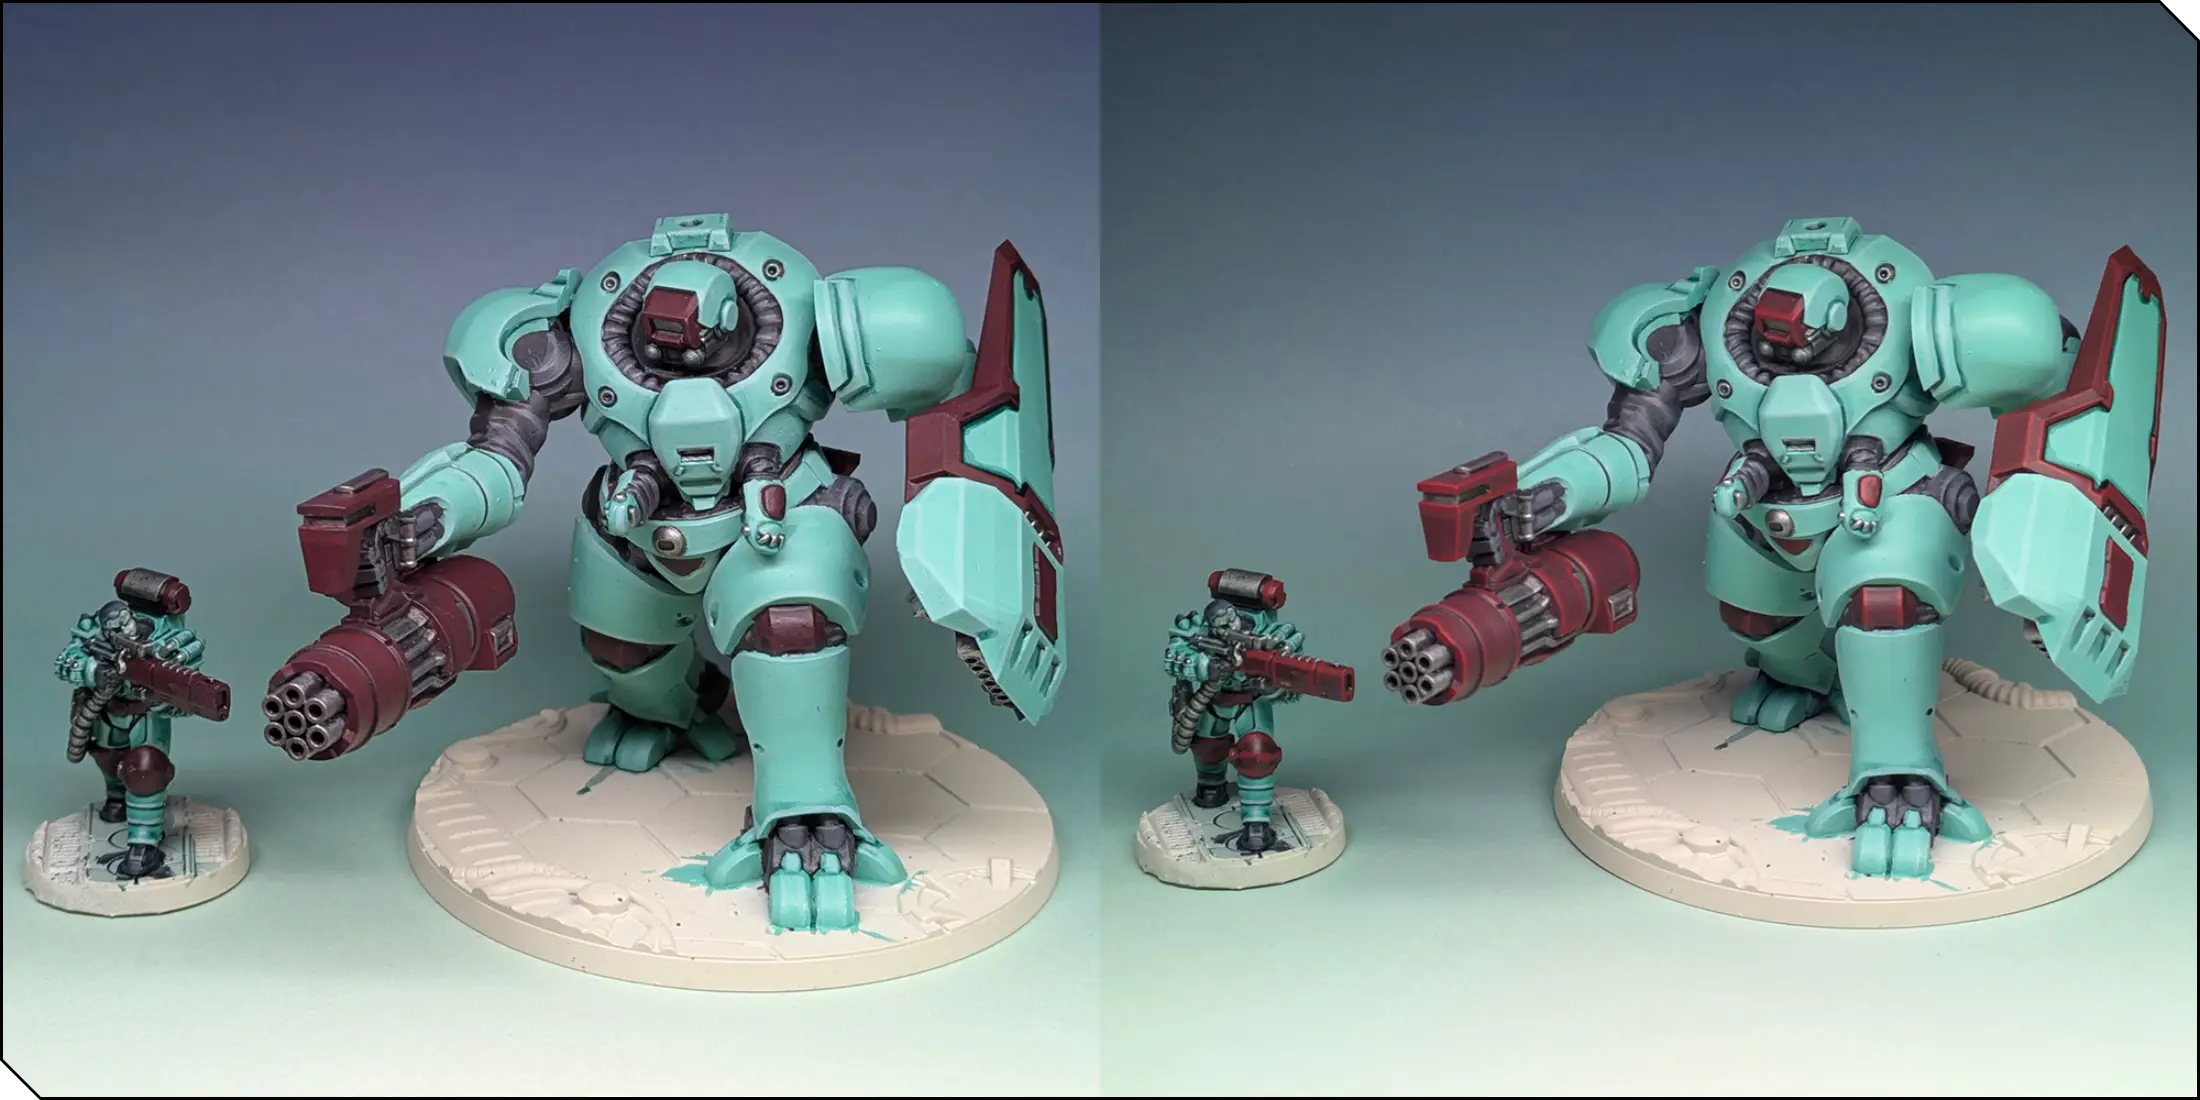
Now there's some faces across the human miniatures, so let's focus on those for a moment.
Paint the faces with a layer of Midlund Flesh, then shade with Reikland Fleshshade. When that's dry, highlight using Ryn Flesh on the raised areas. Pick out the eyes with a thin line of Frostbite and dot pupils in using Asheth Grey.
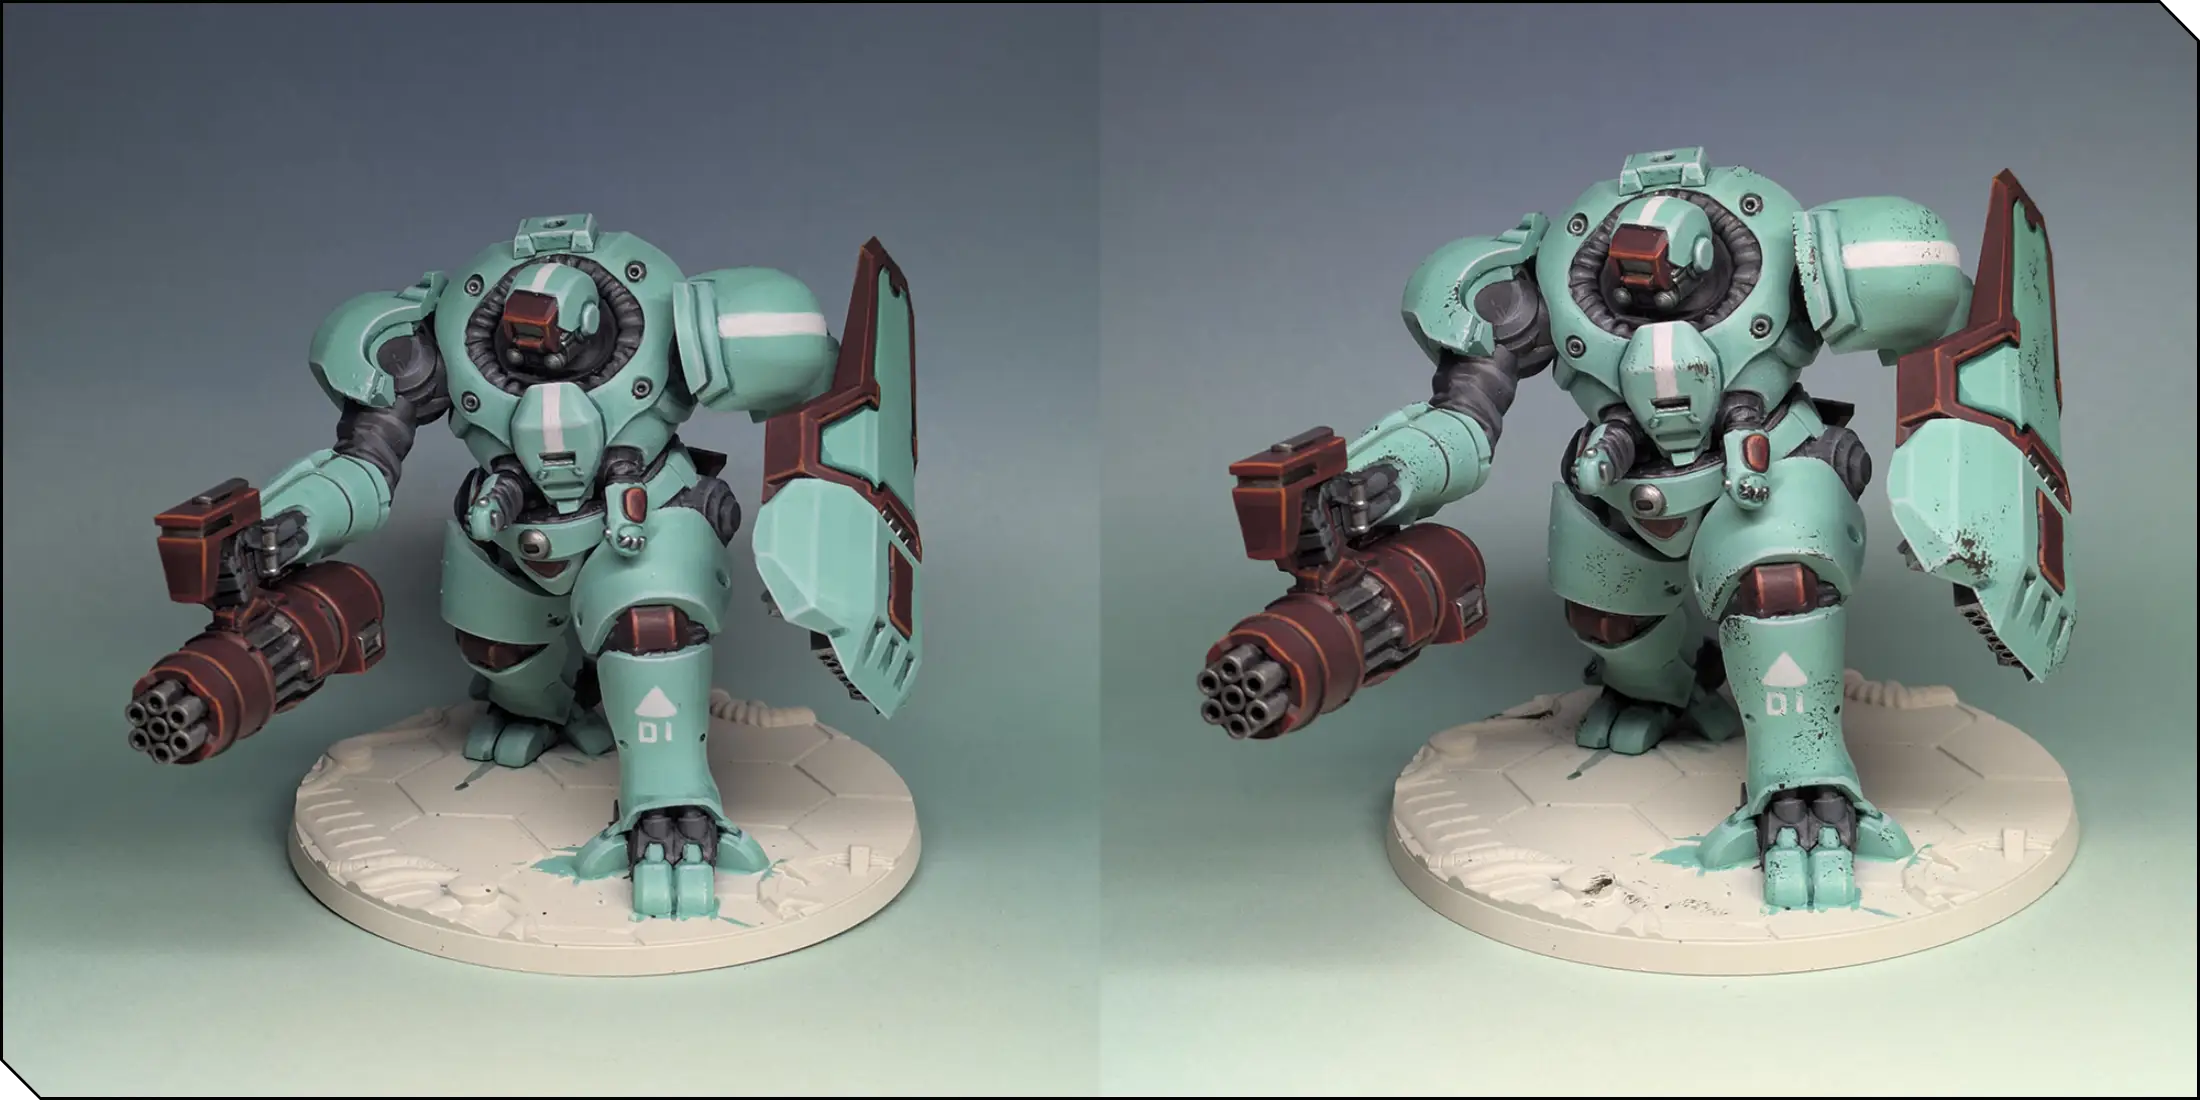
Lastly, I return to the Zeo for some extra detail. I used White Grey to paint lines and iconography onto the armor panels. Whites can be chalky, so try to keep your paint thin and try to be accurate with this step.
As a matter of personal taste, I like my Zeo units to have a little bit of paint chipping—these guys are probably where enemy fire is concentrated, after all! To do this, I took a small piece of foam (I used a spare piece from a pick-and-pluck miniatures tray!) and dabbed it into Umbral Umber. This was then lightly dappled onto areas where I thought damage might accumulate.
Finally, I painted all the bases. These were painted with Exile Blue and drybrushed with Frostbite. Cables and details were picked out with Cold Steel and Amethyst Rose, and a wash of Nuln Oil was applied over the whole base. Finally, I gave each base a rim of generic plain black.
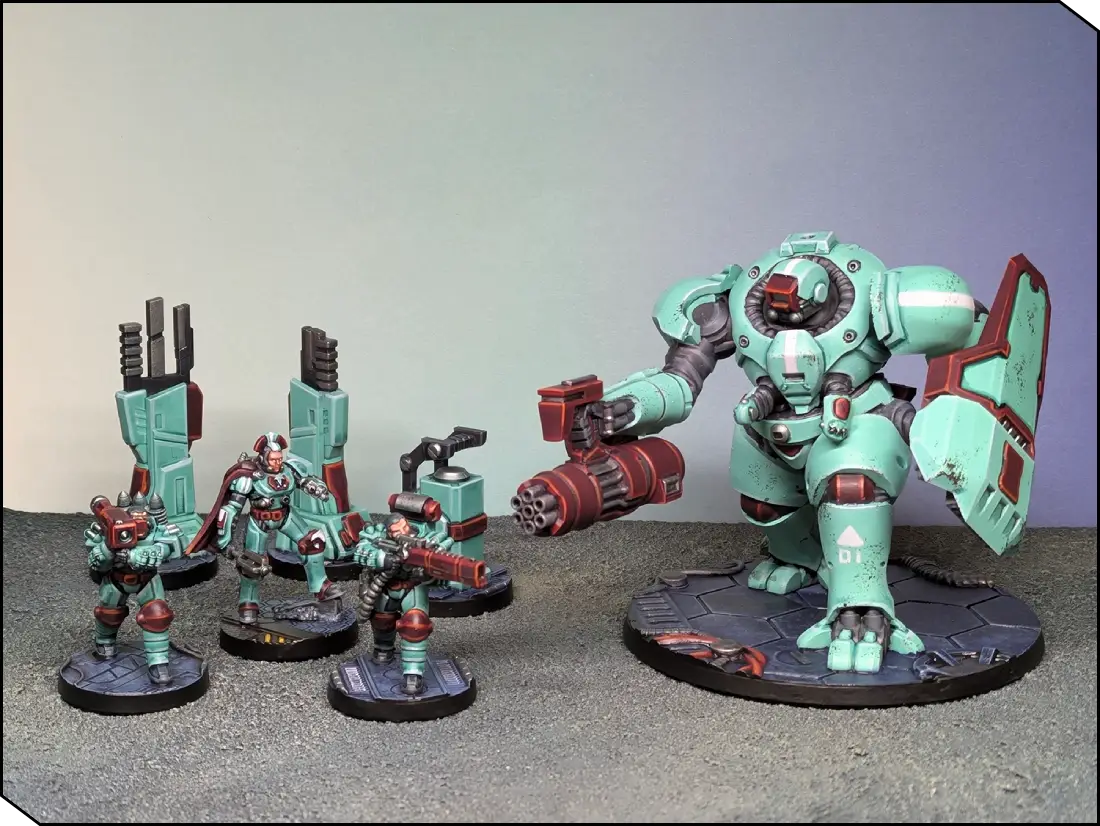
And that's my GuardCorps Citadel Response Squadron! I had an absolute blast painting these miniatures, and I hope this article inspired you to paint yours! I can't wait to see what you come up with!
Follow Jewel Knight’s Jess’ painting adventures on Bluesky and Instagram!


.webp)
.webp)