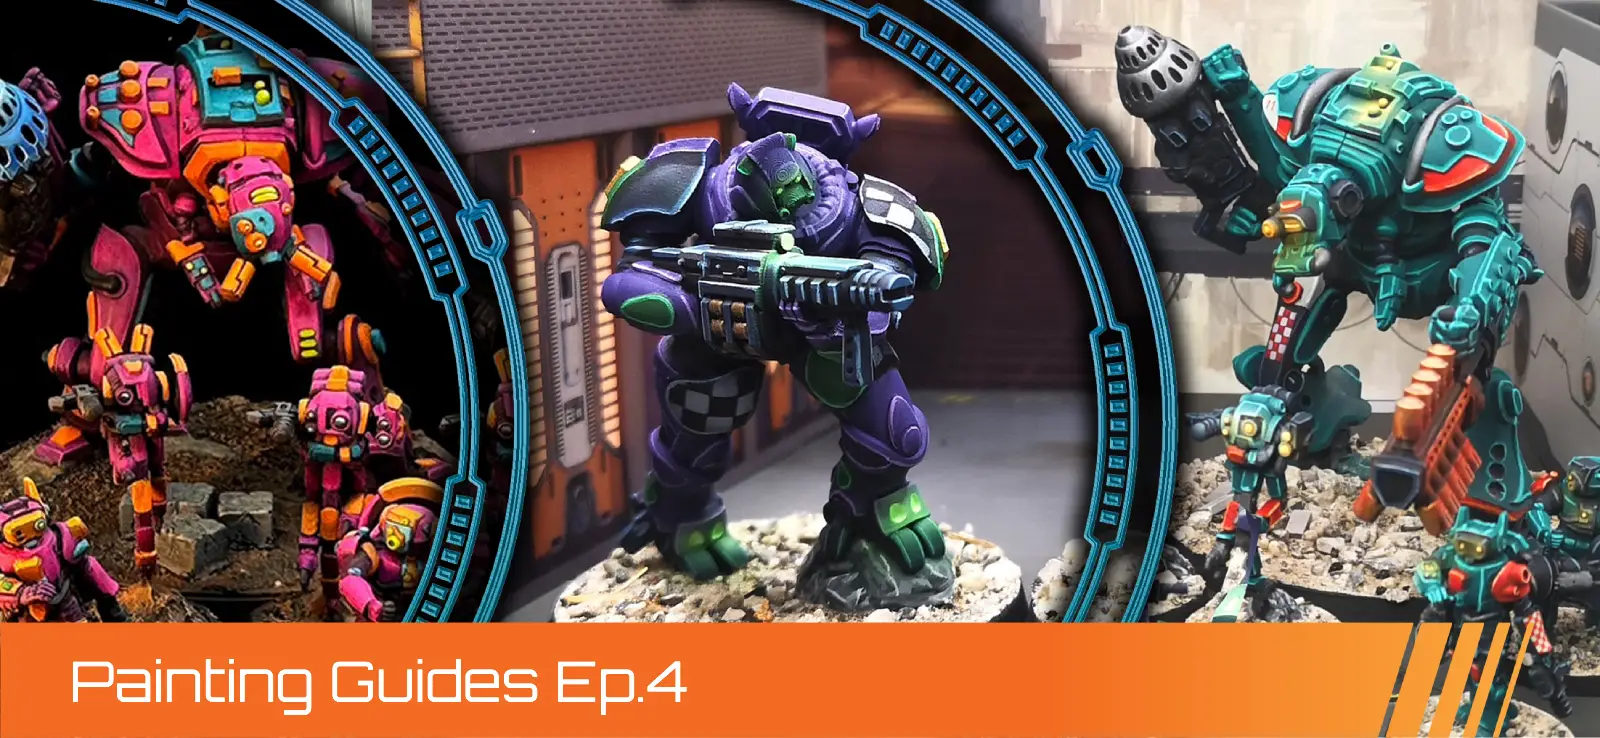
Pact Salvage Team - Racing-Inspired Color Scheme
By Andy Clark - Nerdling Herder
This color scheme is designed to be bright and eye-catching while also giving the impression that it’s been around for a while. The primary inspiration is the Gulf Oil racing livery from the 70’s and 80’s, with the main color being a sky blue with detailing in orange, white, and dark blue. All the metals are brass with visible verdigris indicating age and wear. It also has a subtle nod to steampunk. Finally, the basing of the models has been layered with tufts and dirt over the metal, suggesting an overgrown and abandoned location.
I’ve used Citadel paints throughout, but there are equivalents across most hobby paint ranges.
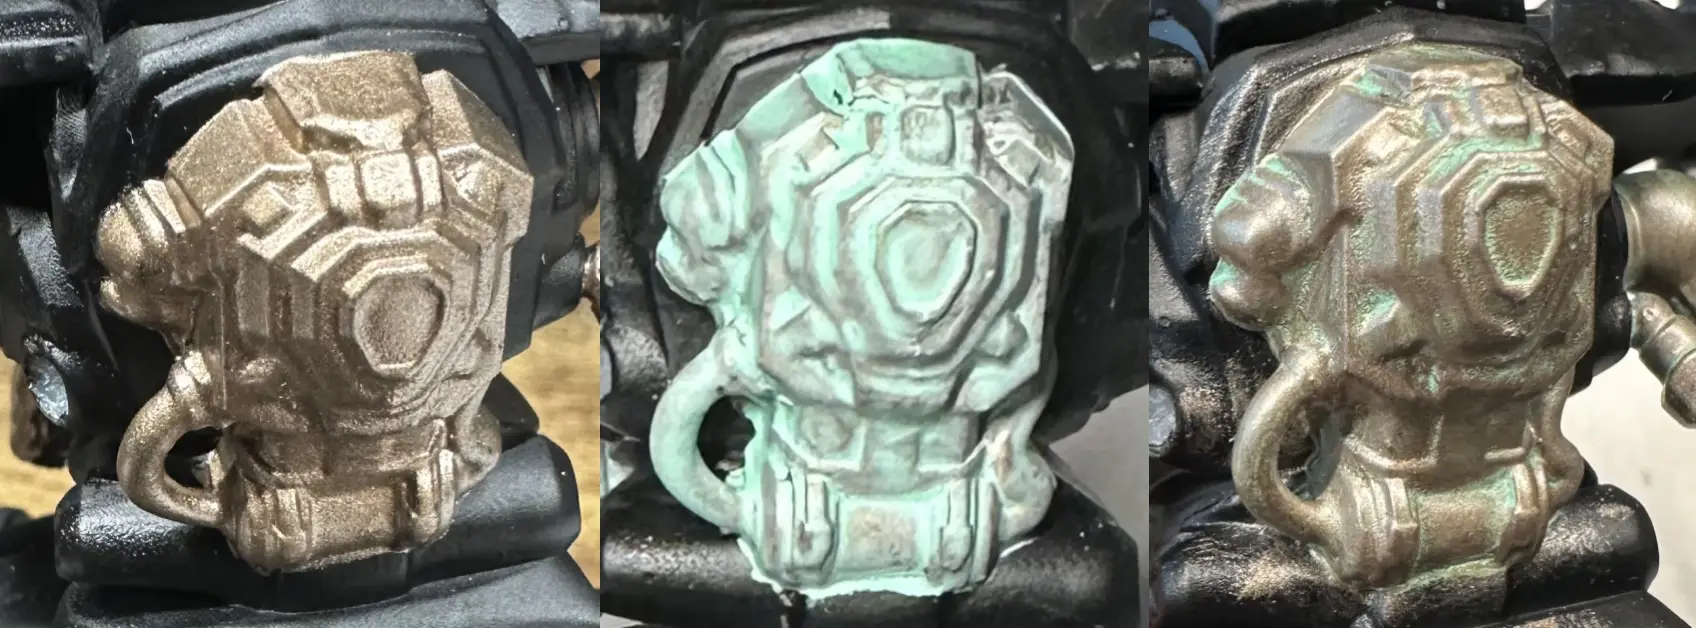
Brass
Starting with the metal sections is a good idea for a couple of reasons. Firstly, it’s mostly the lowest level of detail we need to paint on the mini, and working inside-to-outside makes corrections easier. Secondly, it’s good practice to change your paint water after painting metals to avoid adding a metallic sheen to flat colors.
To paint the brass, I used two paints: Runelord Brass and Gauss Blaster Green.
.webp)
First, paint a couple of layers of Runelord Brass, then apply a very dilute layer of Gauss Blaster Green over the top so it runs into the crevices. Finally, drybrush Runelord Brass over the top to restore the shine.
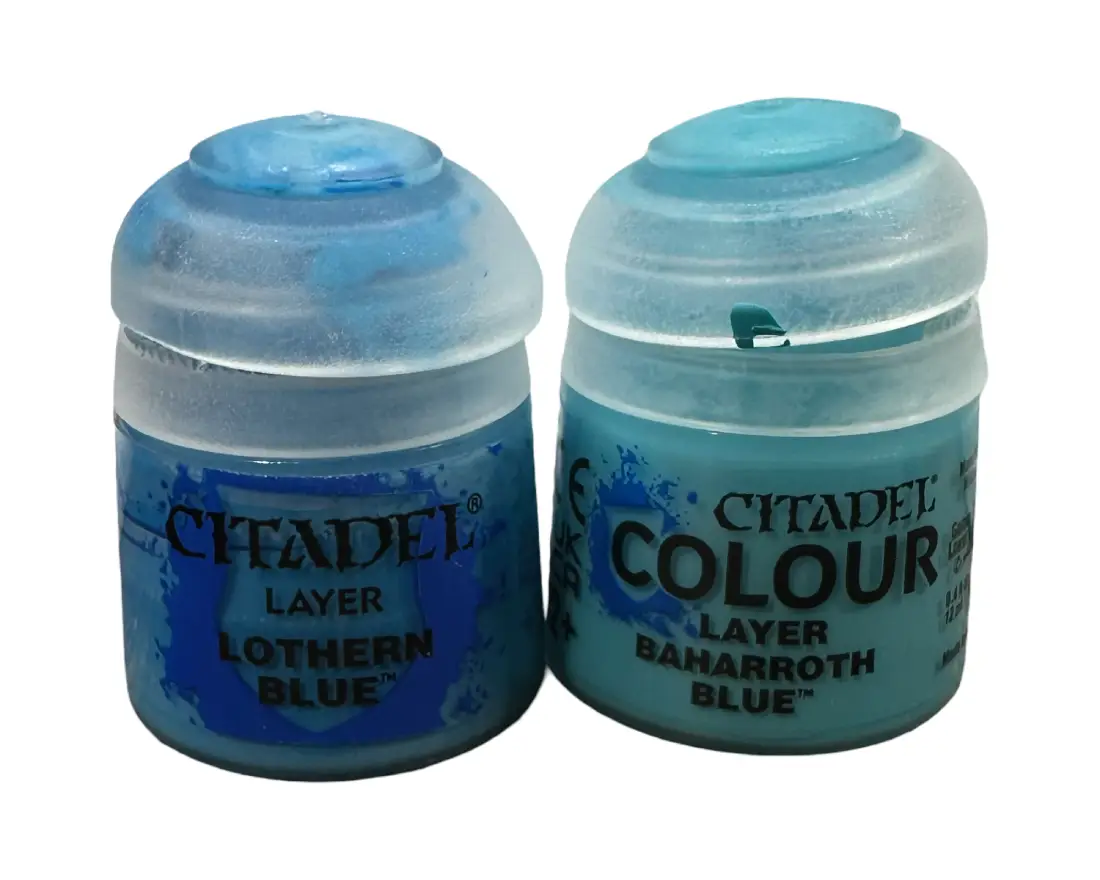
Sky Blue
Sky blue paints tend to have a fairly opaque base, so a couple of thin coats is normally enough for good coverage, even over a black base.
Apply a first coat, wait for it to dry, then apply a second, thinner coat over the top for a smooth finish.
.webp)
The main armor color is sky blue, so for this I’ve used Lothern Blue as a base, with a highlight of Baharroth Blue.
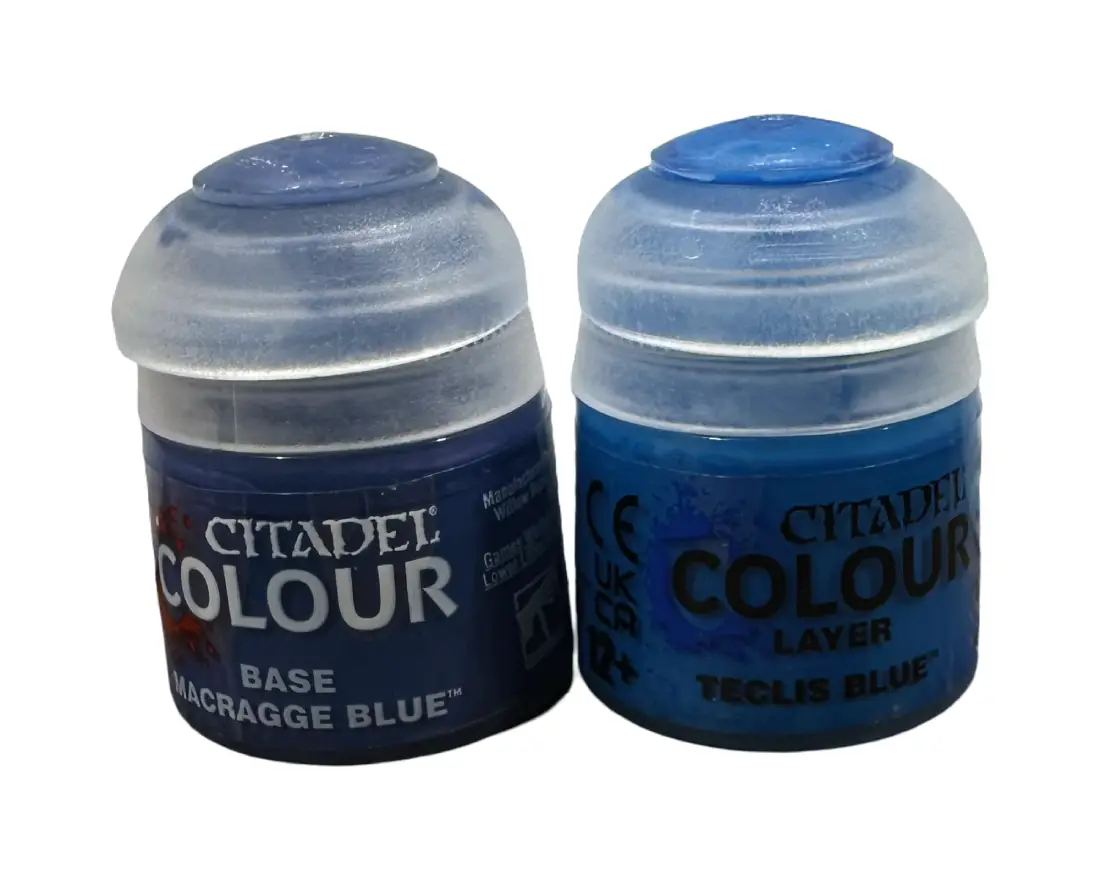
Dark Blue
It’s easy for highlight paints to get lost on dark colors, so choosing a highlight a couple of shades lighter will help the edges pop. Apply the edge highlight sparingly to avoid a two-tone effect. A small, flat brush is much easier to control than a round one.
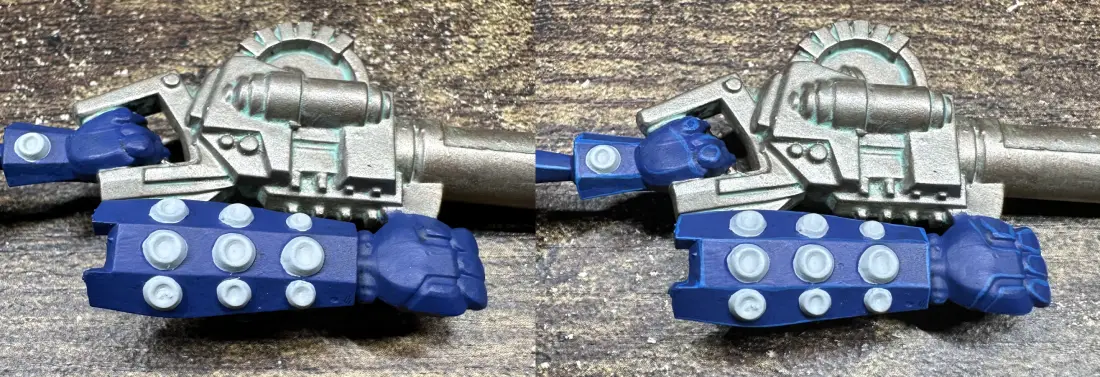
For the larger dark blue sections, I’ve used Macragge Blue with a highlight of Teclis Blue. There are also a couple of pure Macragge Blue highlights on the armor sections to pick out details.
Orange
Oranges and yellows tend to fall into two categories. Brights look striking, but are hard to apply, as they are much more transparent than the more pastel shades. A simple trick to help with this is to use a pastel pink as base coat first. The bright oranges and yellows should layer on top really well without losing their impact.
.webp)
I’ve used Fulgrim Pink as a base for the fairly thin Trollslayer Orange, with a highlight of Fire Dragon Bright around the edges to take some of the brightness down.
.webp)
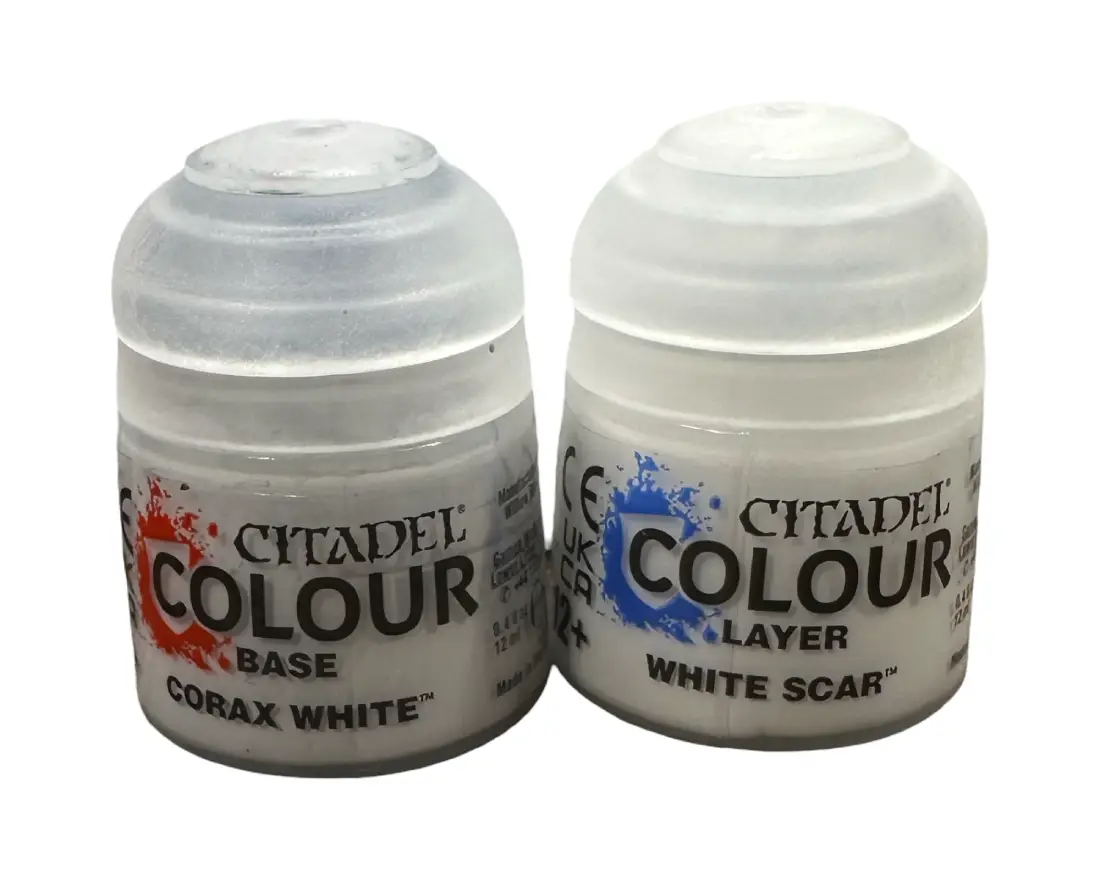
White
Highlighting white can be a tricky proposition. There are a couple of options. Either paint a pure white, add a wash to darken it, then add an edge highlight with pure white again—or, alternatively, start with an off-white/pale gray. I’ve gone with the latter option to make the process as simple as possible.
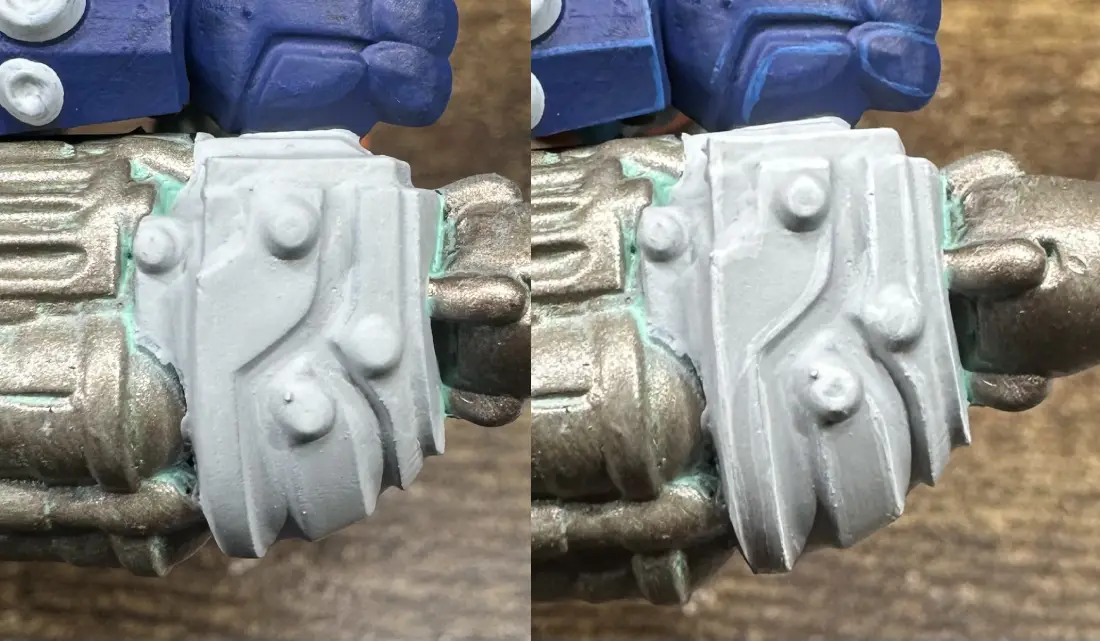
The small white sections have a base coat of Corax White, which is a slightly gray off-white that can be useful for adding depth. This has been highlighted with White Scar, which is a pure white.
Lens Glow
You can add a beautiful lens glow with inks, fluorescent paints, and an airbrush, but that’s a subject for another day. A similar effect can be achieved with a small drybrush and a steady hand.
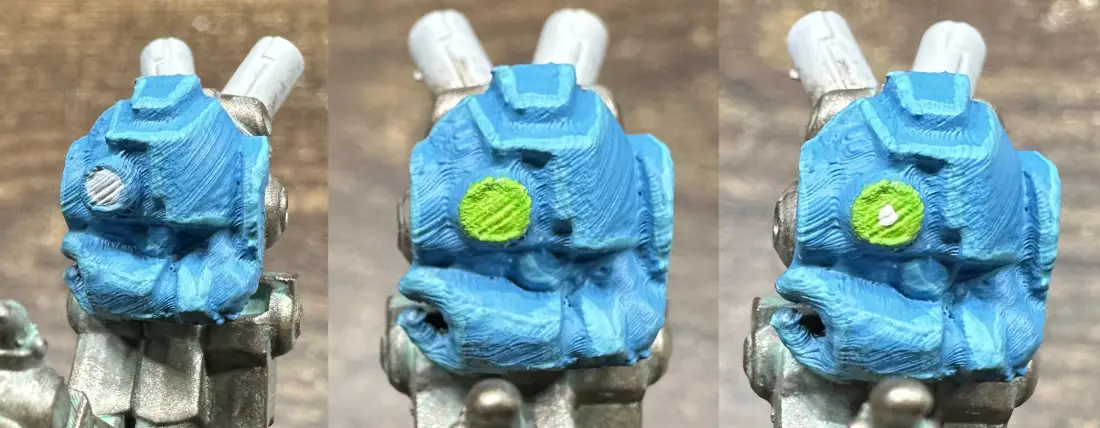
For the lens of the Zeo unit and the drones, I’ve added a simple lens glow by base coating the lens in White Scar, dabbing Striking Scorpion Green over and around the lens with a small drybrush, then picking out the center of the lens with a dot of White Scar again.

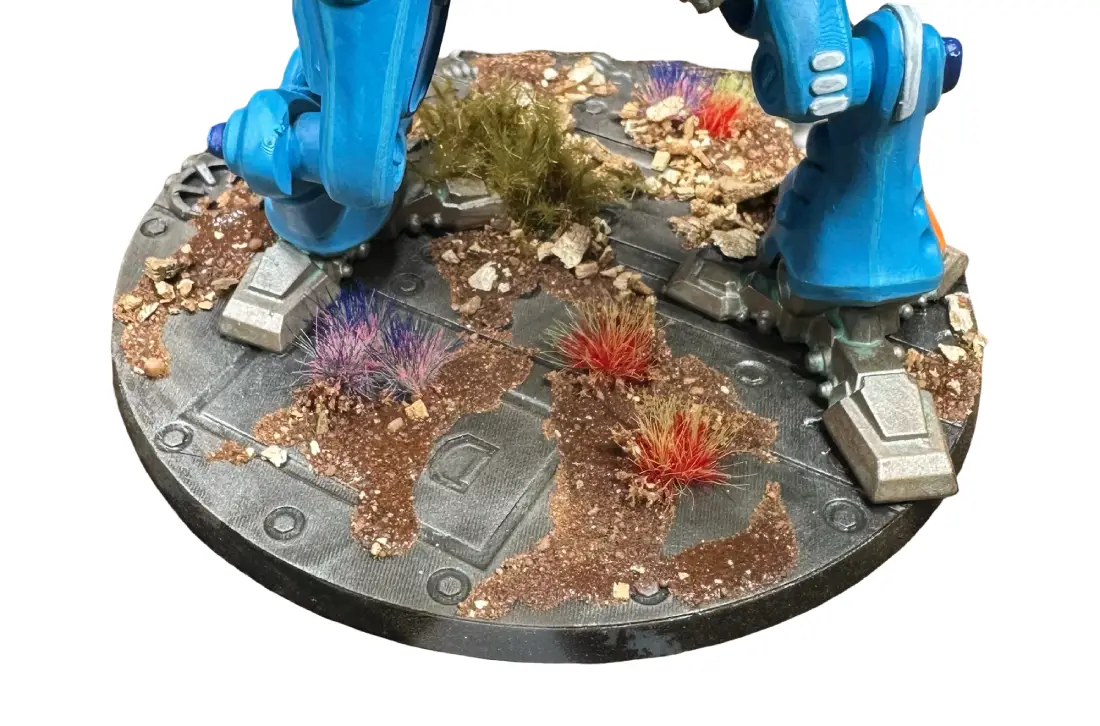
Basing
Bases really help your mini stand out, and a rule of thumb is to contrast with your mini’s paint scheme. So if you have a light mini, use a dark base, and vice versa.
Since my Pact force is pretty bright, I’ve gone with a dark theme that’s pretty quick to do.
Make sure any excess color from the mini is cleaned up with black, then roughly drybrush with a dark metallic such as Leadbelcher. Add some self-adhesive tufts in various colors. Finally, I’ve painted on random shapes with Elmer’s Glue and dipped the whole base in a red sand mix. The sand sticks to the glue and leaves some metal sections exposed to give the overall impression of an overgrown complex.
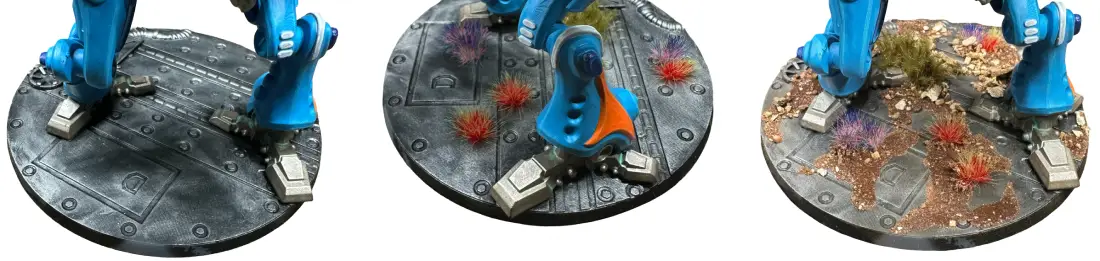
Finally, go around the edge of the base with a flat color to neaten it up—black or a mid brown works well.
And that’s the lot!
.webp)


.webp)
.webp)