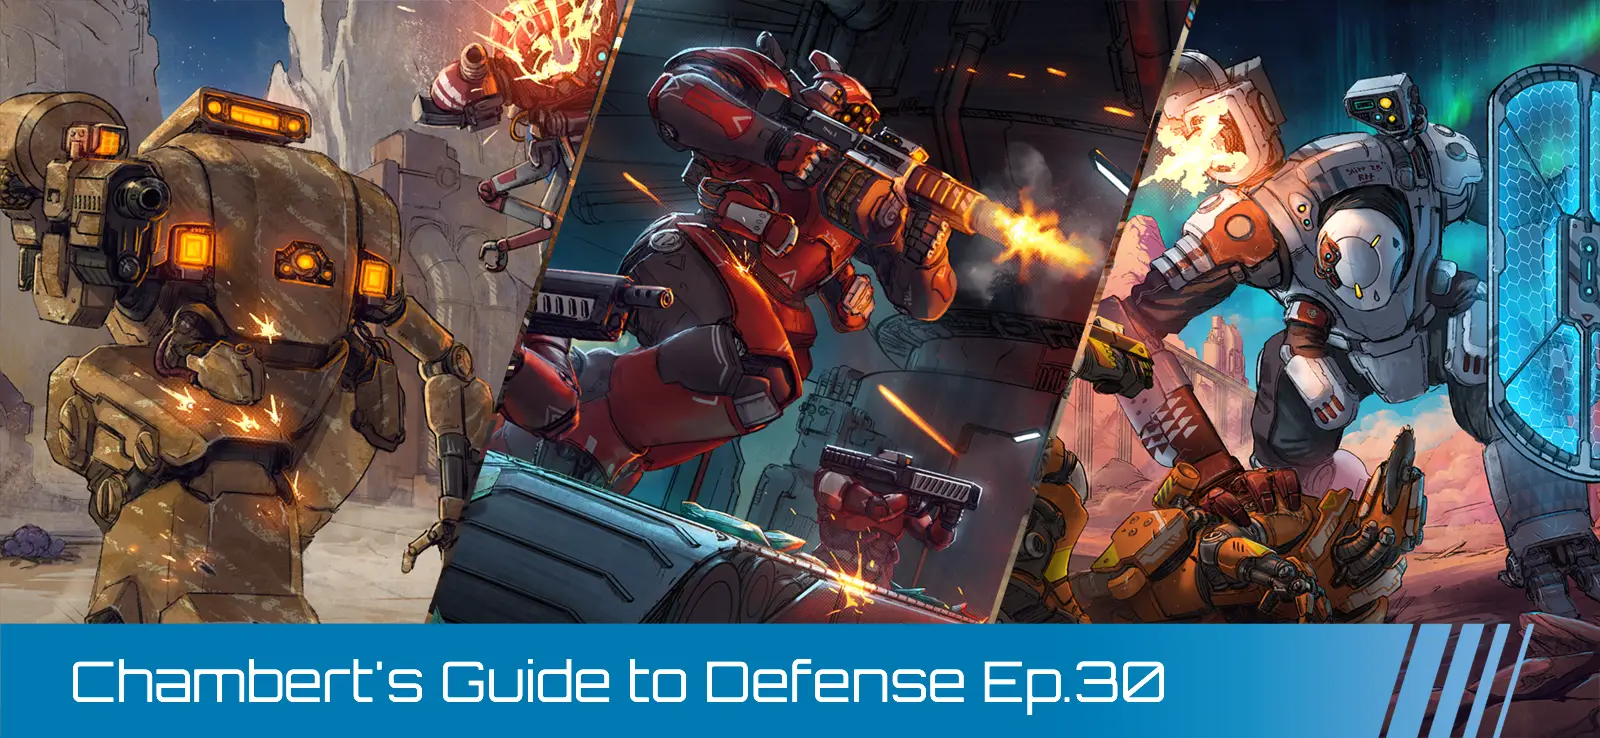
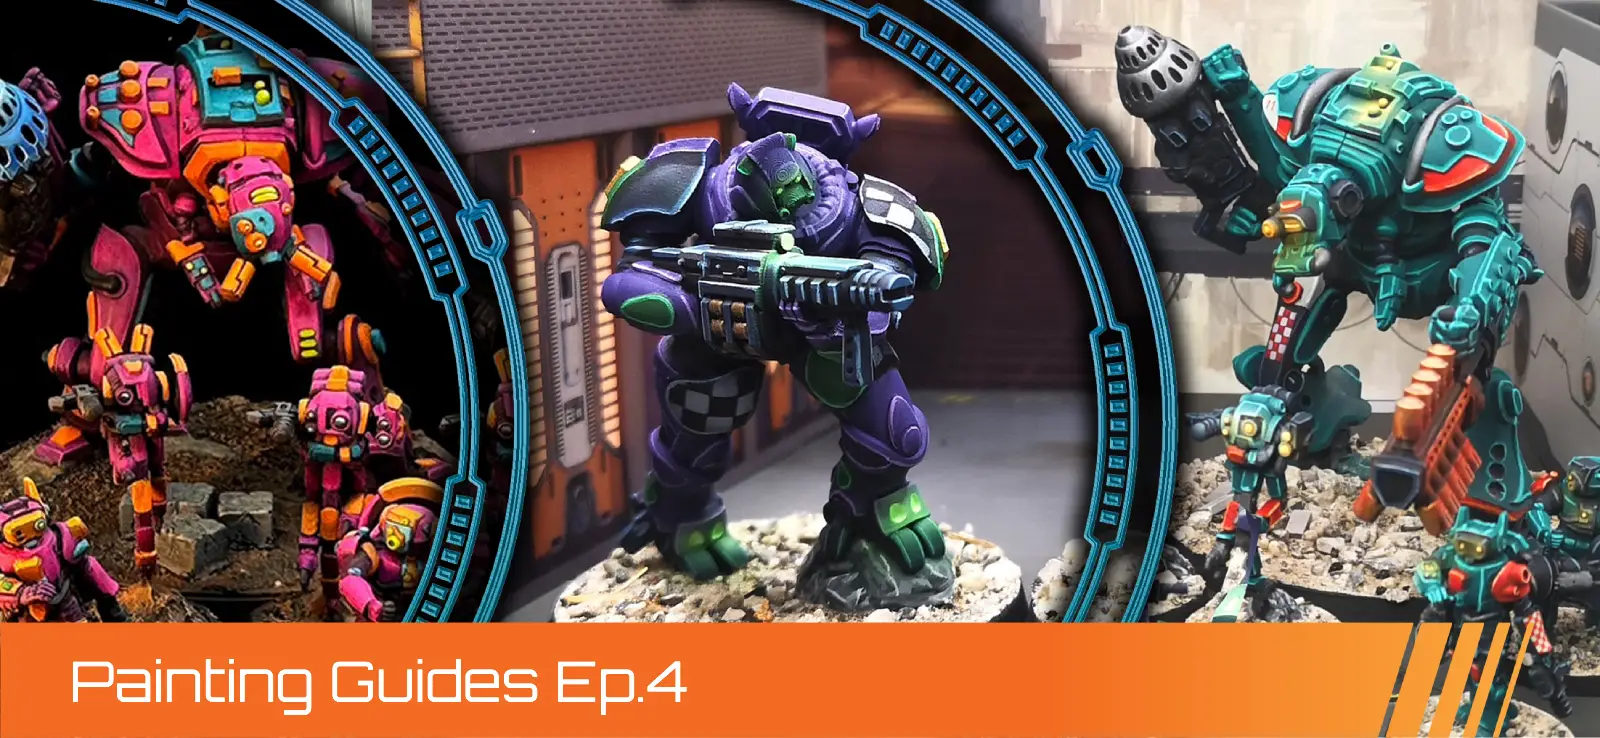
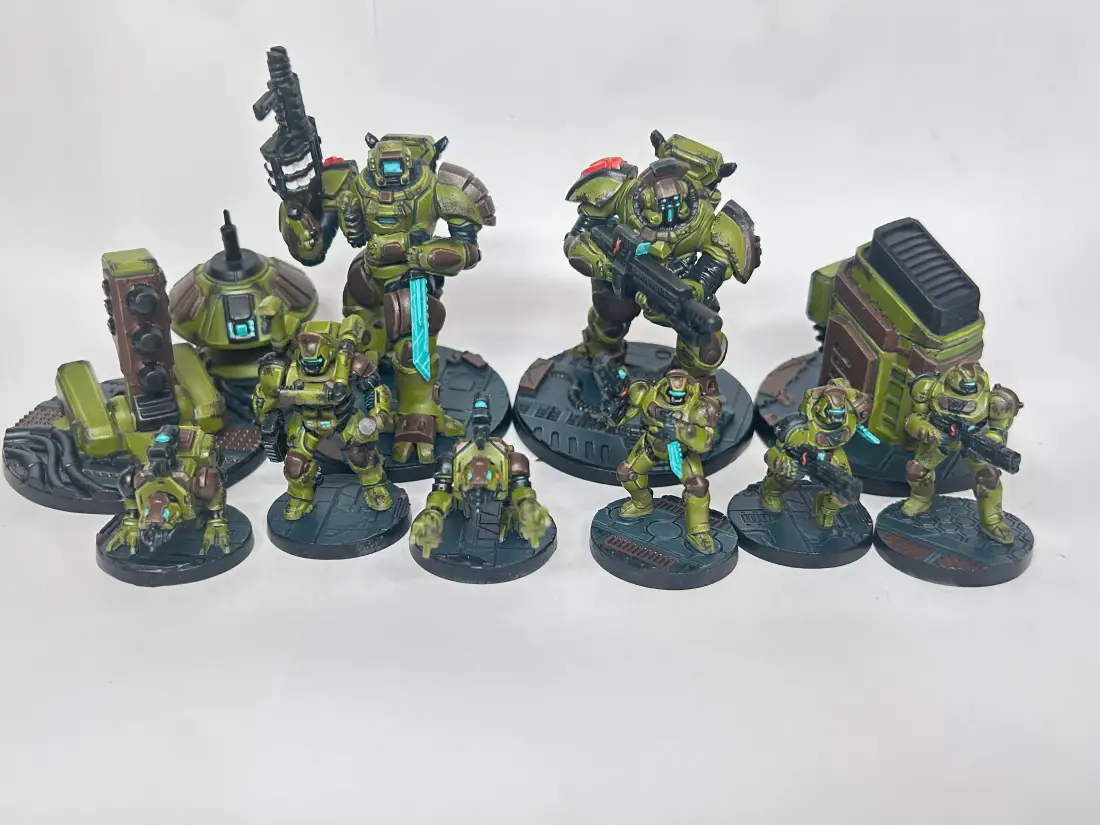
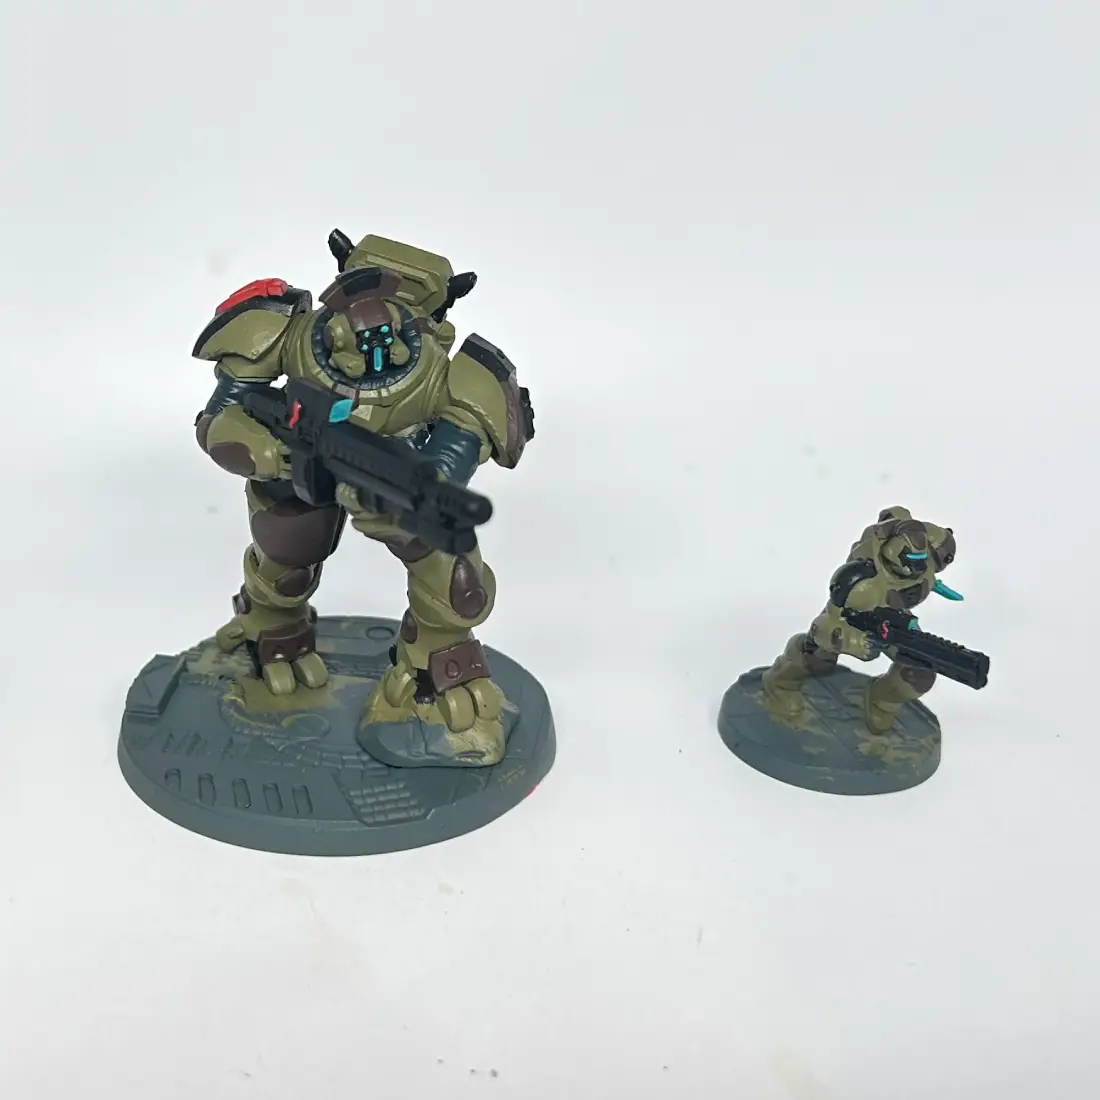
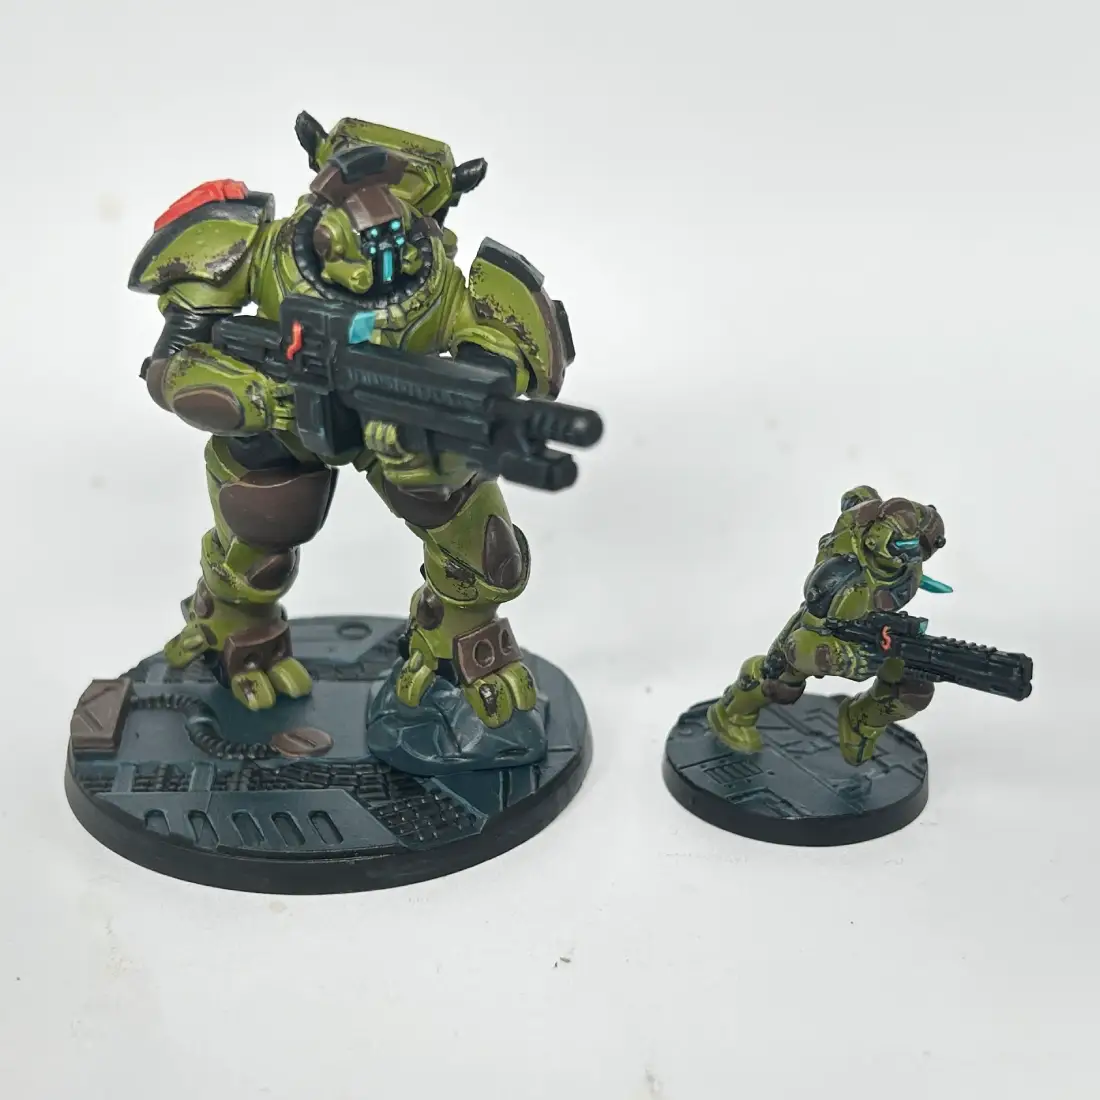
GuardCorps Asset Security Force - Camouflage Color Scheme
By Zoe Wright - Tankpot Paints
Welcome to the Zeo Genesis Painting Series, where professional painters and hobbyists show you the paints, tools, and techniques you can use to get your models ready for the battlefield!
In this painting guide, I’m going to be showing you how to do a green and brown camouflage-inspired paint scheme for your GuardCorps models. This will help you get your models on the table quickly, starting with a simple scheme that looks good on the table and adding in some optional techniques to push the models a little further.
Let’s begin! Here’s a list of paints and materials I used for these models. While this guide will talk about the specifics of using P3 paints, if you’ve got other paints (or brushes) you’d prefer to use, go ahead!
Tools:
- Large brush (eg. Citadel medium base brush)
- Medium layer brush (eg. Citadel medium layer brush)
- Fine detail brush (eg. Citadel small layer brush)
- Sponge (optional)
- Paint pallet
- A pot of water to clean brushes and thin paints
Spray paints:
- Gray acrylic spray primer
Basecoat Paints:
- P3 Traitor Green
- P3 Battlefield Brown
- P3 Thamar Black
- P3 Khador Red
- P3 Arcane Blue
- P3 Coal Black
Highlight/optional paints:
- P3 Ordic Olive
- P3 Gun Corps Brown
- P3 Kapitan Red
- P3 Morrow White
- P3 Umbral Umber
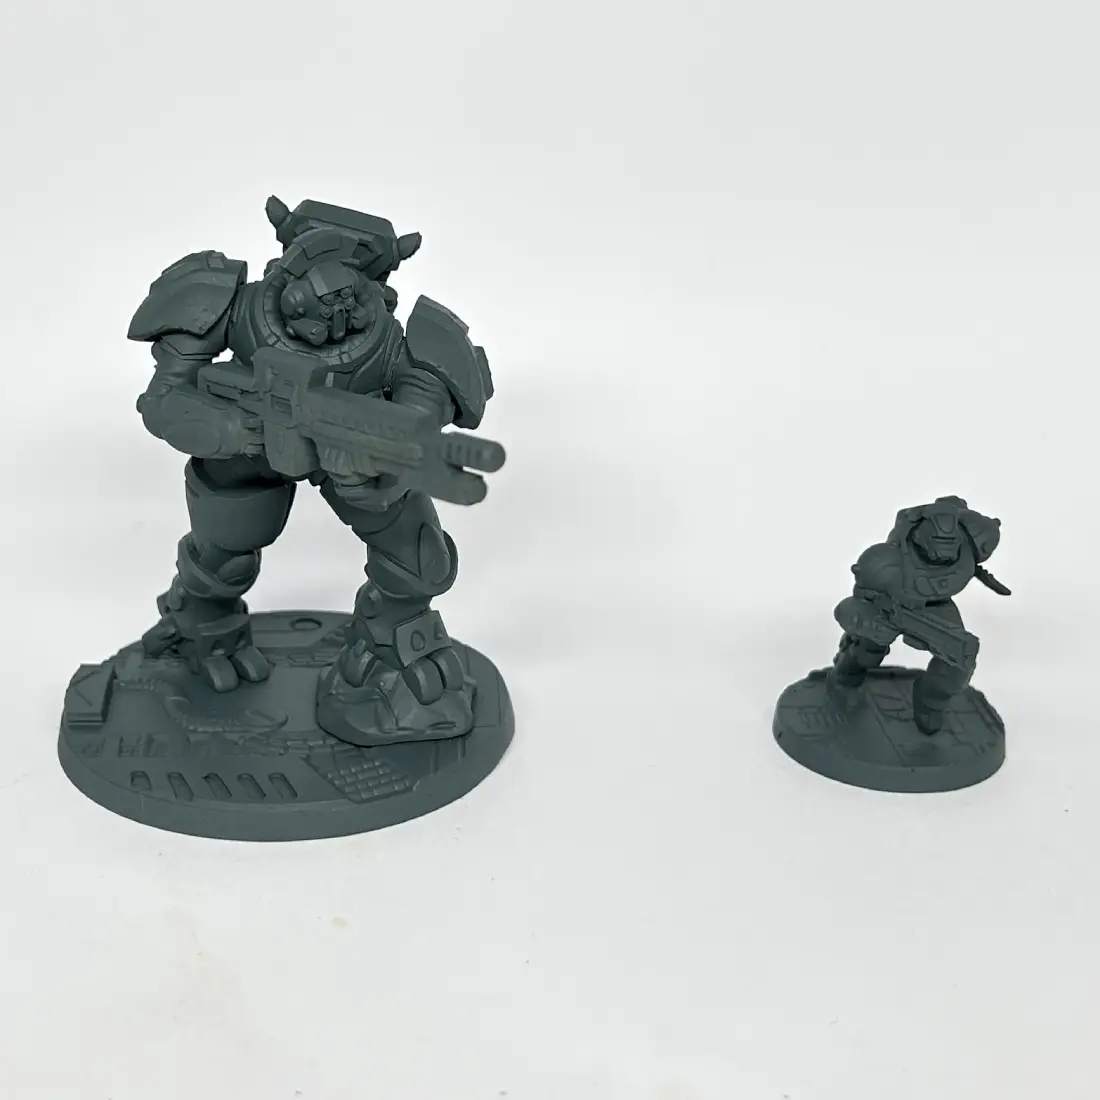
Priming & Base Coats
First, prime the models using a gray spray primer. Gray is a good neutral color that will provide a good base coat for the paints in this tutorial. Just make sure to spray in a well-ventilated area, preferably outside, and ensure an all-over, even coat.
Once the spray has dried, it’s time to start base coating. Taking a large brush, paint the models all over with Traitor Green. Thin the paint down a little with water by mixing it on your pallet, as P3 paints are quite heavily pigmented and can go on thick. It might take a bit of experimenting to get a consistency you’re comfortable with, but the idea is to be able to cover the models in 2-3 coats of paint.
.webp)
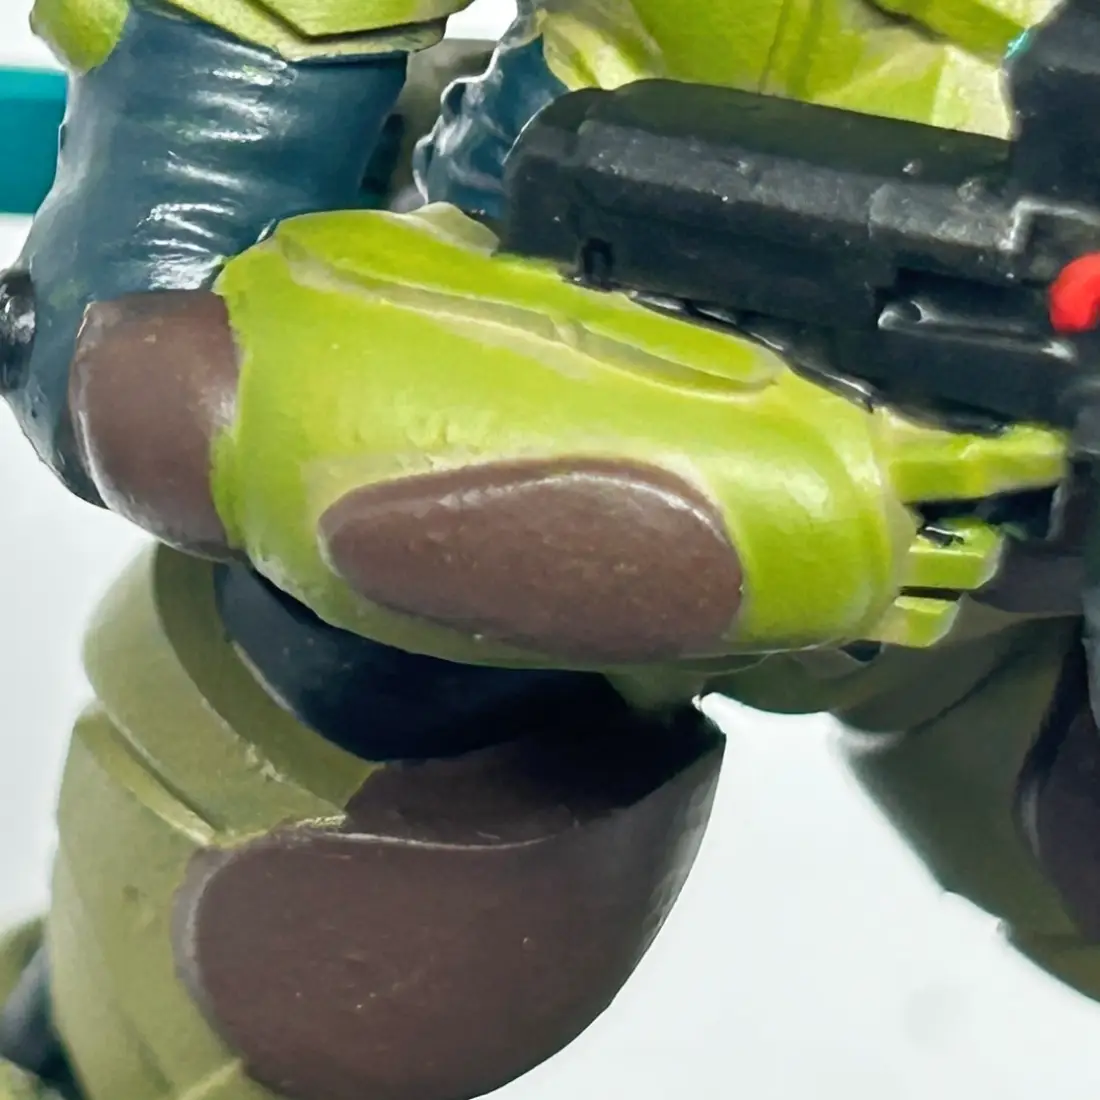
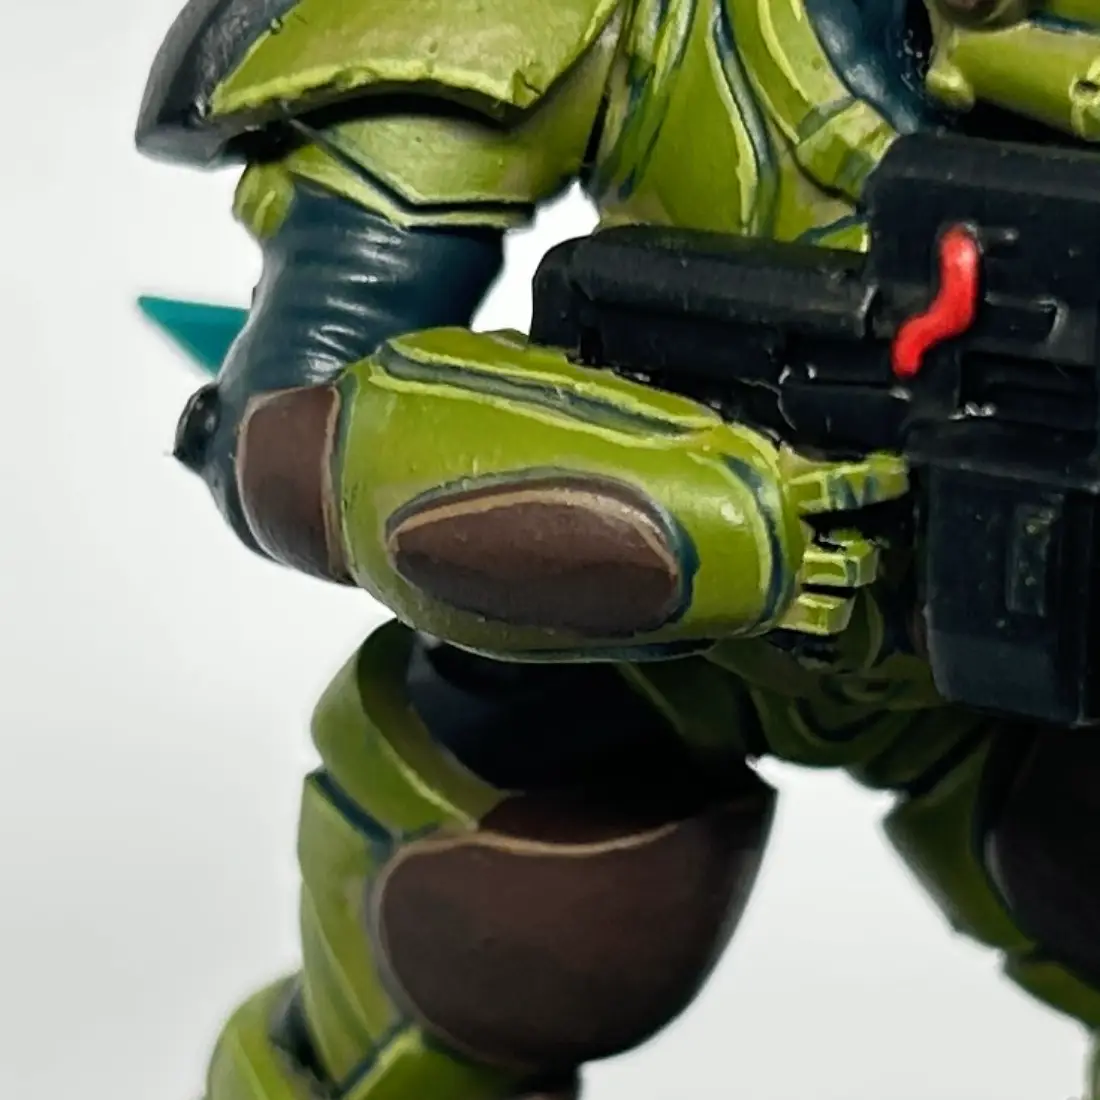
Then, switching to a medium brush, pick out certain panels with Battlefield Brown. The aim here is to imply a camouflage scheme without actually doing one. The green and the brown together will help give that impression.
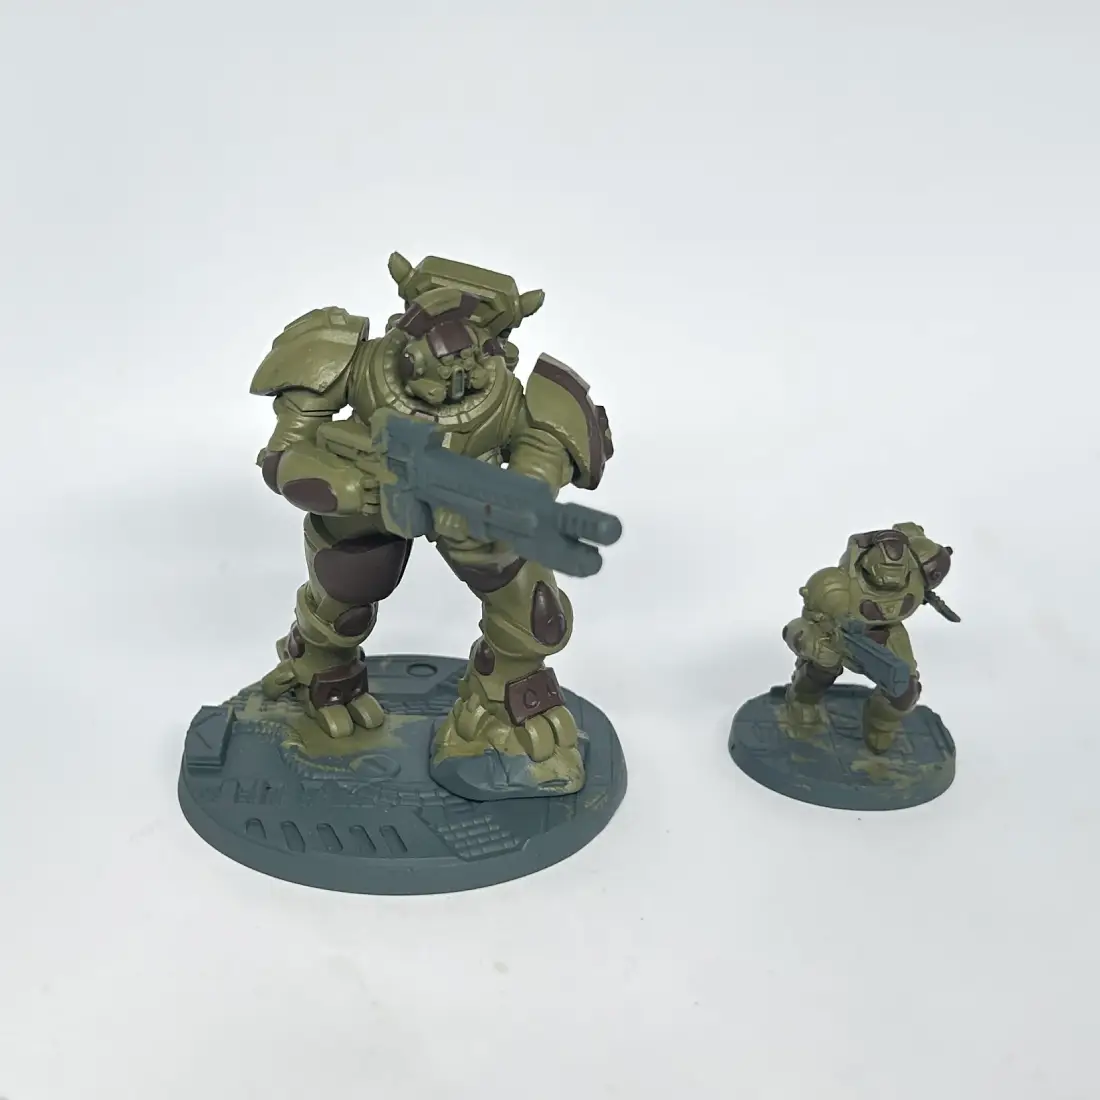
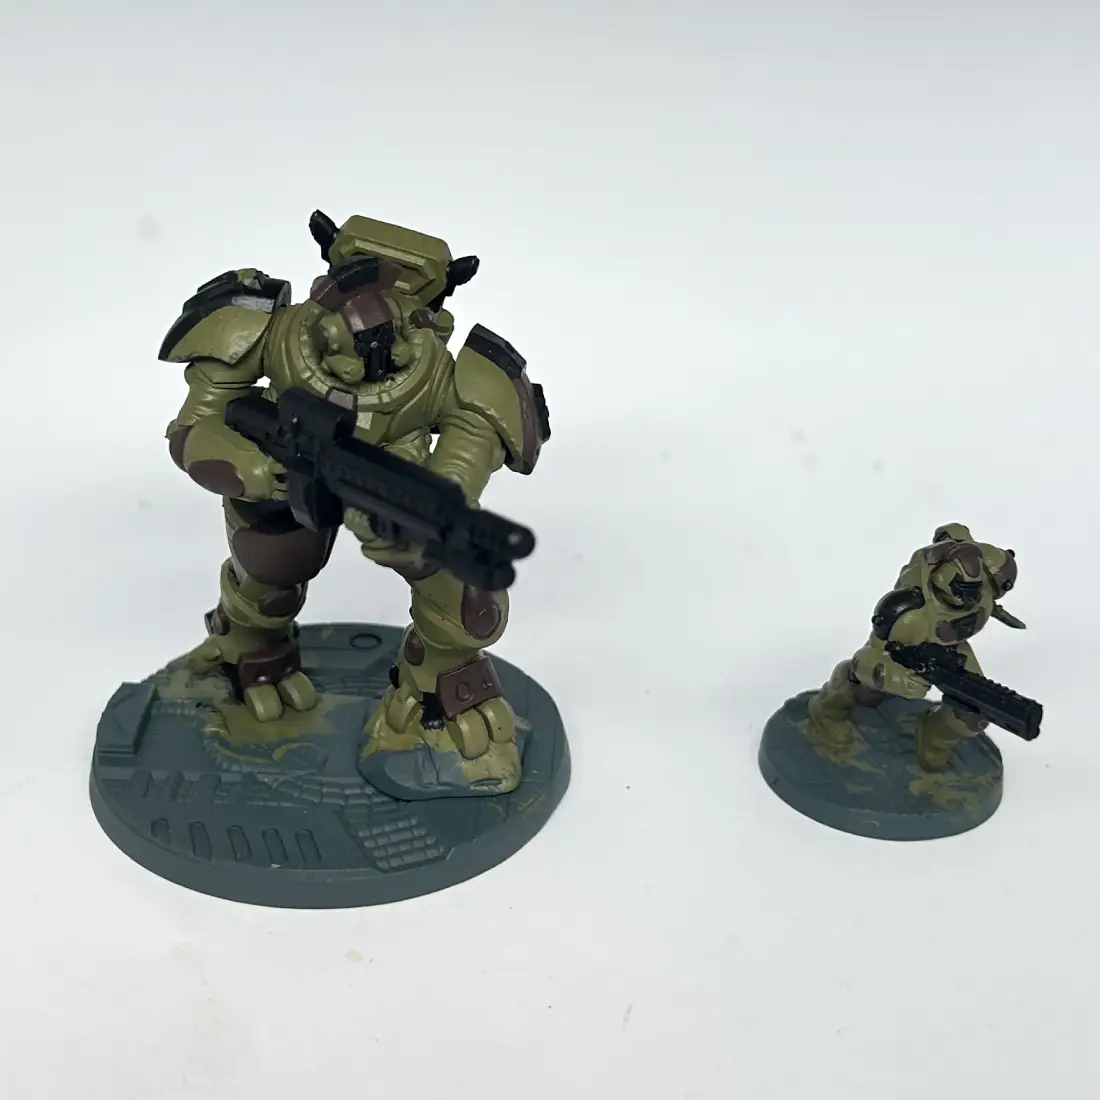
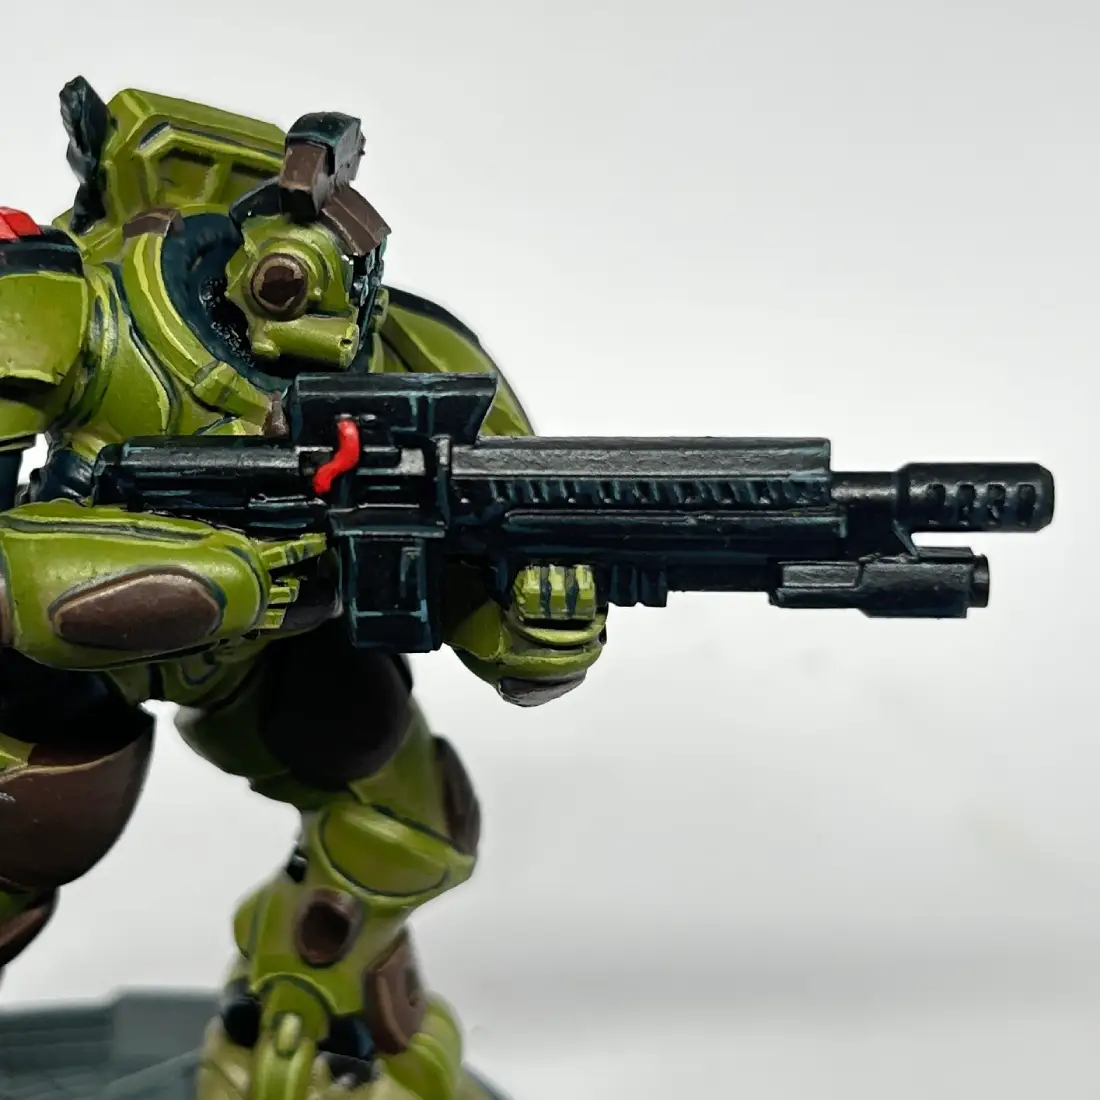
The next step is to paint ‘mechanical bits’ with Thamar Black. This includes weapon casings, exposed joints, pipes, and other odds and ends. Thamar Black has very good coverage, and will go on in one coat, but will need thinning, as if it goes on too thick it can dry glossy.
The next base coat is Coal Black for undersuits and other bits that might be cloth or rubber, such as the upper arms on the Stormer. It’s probably best to use a small brush for some of these areas as you might have to reach some small nooks and crannies.

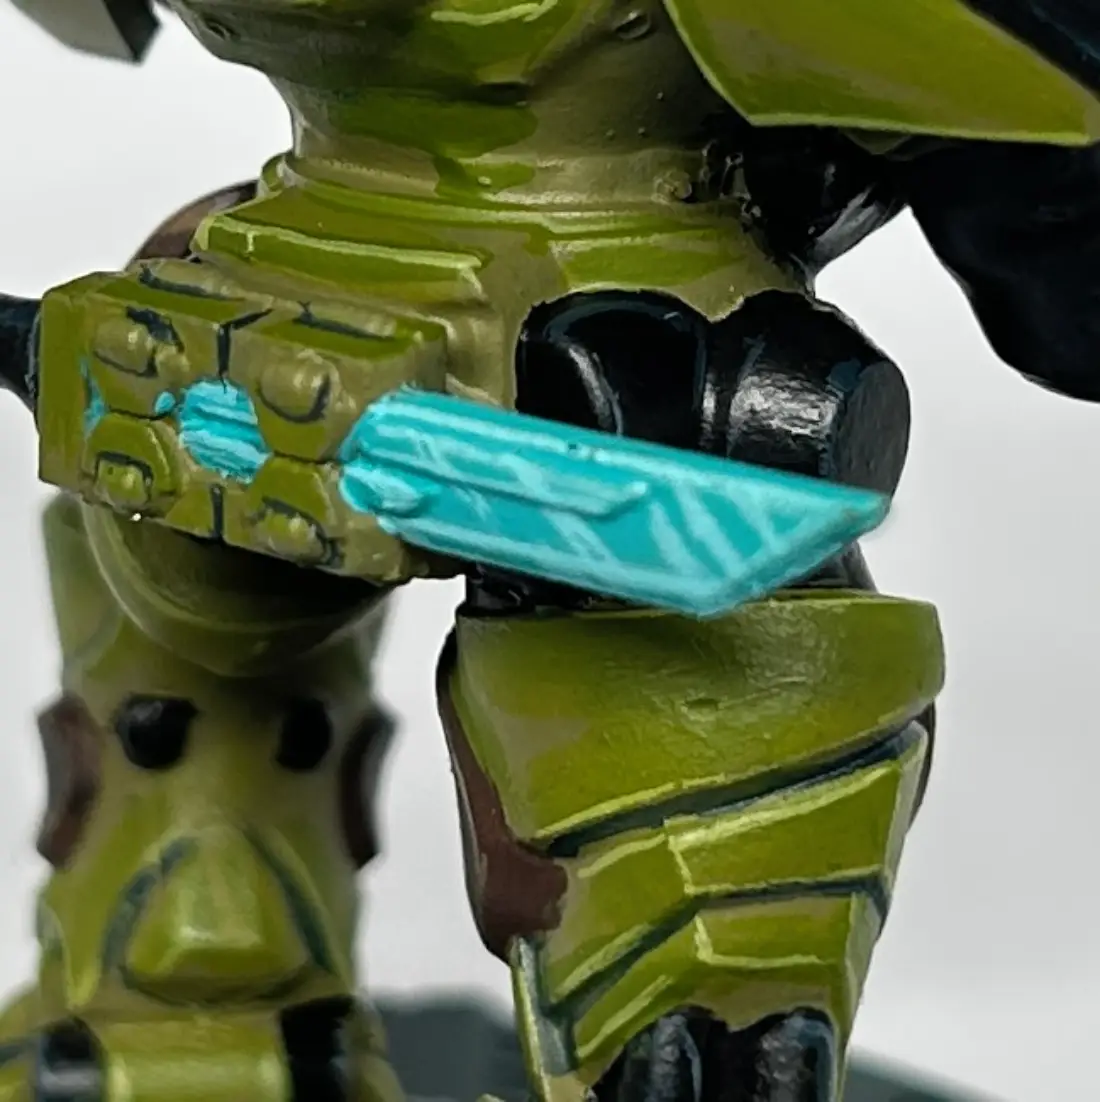
The final base coating step is tidying up any mistakes and to pick out any small details. Anywhere that you’ve painted ‘outside the lines’ needs going over with the previous color, just to neaten up the general presentation. Pick out lenses, lights, and other glowing bits, such as vibroblades, with Arcane Blue, and use Khador Red to pick out the small cables on rifle optics and on the symbol on the Stormer’s right shoulder guard. Be aware, it might take a few coats to get a smooth, even finish.
Once all these base coats are done, you could leave it there! If all your models are painted to this standard, you’ll have a consistent, clean-looking force for gaming with. You can just move on to the “Painting the Bases” section at the end of this article and get ready to play! However, if you want to go a bit further and give your models a little extra depth and finish, you can try highlighting and shading them.
Shades and Highlights
In this section, you’ll be layering colors on top of your base coats to simulate shadows and brighter spots on your miniatures. This will involve some paint mixing, but don’t panic! To keep things simple, any mixes in this tutorial will be straightforward 1:1 mixes. Just keep your pallet handy for mixing those colors, and you’re good to go!
Step one is to work on the Traitor Green areas. Take Ordic Olive and carefully layer it on to the raised areas, imagining a light source shining directly from above. You want to essentially have the top half of the Traitor Green areas coated with Ordic Olive.
The next step is to mix one part Ordic Olive with one part Morrow White. Take this mix and paint a thin line along the edges of the green areas. Where you can, use the side of the brush rather than the point to do this, but this only really works on raised edges and corners. Elsewhere, keep your hands steady and brace your elbows on a flat surface to try and limit any shakiness. Thin your paint a little for this step, as the improved flow will help achieve a neat line, but be careful not to thin it too much, as this will cause a mess.
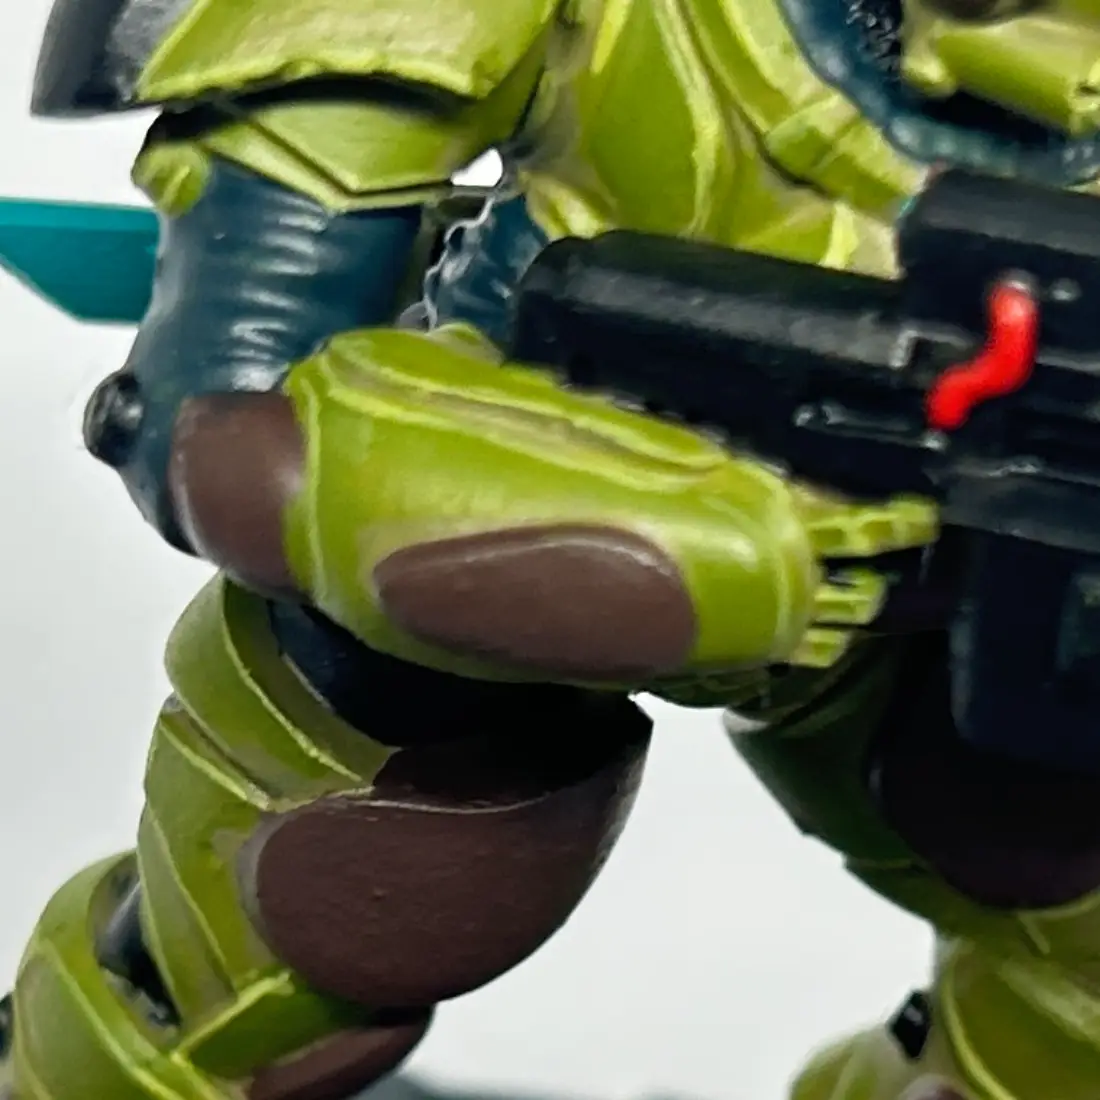
The final stage of painting the green areas is to use Coal Black to paint the recesses. Using a small brush, thin down the Coal Black and paint in the panel lines, corners and other recessed areas. This will simulate shadow and help define the panels and make them stand out more on the table.
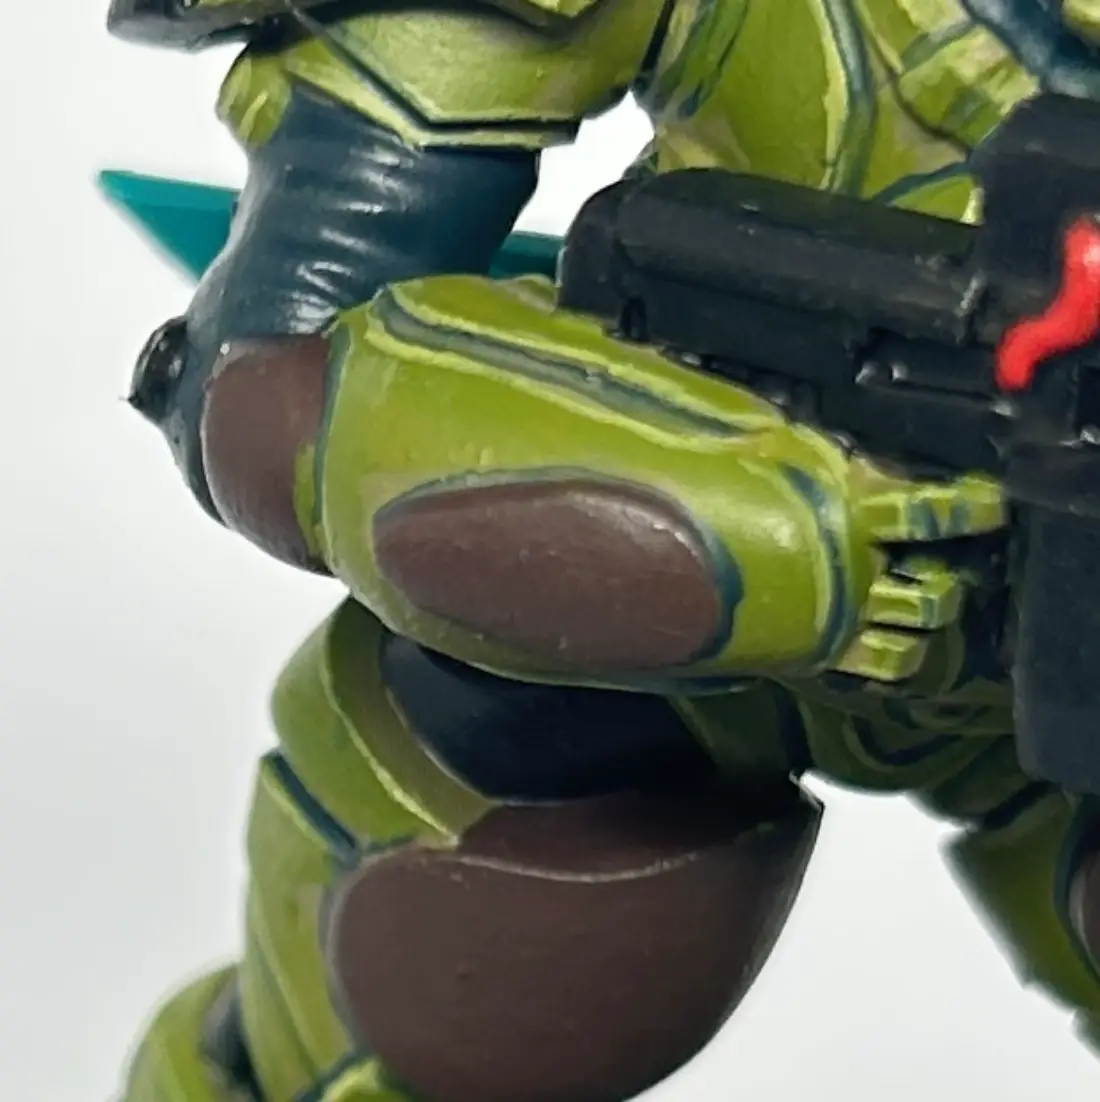
Next, using P3 Gun Corps Brown, edge highlight the brown areas in the same way you used the Ordic Olive/Morrow White mix on the green.

Once that’s done, take P3 Umbral Umber and paint the lower part of the brown areas in almost the opposite way pure Ordic Olive was used on the green. The idea is to create shadows here, not mid tones like before. When this is done, it's time to move on to the black areas.
There are two kinds of surfaces that need working on for this step: the hard lines of weapon casings and the rounder edges of joints, panels and pipe work. For the rounder areas, start by applying Coal Black on the upper portions as you’ve done in previous steps. For the weapon casings, do a careful, thin highlight along all the panels and edges that make up the gun.
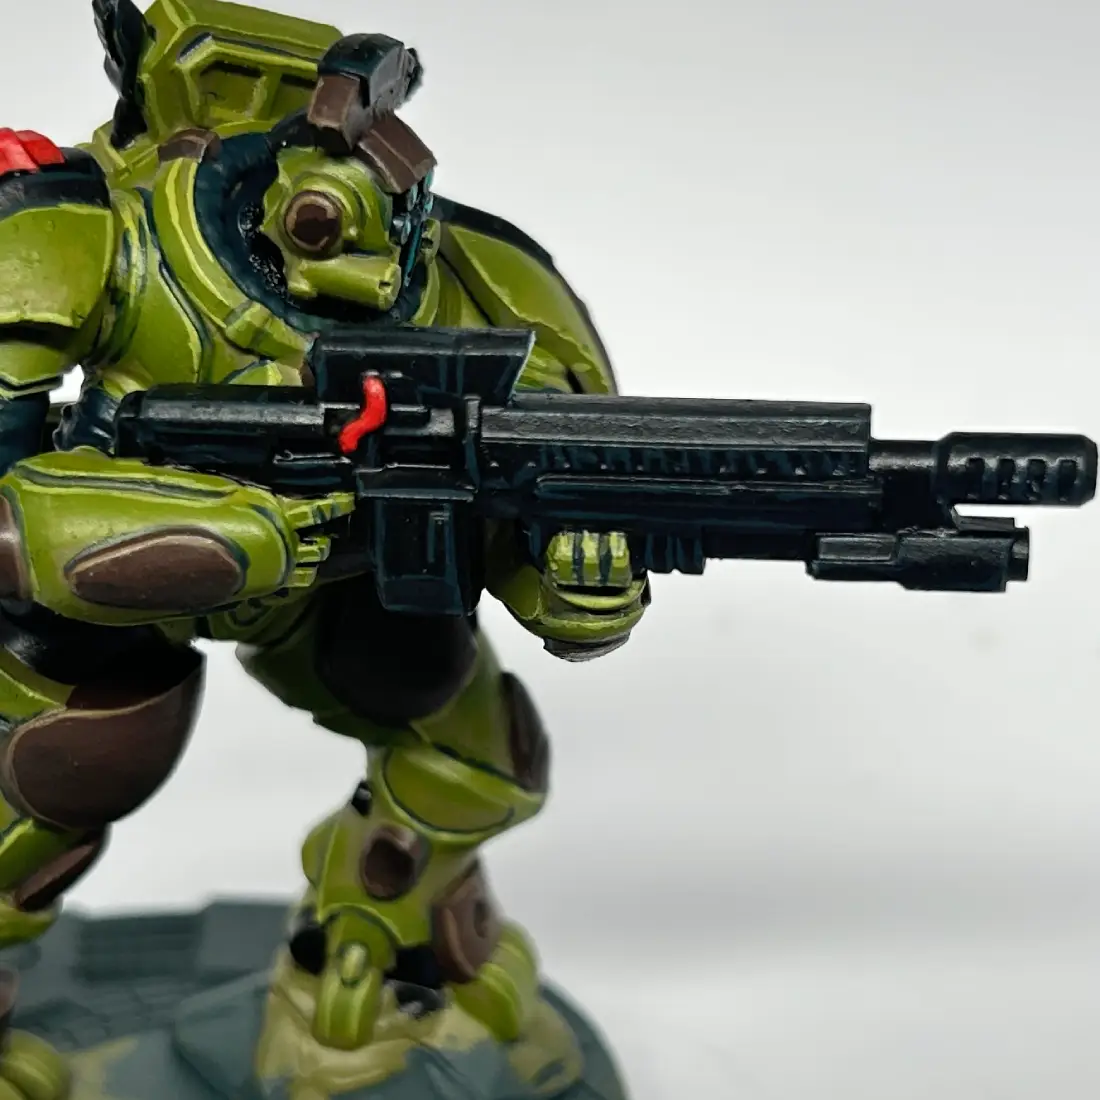
Next, mix Coal Black with Morrow White and apply it to the topmost edges and points on the softer parts. Use sparingly, as the intention is to simulate the brightest reflections on gloss black. On the gun casings, you just want to highlight the corners rather than entire edges.
Highlight the edges of any red elements with Kapitan Red.
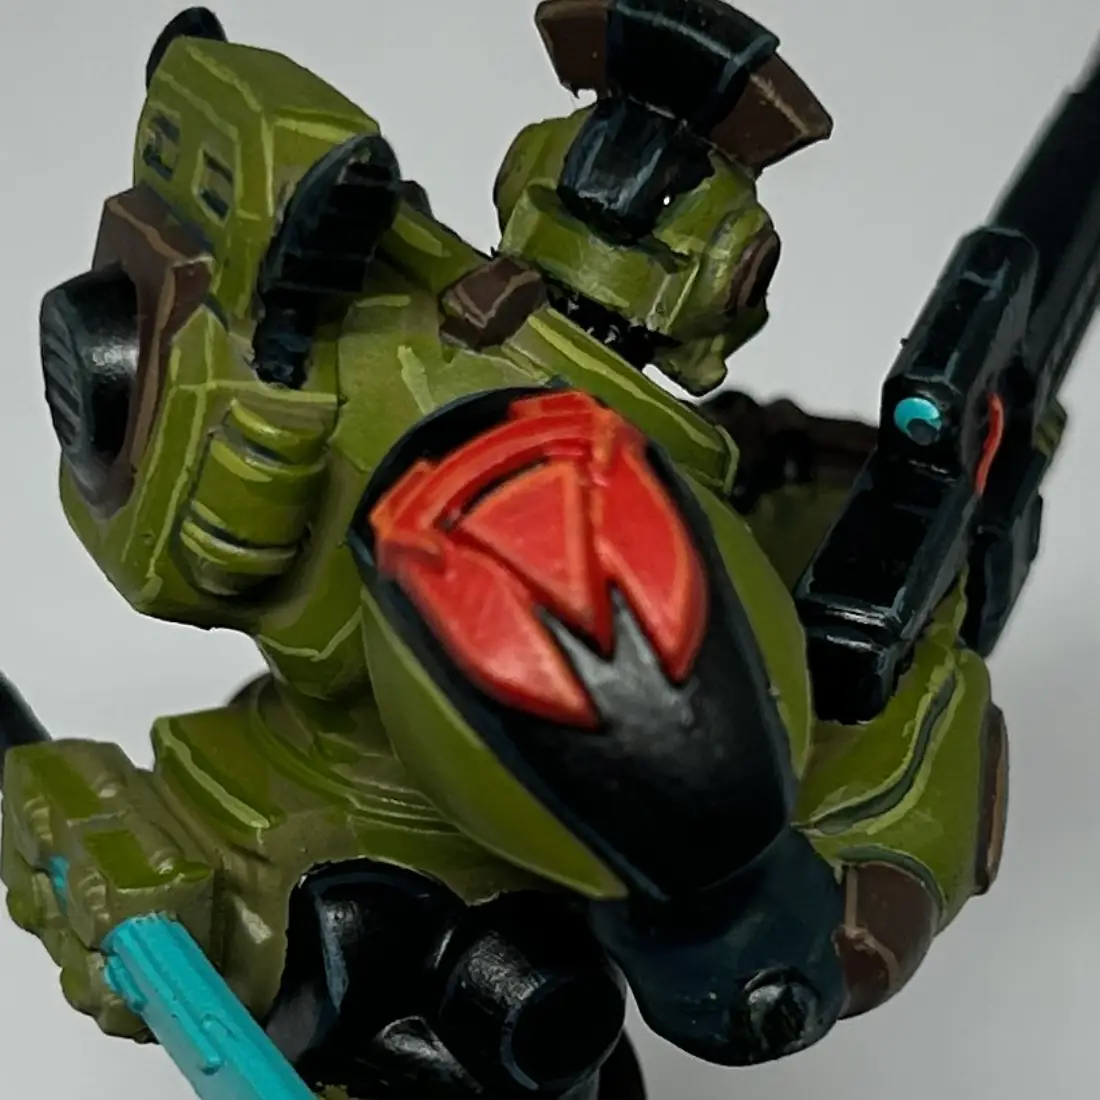
Finally, mix Morrow White and Arcane Blue and paint a dot in the middle of any lenses and lights, to simulate glow. For vibroblades, highlight the edges as normal, but also paint thin diagonal streaks across the blades to give a shimmery energy effect. Go back and tidy up any messes and check for any details you might have missed.
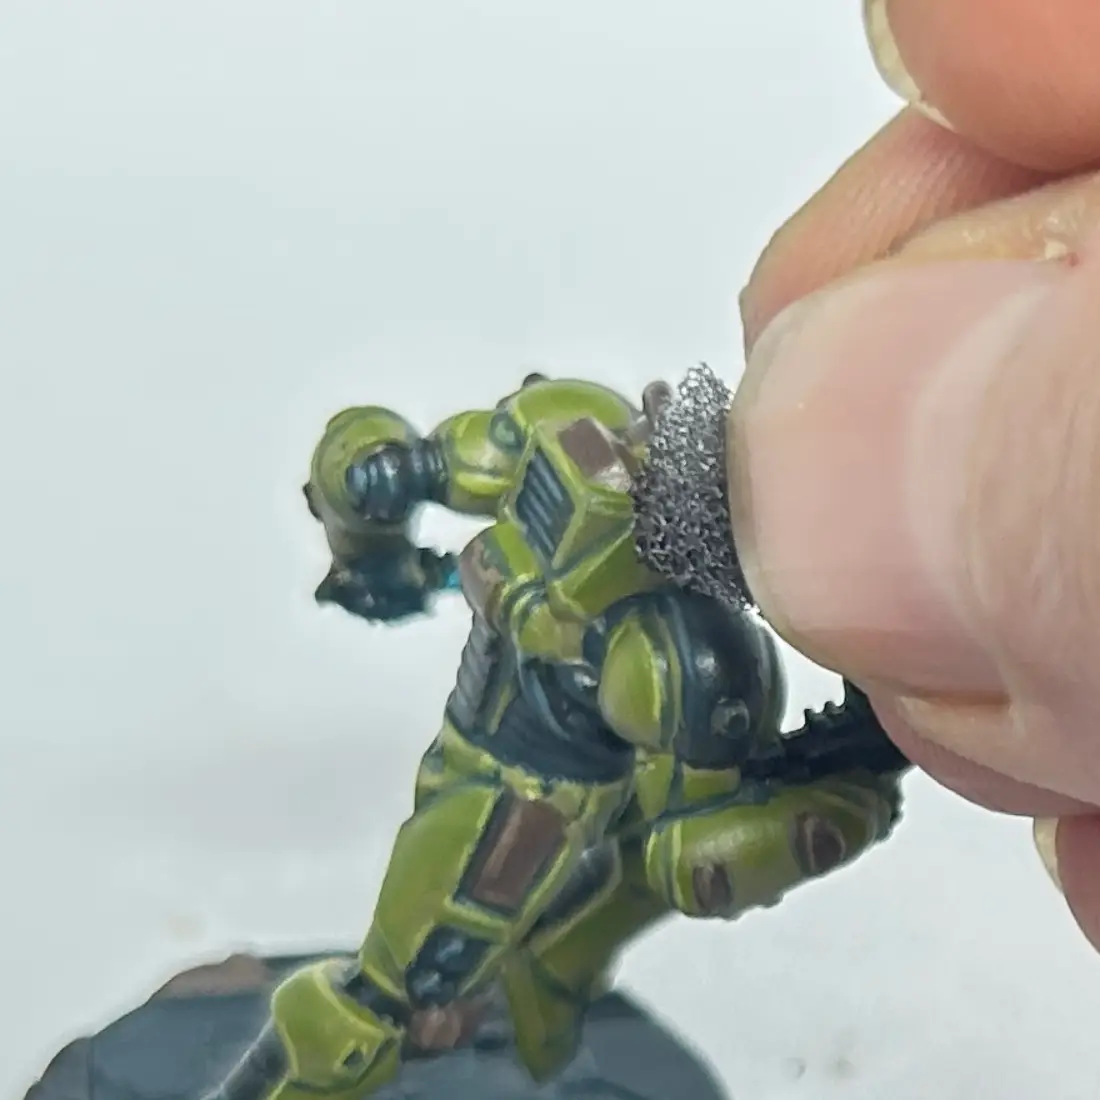
The models are done! You can move on to painting the bases now if you wish, or you can add one final step to make your models look weathered. Take a small chunk of sponge and dip it lightly in Umbral Umber. Gently tap the edges of your models with the sponge, creating stipples of brown that will look like chipped paint or rust. The effect will be greatest on the green areas, so focus on those. Just make sure not to overdo it!

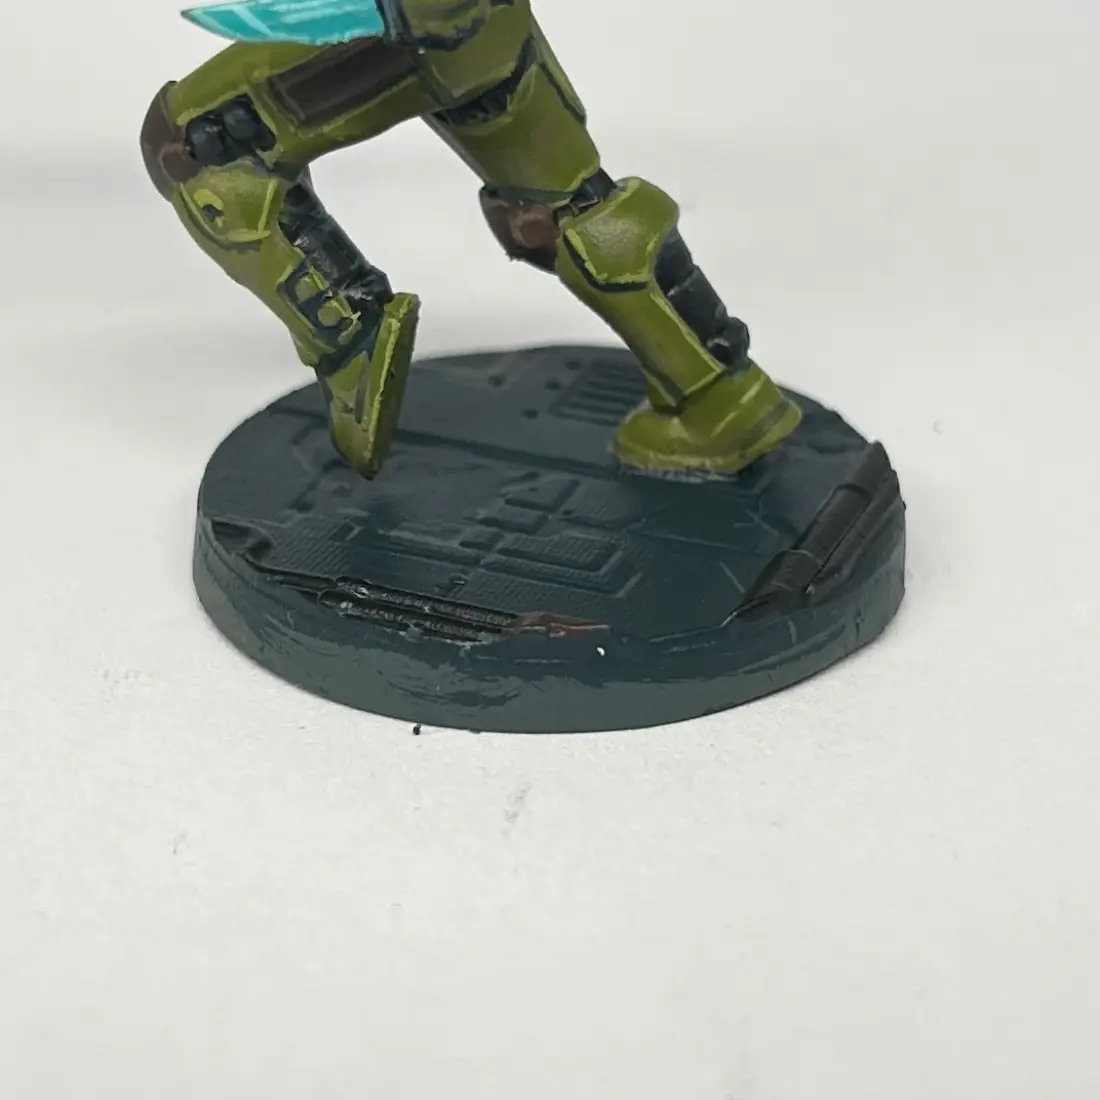
Painting the Bases
For the bases, use Coal Black as the main color, then use Battlefield Brown to paint any panels before using Thamar Black to paint the pipework. This is fine if you want your models table-ready for gaming, just paint the base rim in black and you’re good to go!
If you want, you can shade and highlight the bases in much the same way as you did the models proper. The Coal Black can be highlighted with the Morrow White/Coal Black mix you used earlier, shading the recesses with Thamar Black. Any other colors can be finished as before.
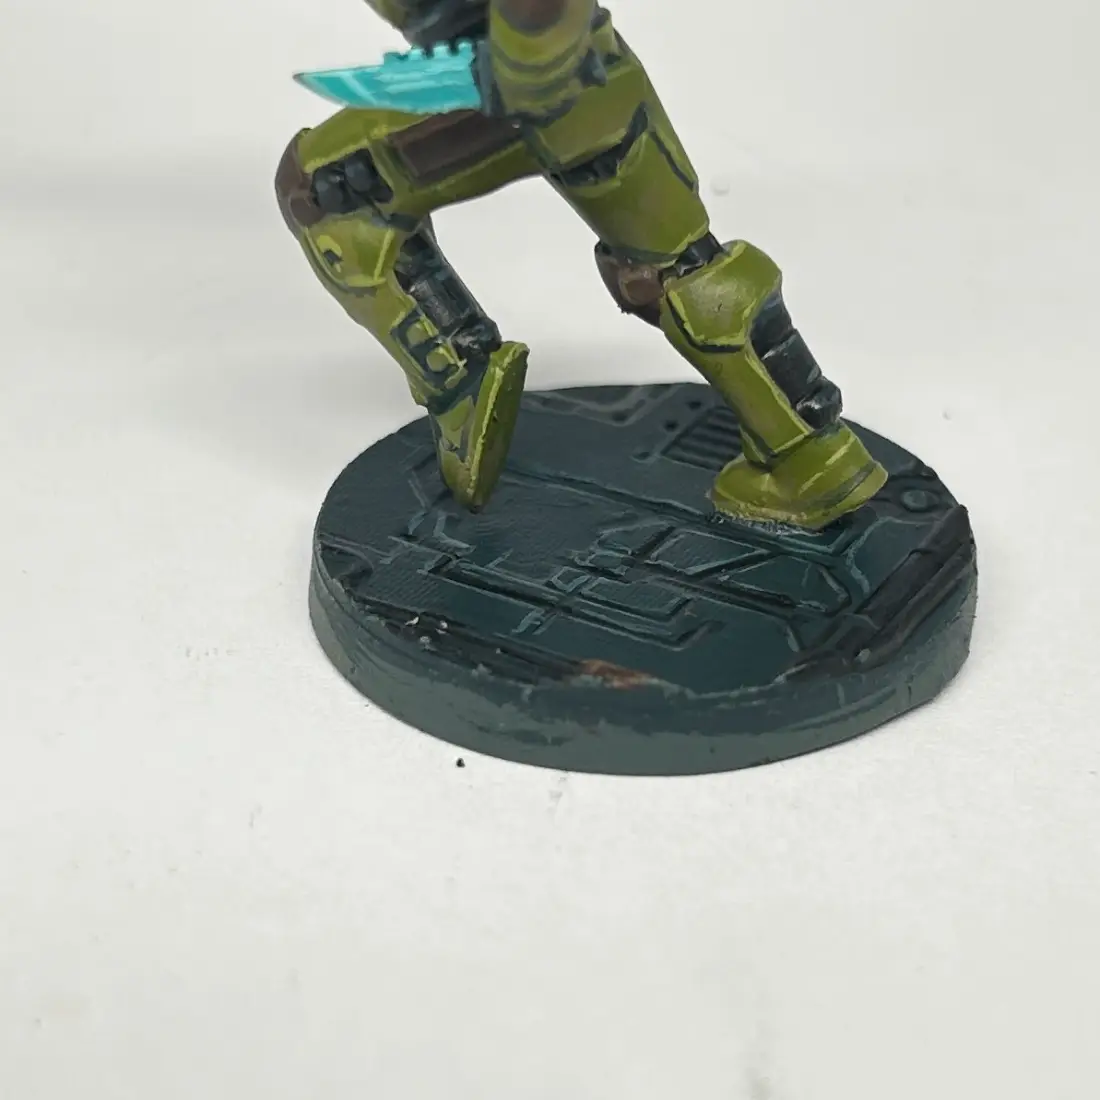
Paint the base rims black if you haven't already and you’re done! Your models are finished and ready for gaming!


.webp)
.webp)