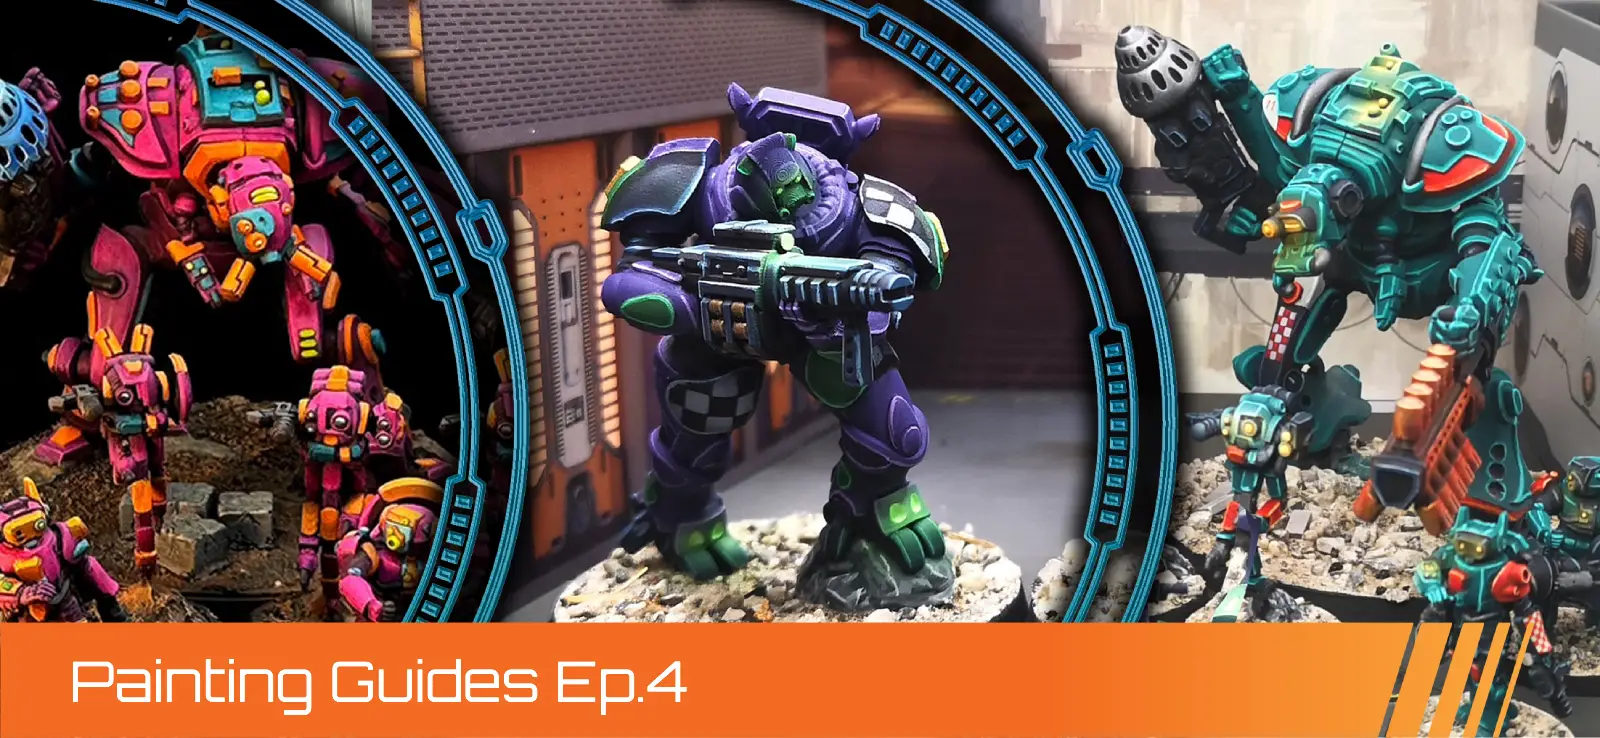
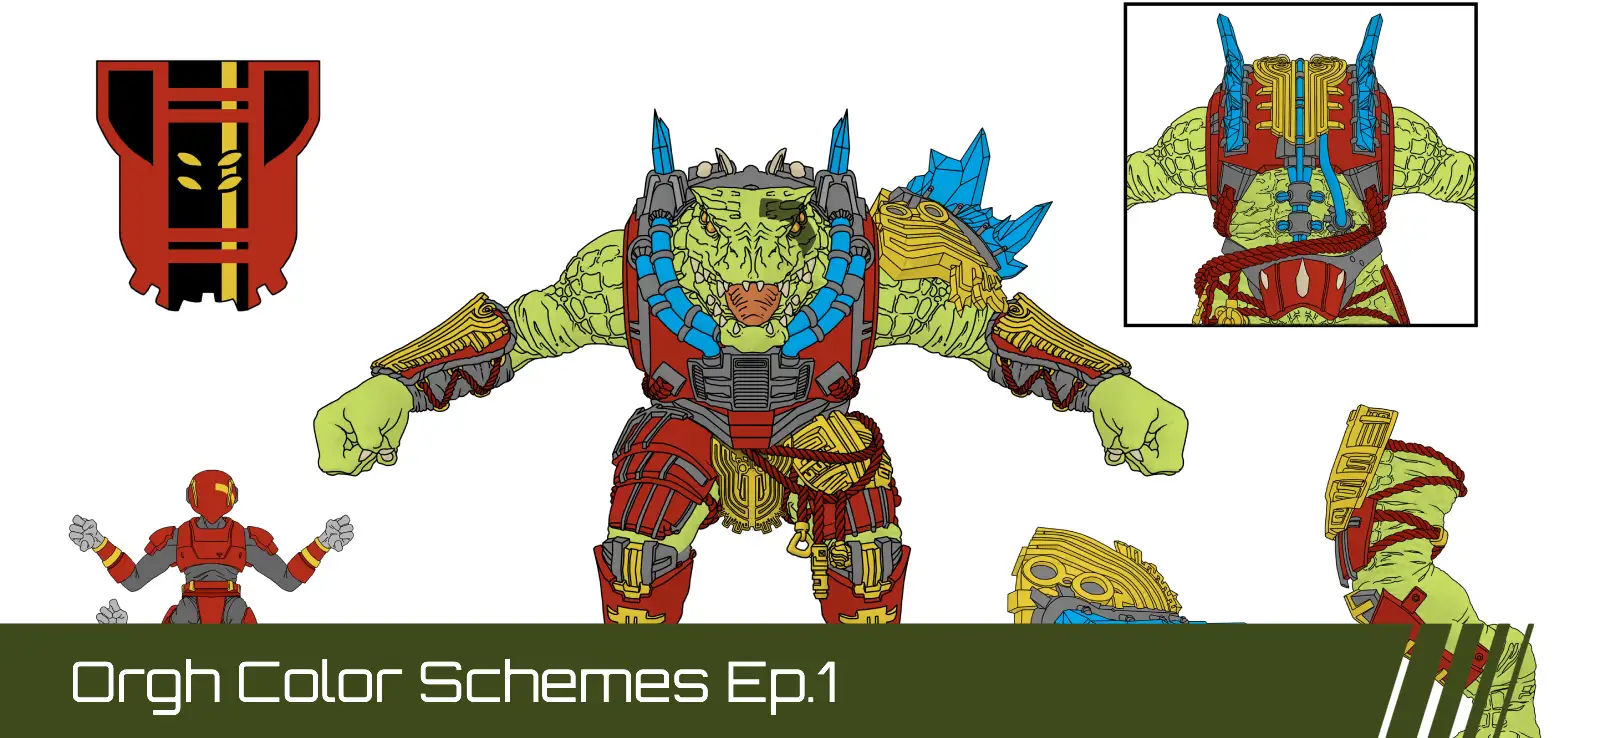
Rakke Exo-rig Zeoform - Industrial Color Scheme
Hello everyone, I’m Julián. In this tutorial, I’m going to show you how I painted this Rakke Exo-rig Zeoform, a very fun miniature full of mechanical shapes and panels that make it great for building volumes and achieving a clean, striking finish. I’ll walk you through the whole process step by step: priming, base colors, lighting, details, and a few simple tricks to get a smooth and high-contrast result.
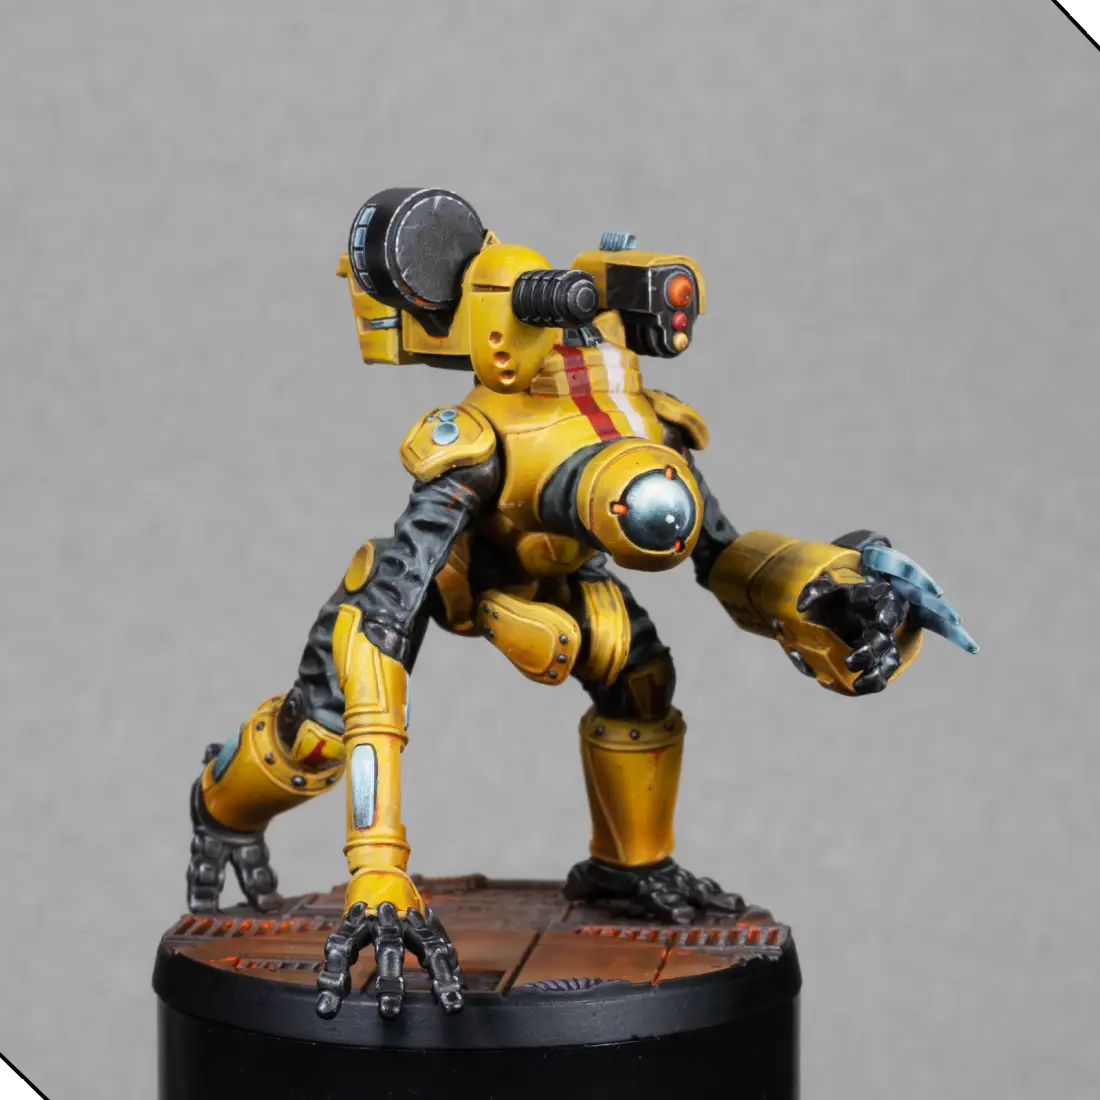
For this Rakke, I wanted something eye-catching and easy to recognize from a distance, so I chose yellow as the main color. It works really well on industrial-style robots and gives that “futuristic work unit” feeling. For secondary colors, I used white and red on the torso and knees, which help break up the yellow and add personality. I also added small touches of fluorescent orange to reinforce the main focal point and guide the viewer’s eye toward the head.
Materials Used
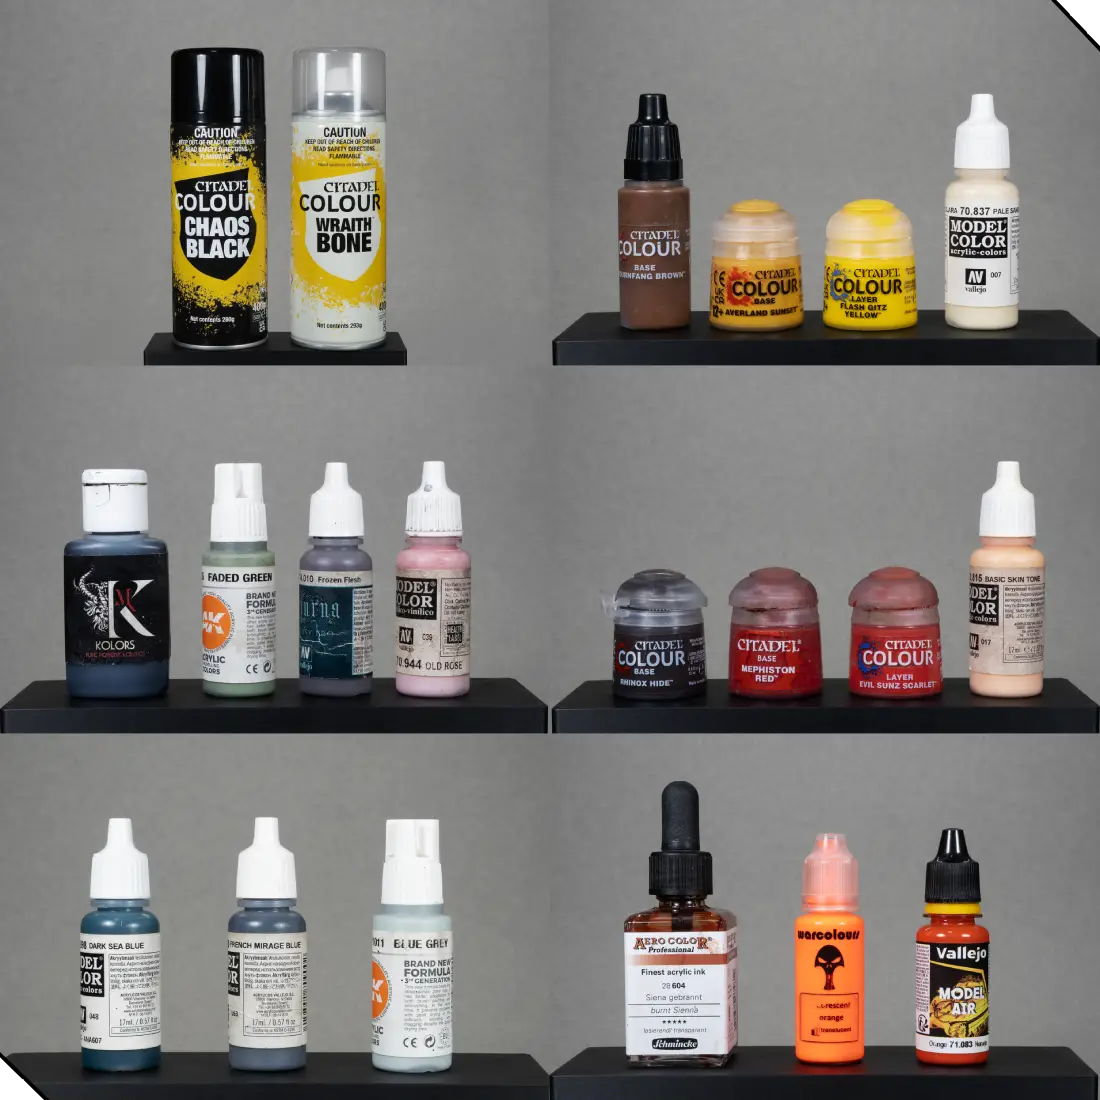
Before priming, here are the materials I used for the Rakke. You don’t need these exact brands, just similar tools and paint tones.
Tools
- Golden Maple Kolinsky brush, size 1 or 2
- Iwata airbrush with a 0.2 mm nozzle or smaller
- Redgrass wet palette
Priming Sprays
- Citadel Chaos Black
- Citadel Wraith Bone
Citadel Paints
- Mournfang Brown
- Averland Sunset
- Flash Gitz Yellow
- Rhinox Hide
- Mephiston Red
- Evil Sunz Scarlet
Vallejo Paints
- Pale Sand
- Frozen Flesh
- Old Rose
- Basic Skin Tone
- Orange Air
- French Mirage Blue
- Dark Sea Blue
Other Brands
- Schmincke – Burnt Sienna
- Warcolours – Orange Fluor
- Kimera – Black
- AK – Faded Green
- AK – Blue Grey
Priming
I primed the whole miniature with Chaos Black spray from about 30–40 cm away, using quick passes that start and end off the model to avoid clogging details. After that, I applied a zenithal highlight from above with Wraith Bone to establish the light direction and create a soft pre-shading.

Yellow Armor
The first color I apply is Mournfang Brown, covering all the armor plates with the airbrush. This gives a smooth, even base and creates a warm foundation for the yellow. You can do this with a brush, but on a model of this size the airbrush saves a lot of time.
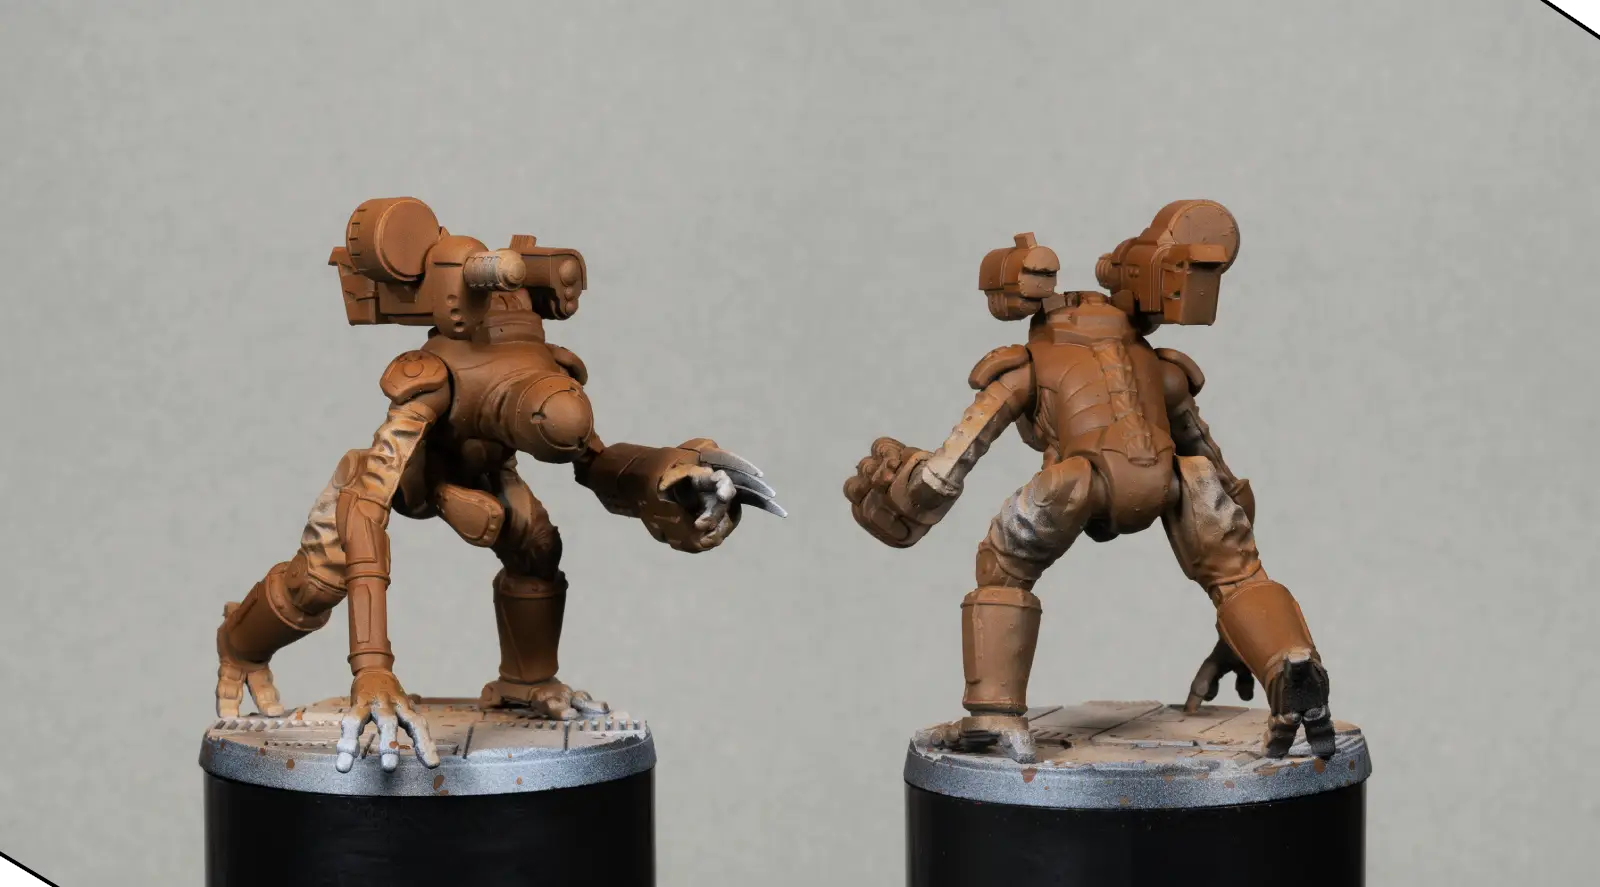
To start building the yellow, I mix Mournfang Brown and Averland Sunset 1:1. With this mid-tone I paint the first highlight layer with a brush, covering the upper parts of the plates where the light hits. At this stage, we’re only sketching the volumes, not aiming for a final finish.

Next, I mix 50% Averland Sunset and 50% Flash Gitz Yellow. I apply this in brush layers that cover only 70–80% of the previous step, letting the earlier tone show along the edges and shadows. This begins to create a smooth gradient from dark to bright.
Then I mix 20% Averland Sunset and 80% Flash Gitz Yellow to push the saturation and brightness. Again, I apply it only to the most exposed areas, reducing the coverage to about 70–80% of the previous layer. After these three steps, the volumes of the armor are very clear and readable.
To soften transitions, I glaze with Averland Sunset thinned 1:1 with water. I wipe most of the paint off on a paper towel and make short strokes from the light into the shadow, leaving a thin film of color in the darker areas.
Then I prepare a very diluted Flash Gitz Yellow glaze (about 70% water, 30% paint) and apply it with the airbrush on the brightest areas to unify everything. This step can also be done with a brush, though the airbrush gives smoother transitions on large surfaces.
Using Mournfang Brown, I paint thin lines in all the panel gaps, like doing a soft edge-line around each piece. This adds a lot of definition and keeps all the elements visually separated.

I also take this moment to block in the rest of the miniature with black, which will be useful for the next steps.
I prepare a very thin glaze of 30% Mournfang Brown and 70% water and spray it lightly from below. This creates a warm ambient shadow, darkening the underside and integrating the transition from shadow to light. It helps the yellow read more naturally across the whole model.
I mix 70% Flash Gitz Yellow with 30% Pale Sand to create a bright highlight color. With this, I edge-highlight all the armor plates and add a few tiny scratches and chips. This must be very subtle—just enough to add texture without making the armor look dirty.
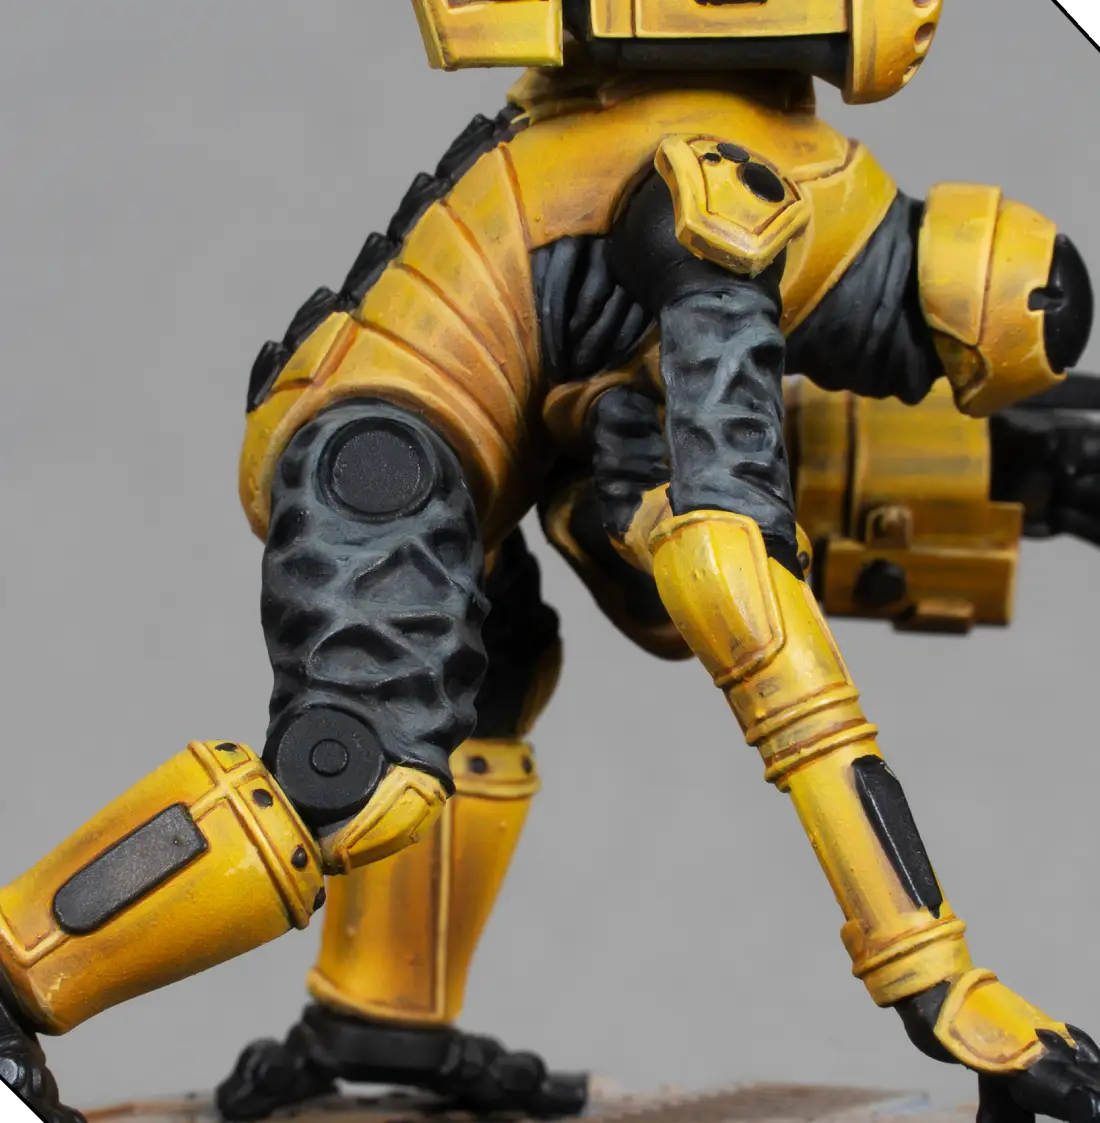
Black Areas
For the corrugated black suit material, I start from the existing black and mix in a bit of Faded Green to create a greenish grey. This contrasts nicely with the warm yellow armor.

I paint the first highlights on the raised folds. Then I create two more highlight mixes, each time adding about 20% more Faded Green, covering only 70–80% of the previous layer.
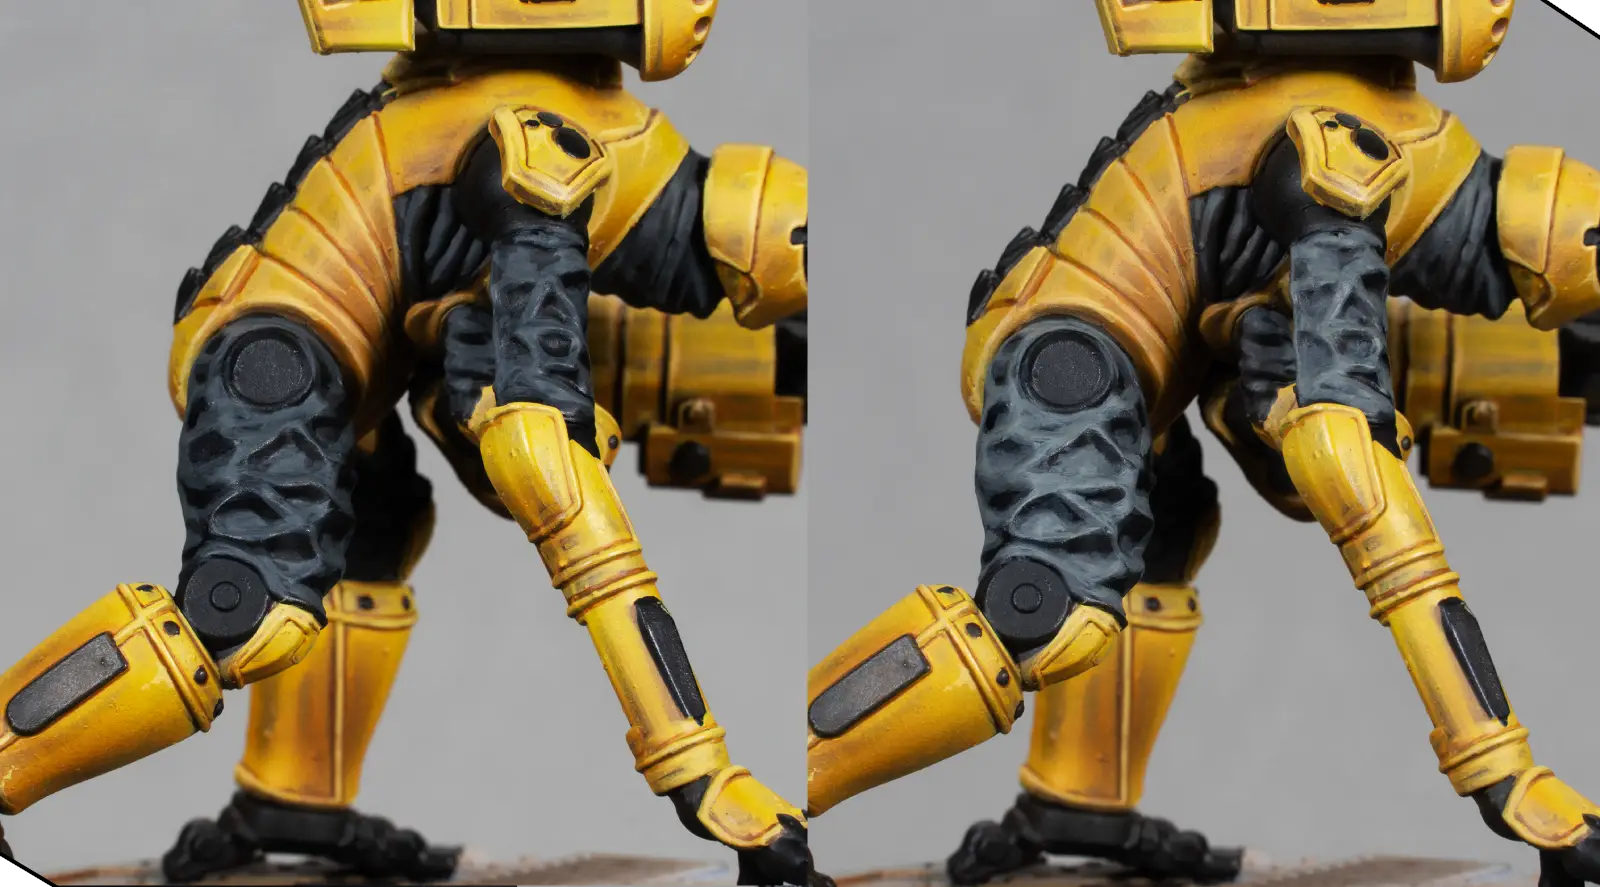
When the volumes are clear, I apply a very thin black glaze (70% water, 30% black) with the airbrush between shadow and light to recover some depth.
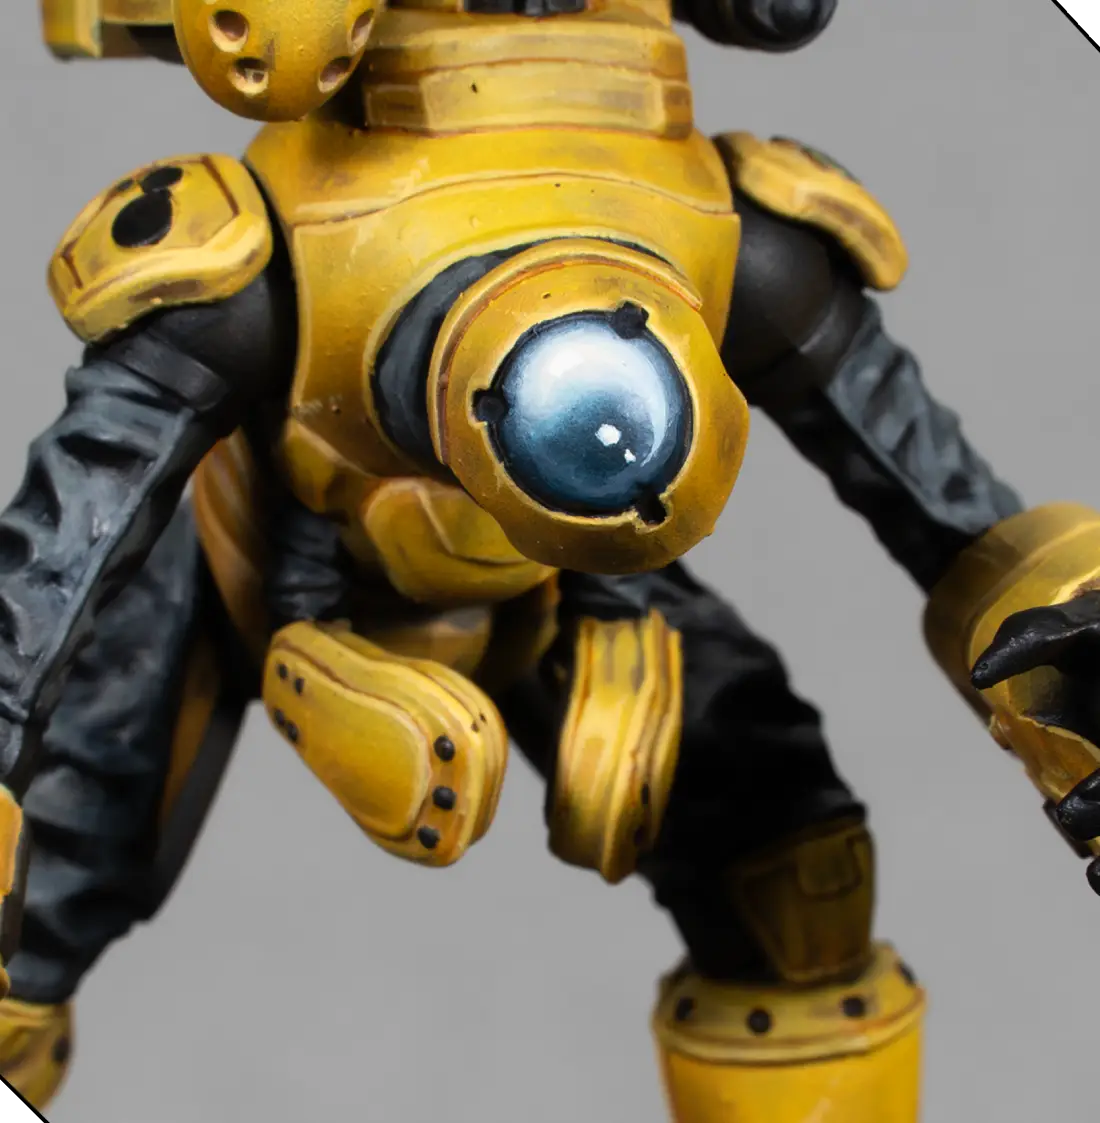
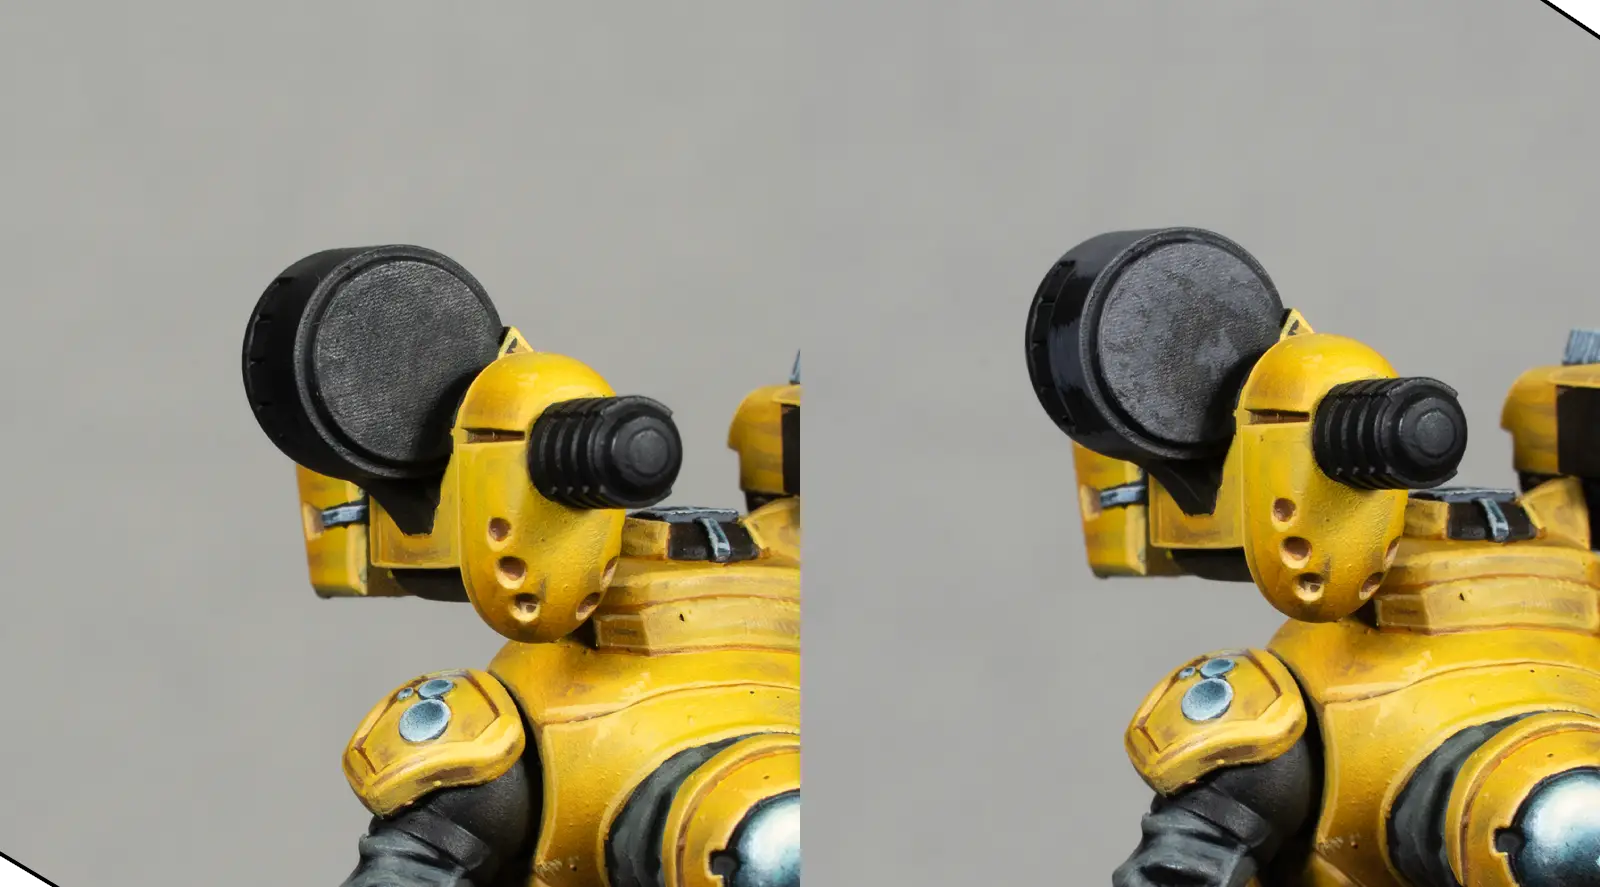
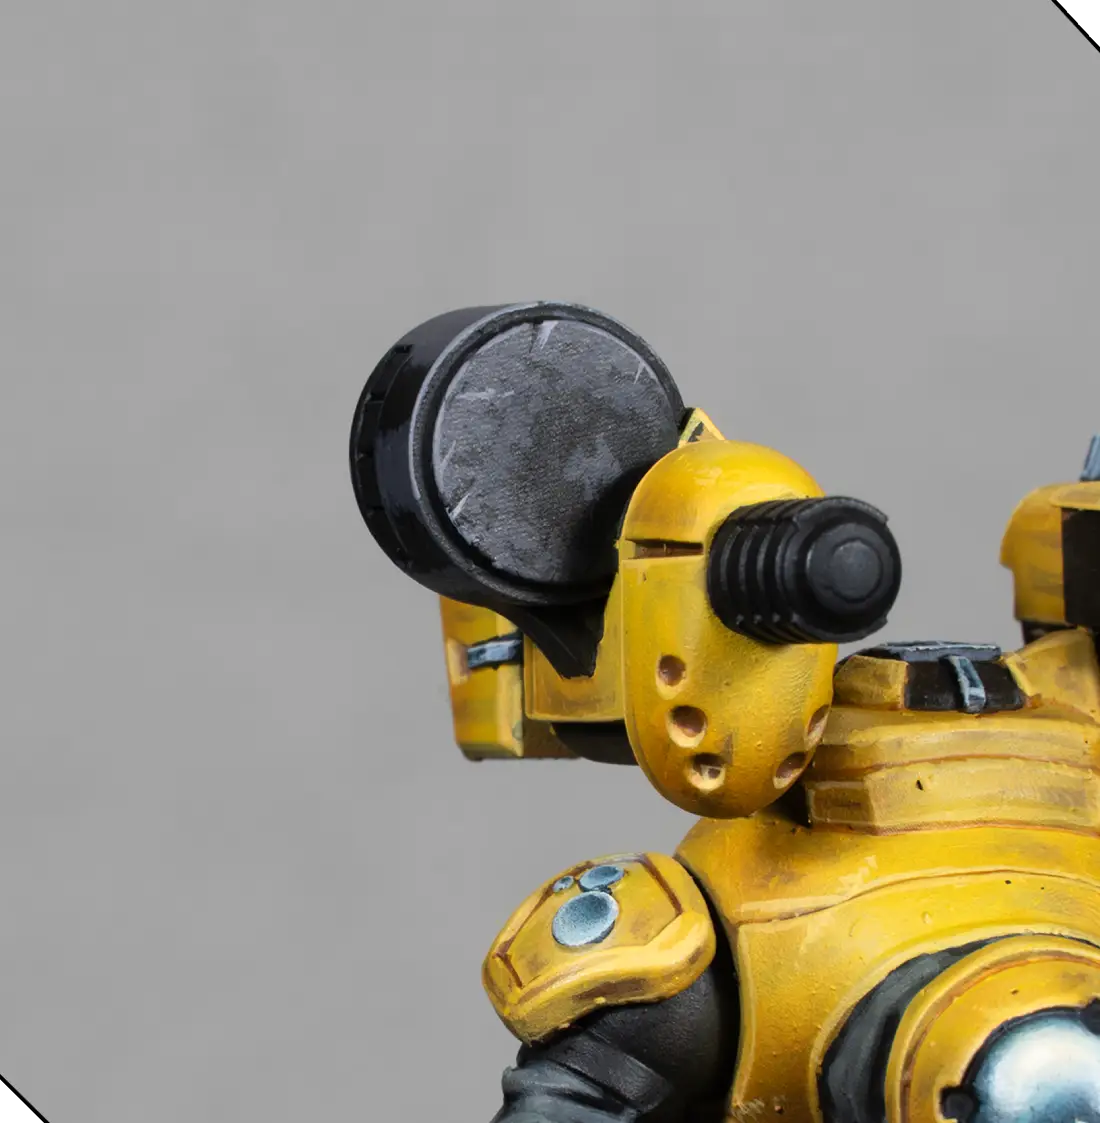
Polished Metal
For the bright metal (claws, tools, sensors), I start with a base coat of Dark Sea Blue.

Then:
French Mirage Blue for the first highlights.
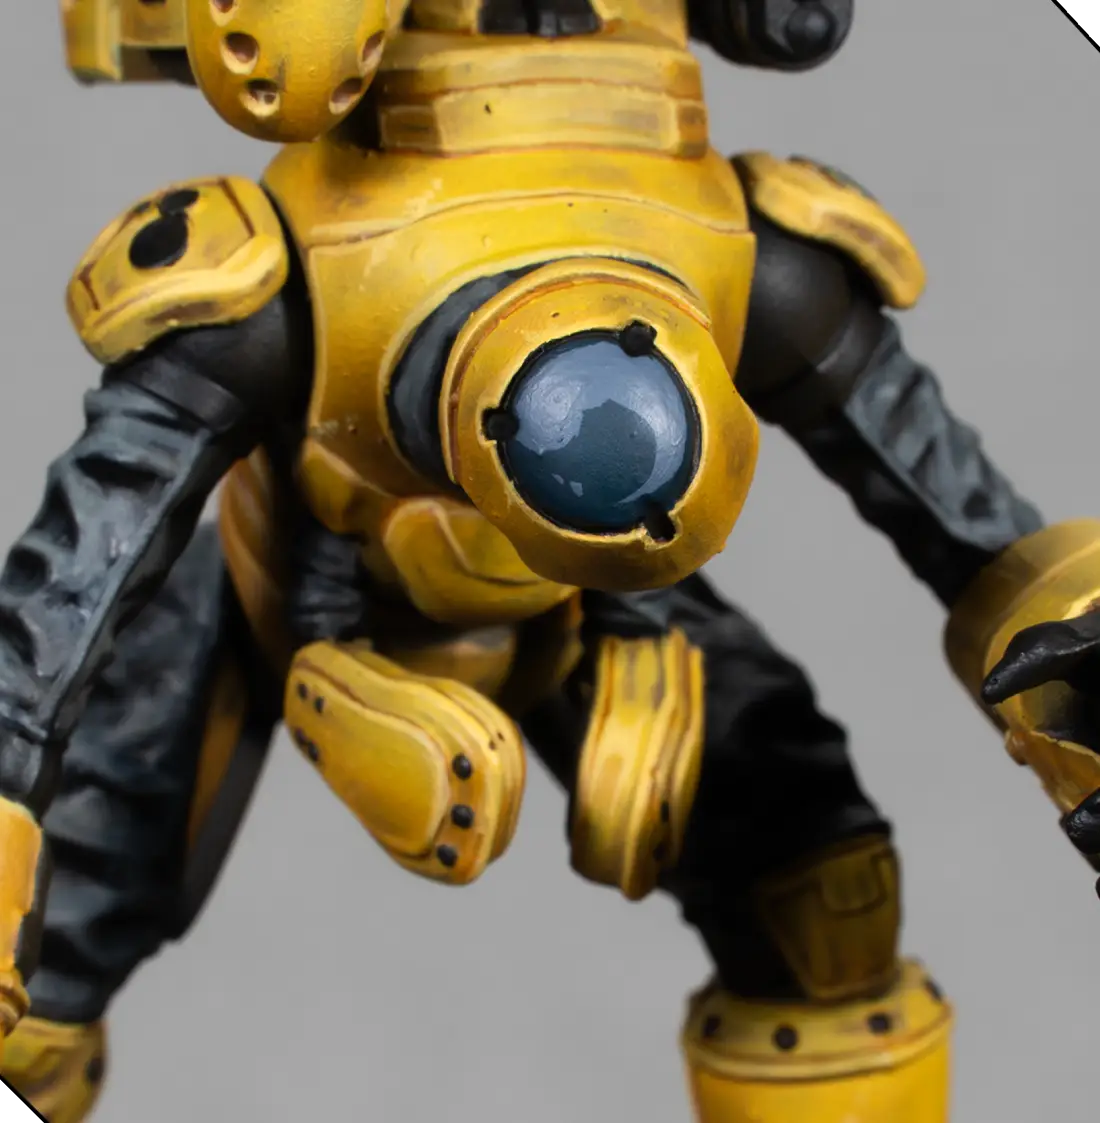
Blue Grey for a lighter highlight.
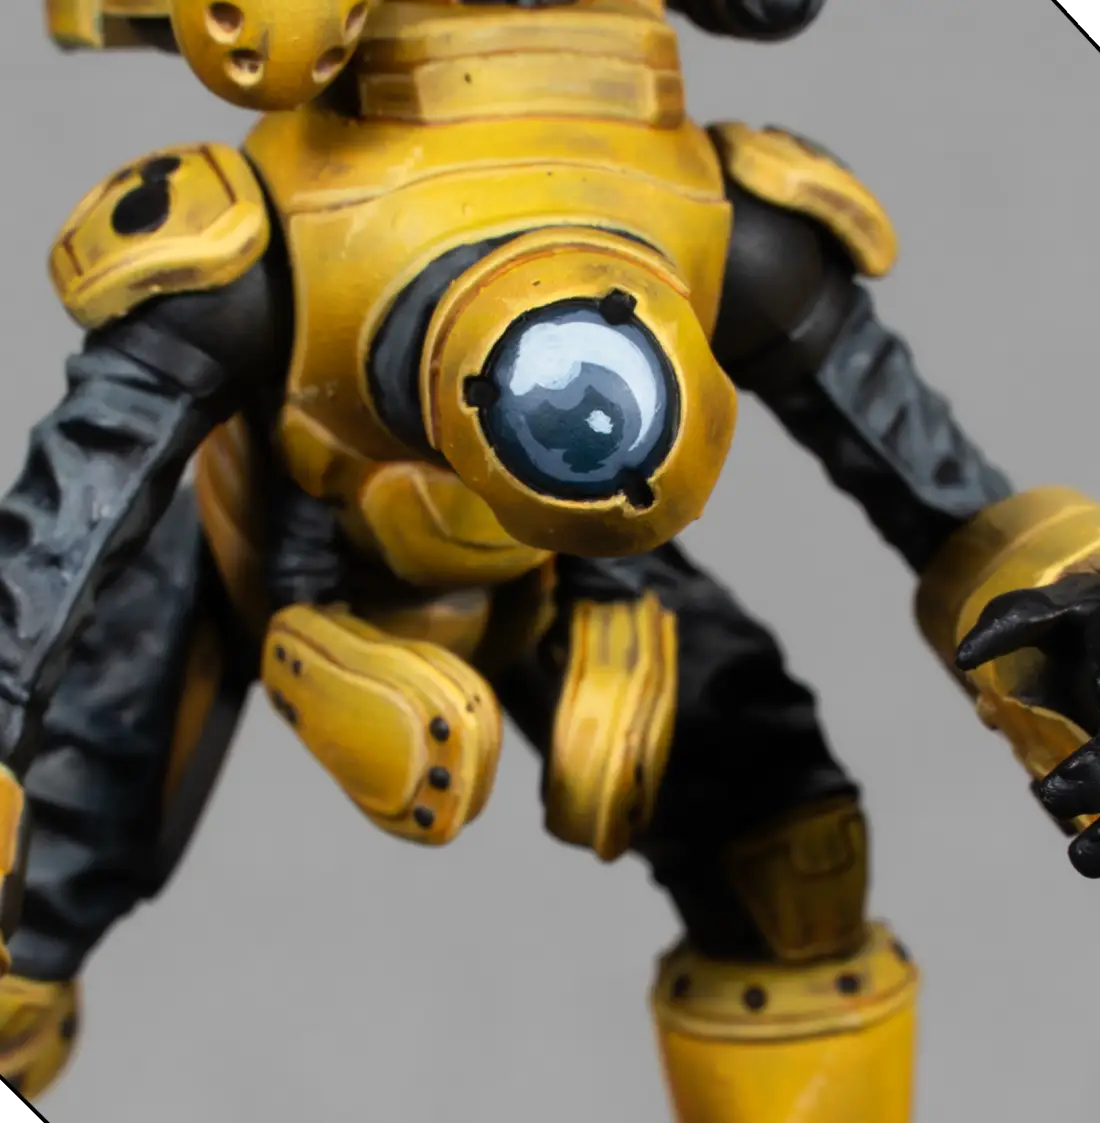
A 50/50 Blue Grey glaze from shadow to light to smooth everything.
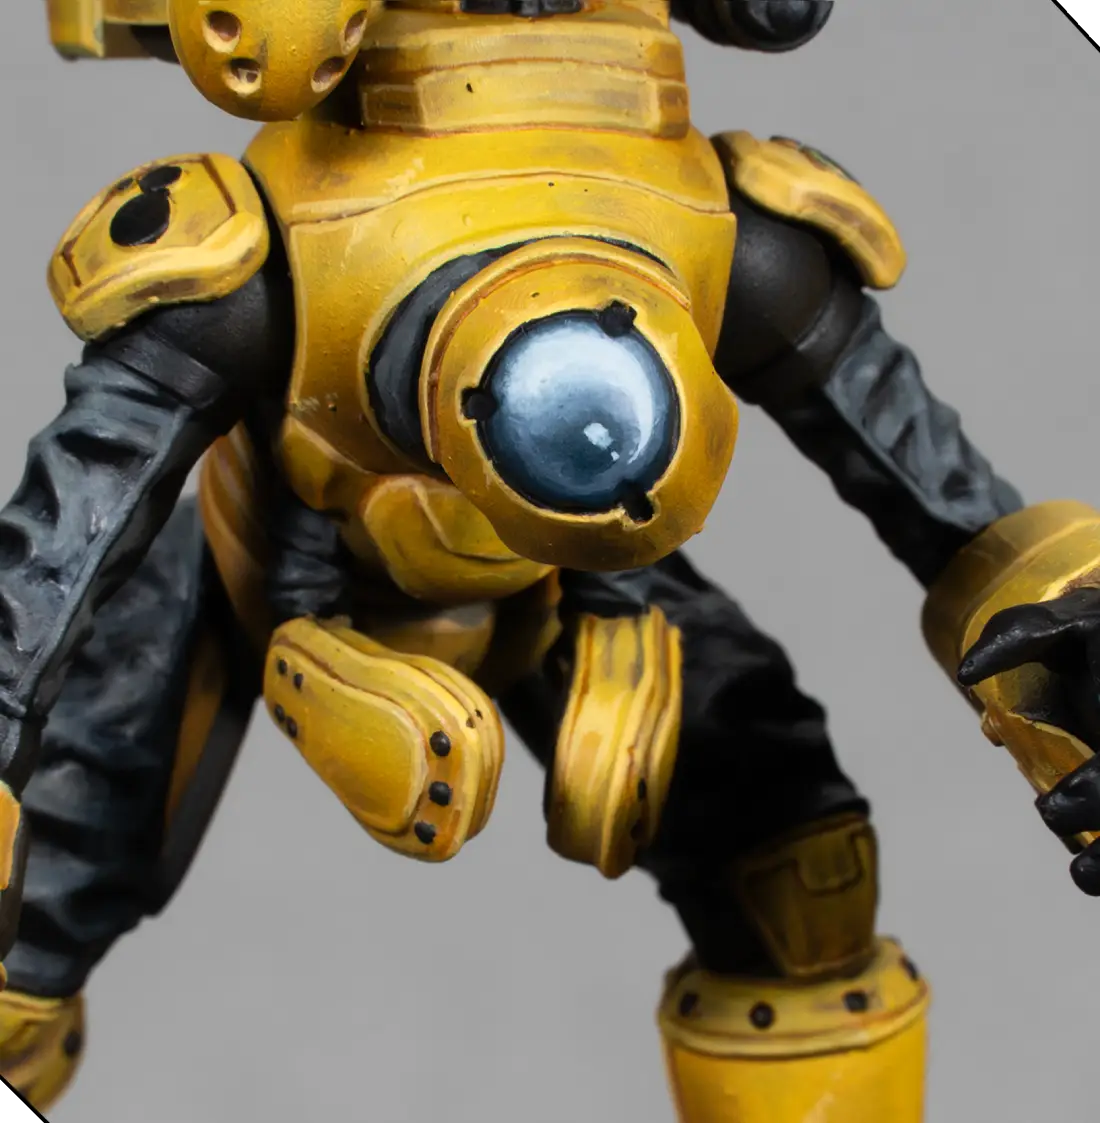
A thin Dark Sea Blue glaze from light to shadow to unify the tones. I finish with two tiny dots of Pale Sand on the brightest points to sell the reflective effect.
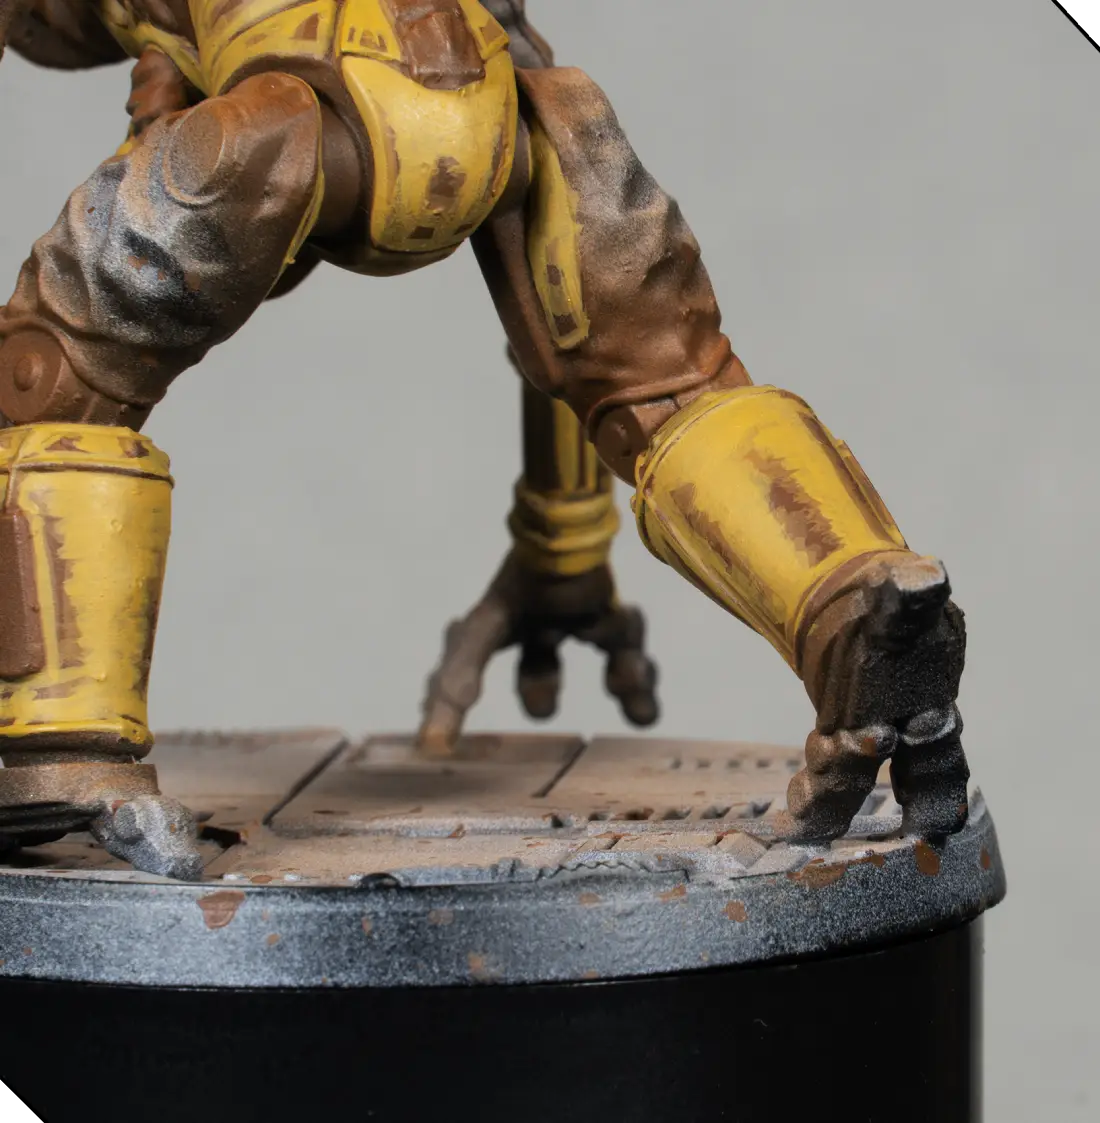
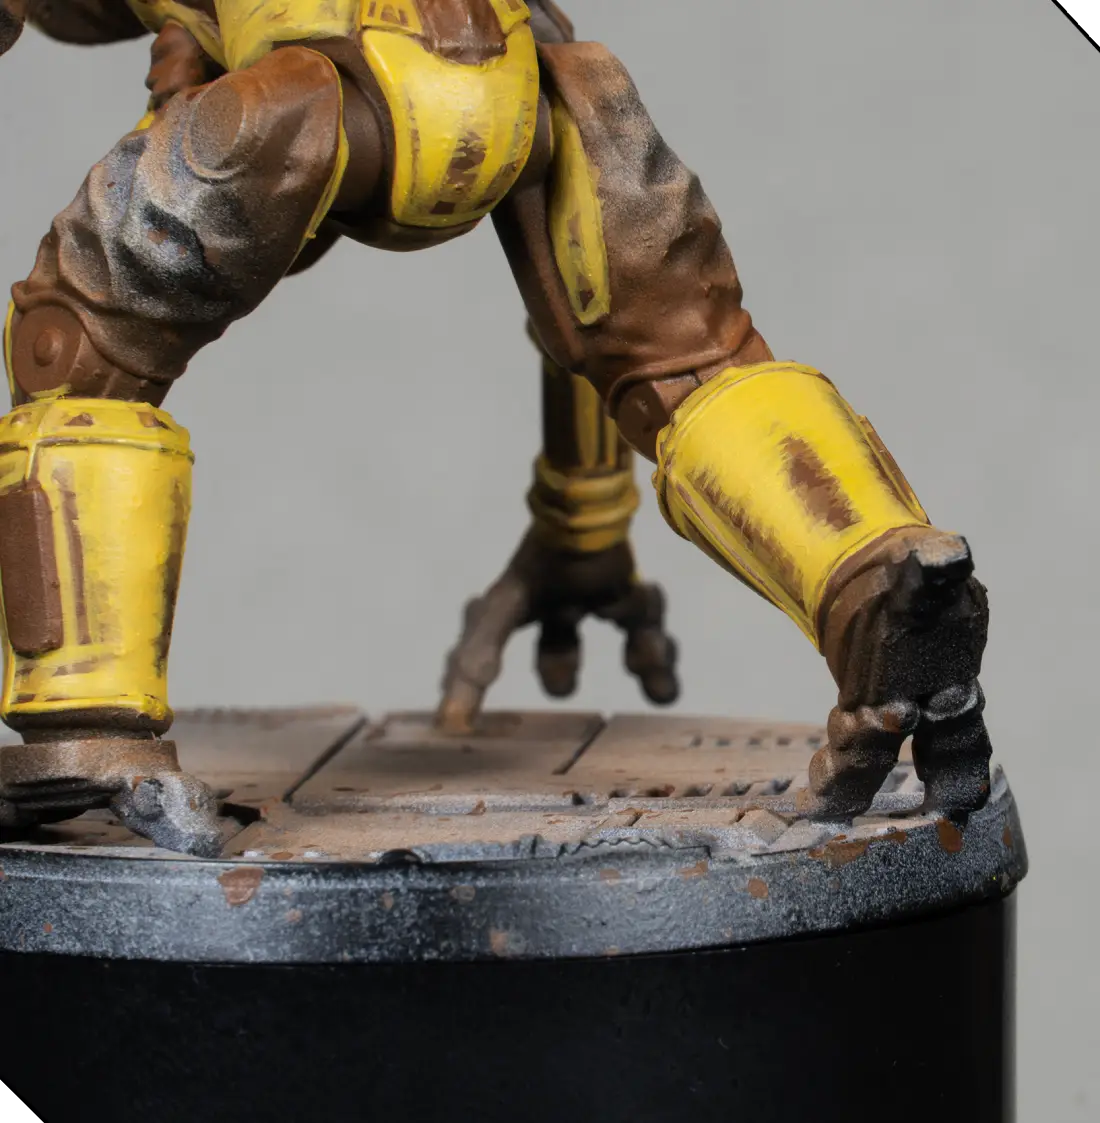
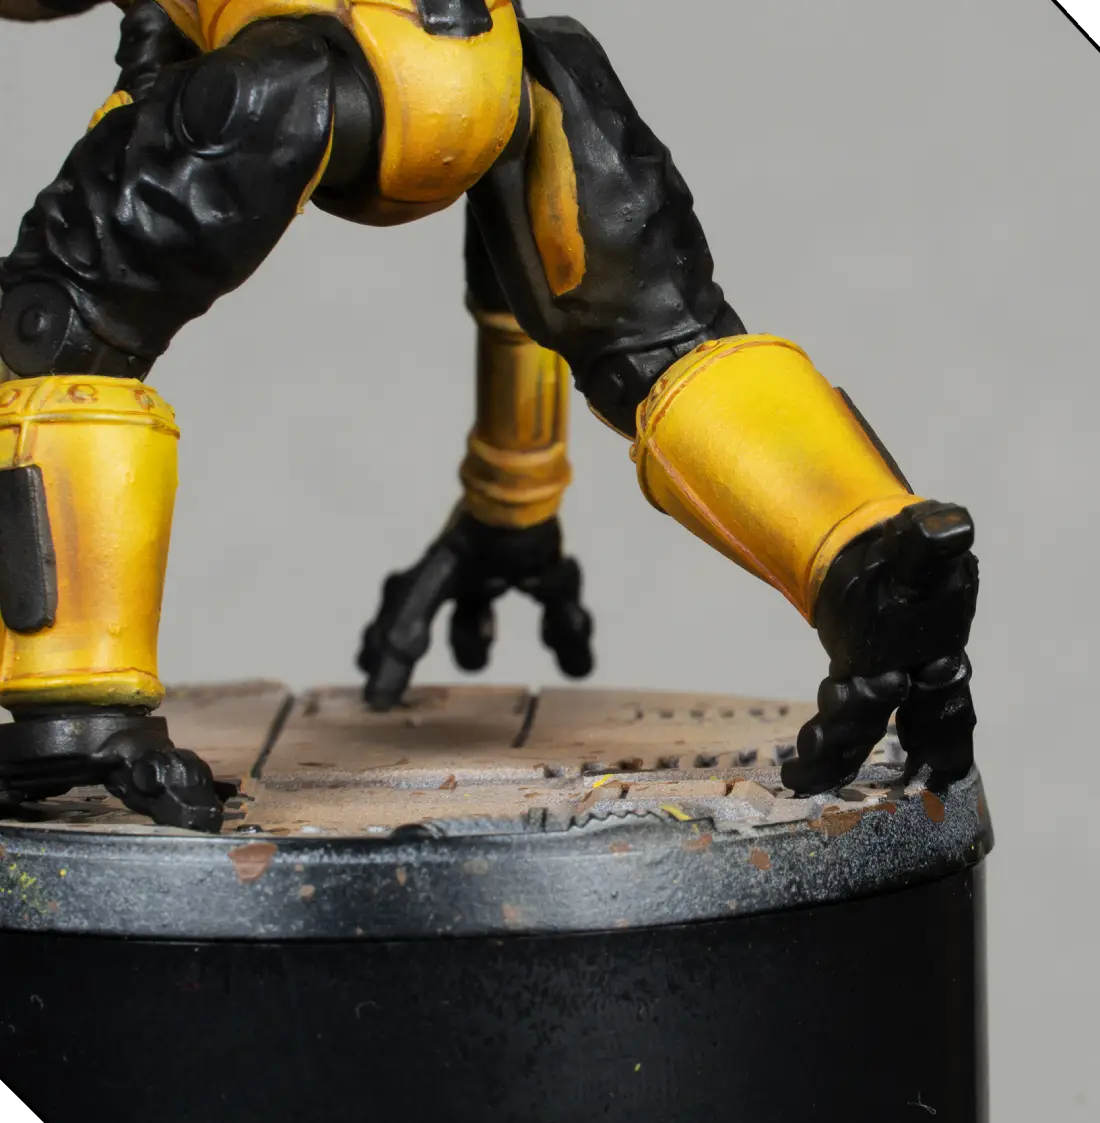
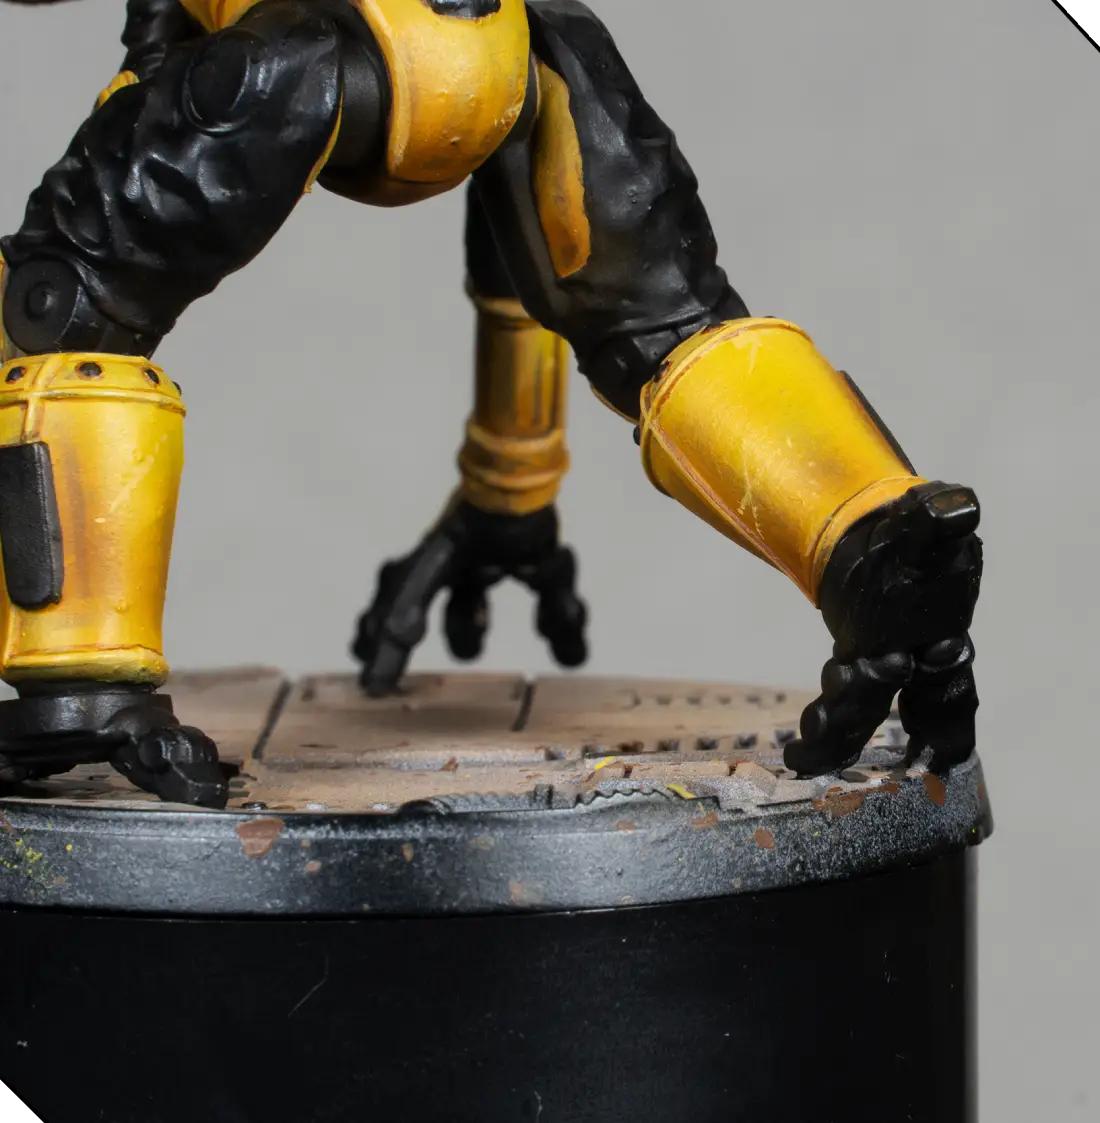
Dark, Aged Metal
For the darker, worn metal areas (hands, feet, joints, some weapon parts):
First highlight with Frozen Flesh.
Second, highlight with a 50/50 mix of Frozen Flesh + Basic Skin Tone
Brightest chips with 80% Basic Skin Tone + 20% Frozen Flesh, but used very sparingly. Additionally, I create a warm shadow glaze of 70% Burnt Sienna + 30% black, applied from light into shadow. This creates a high-contrast metal that feels old and slightly oxidized.

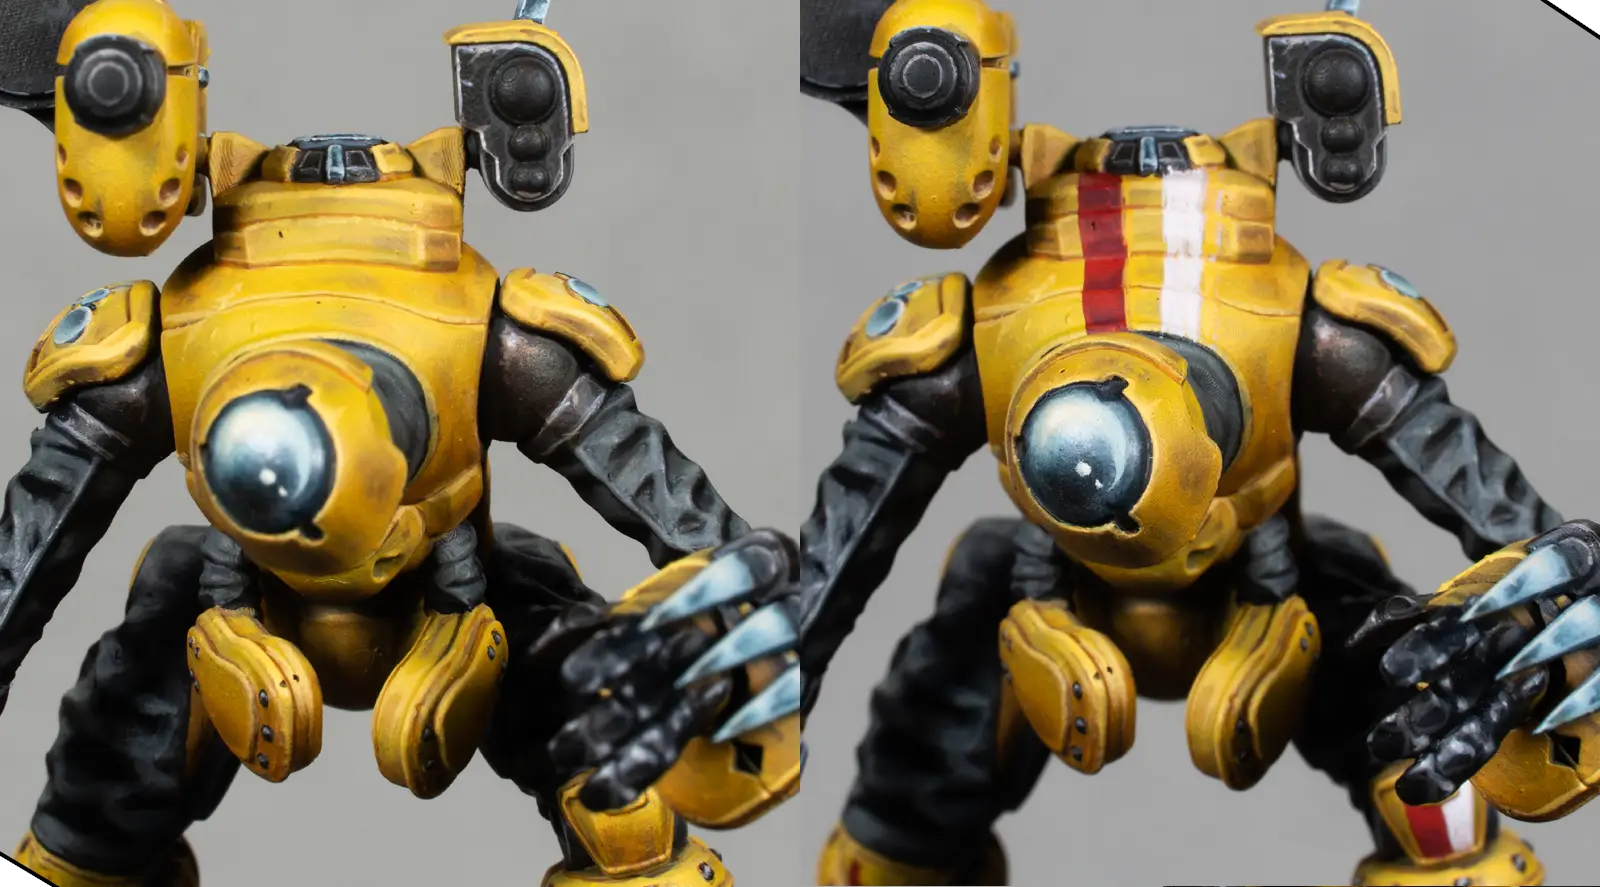
Red and White Stripes
To give the armor more character, I add red and white stripes on the chest and knees. They help break up the yellow and make the model more visually interesting. No tricks here—just careful brushwork.
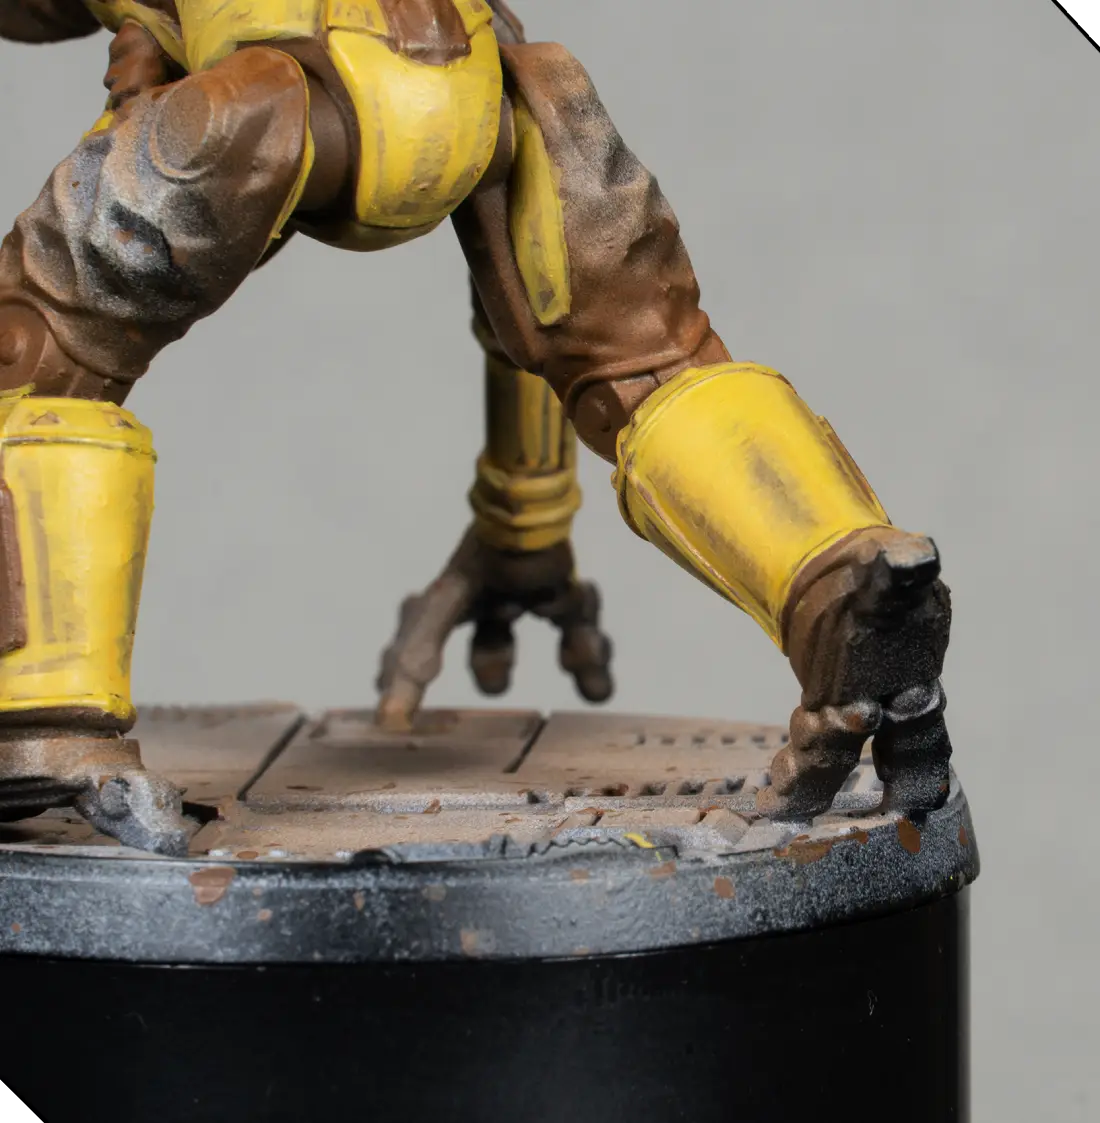
The Base
I start with Rhinox Hide over the whole base.
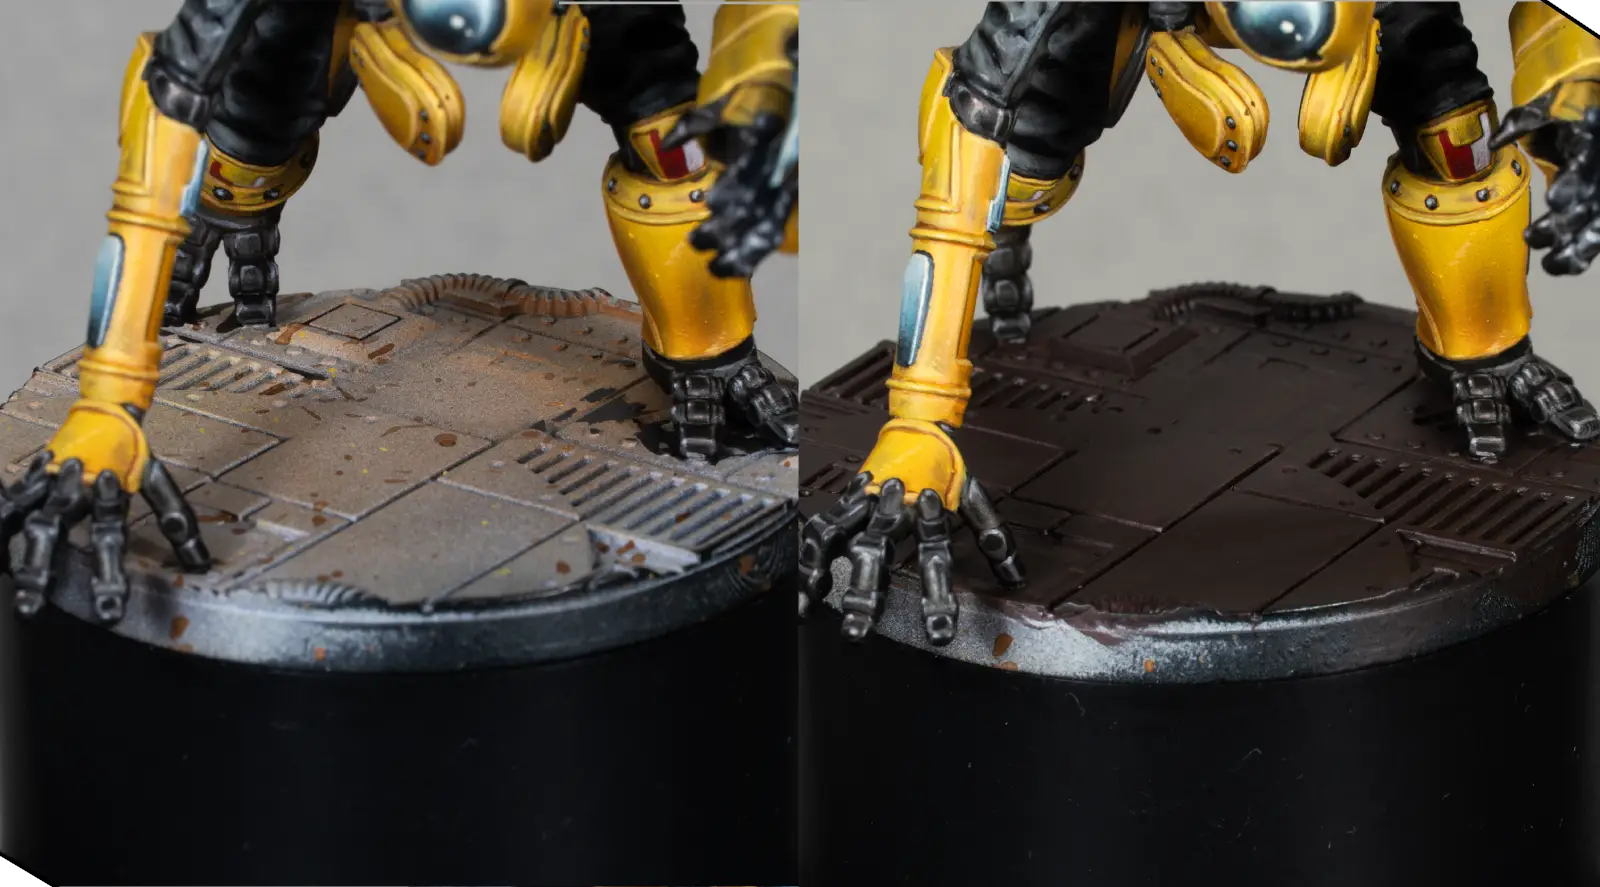
On part of the ground texture, I sketch highlights with Mournfang Brown, adding Averland Sunset to brighten it gradually. For the metallic parts of the base, I use Frozen Flesh followed by Basic Skin Tone, just like the dark metal on the figure.
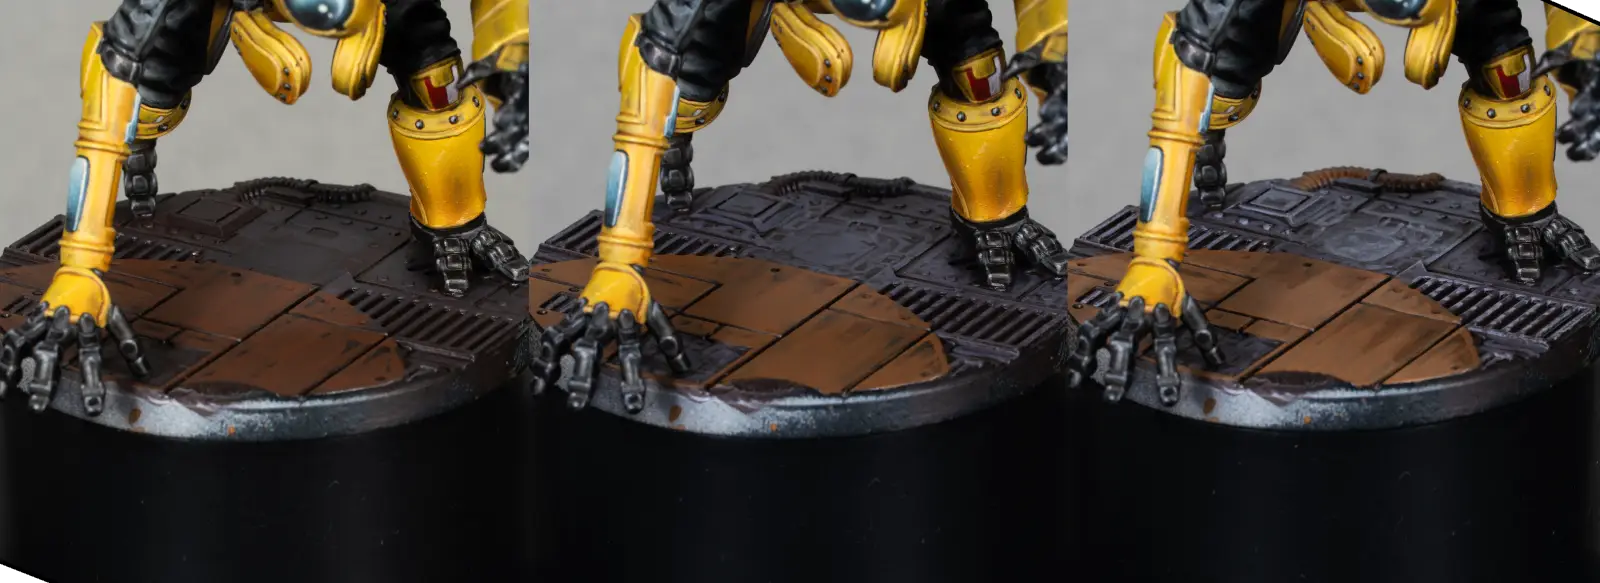
Once everything is in place, I glaze the base with 50% water, 20% Burnt Sienna, 30% Mournfang Brown to soften transitions and unify the colors with the miniature.
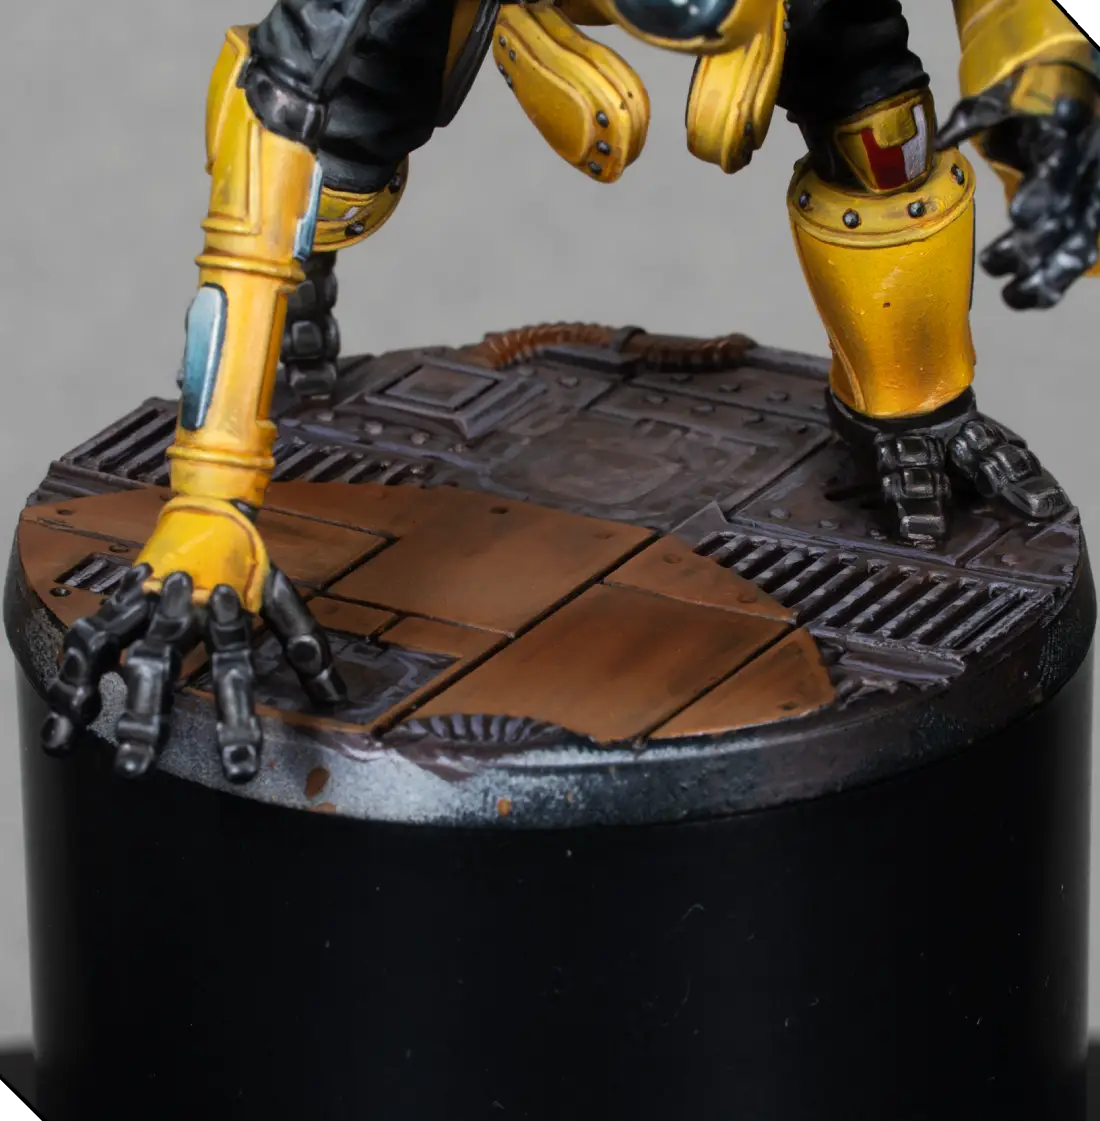
Then I add a few tiny touches of Orange Air to simulate rust coming from vents or cracks.
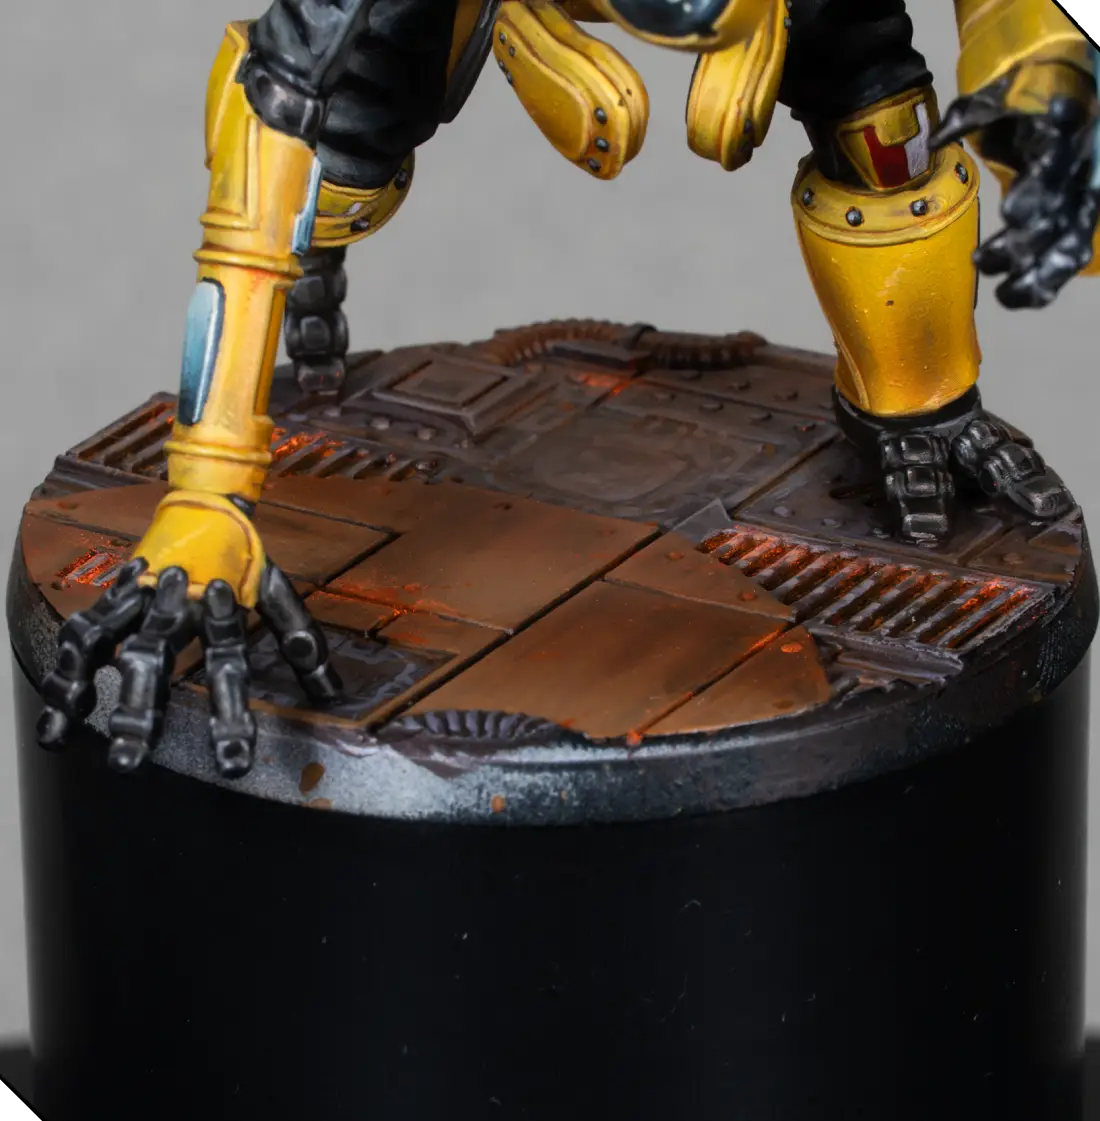
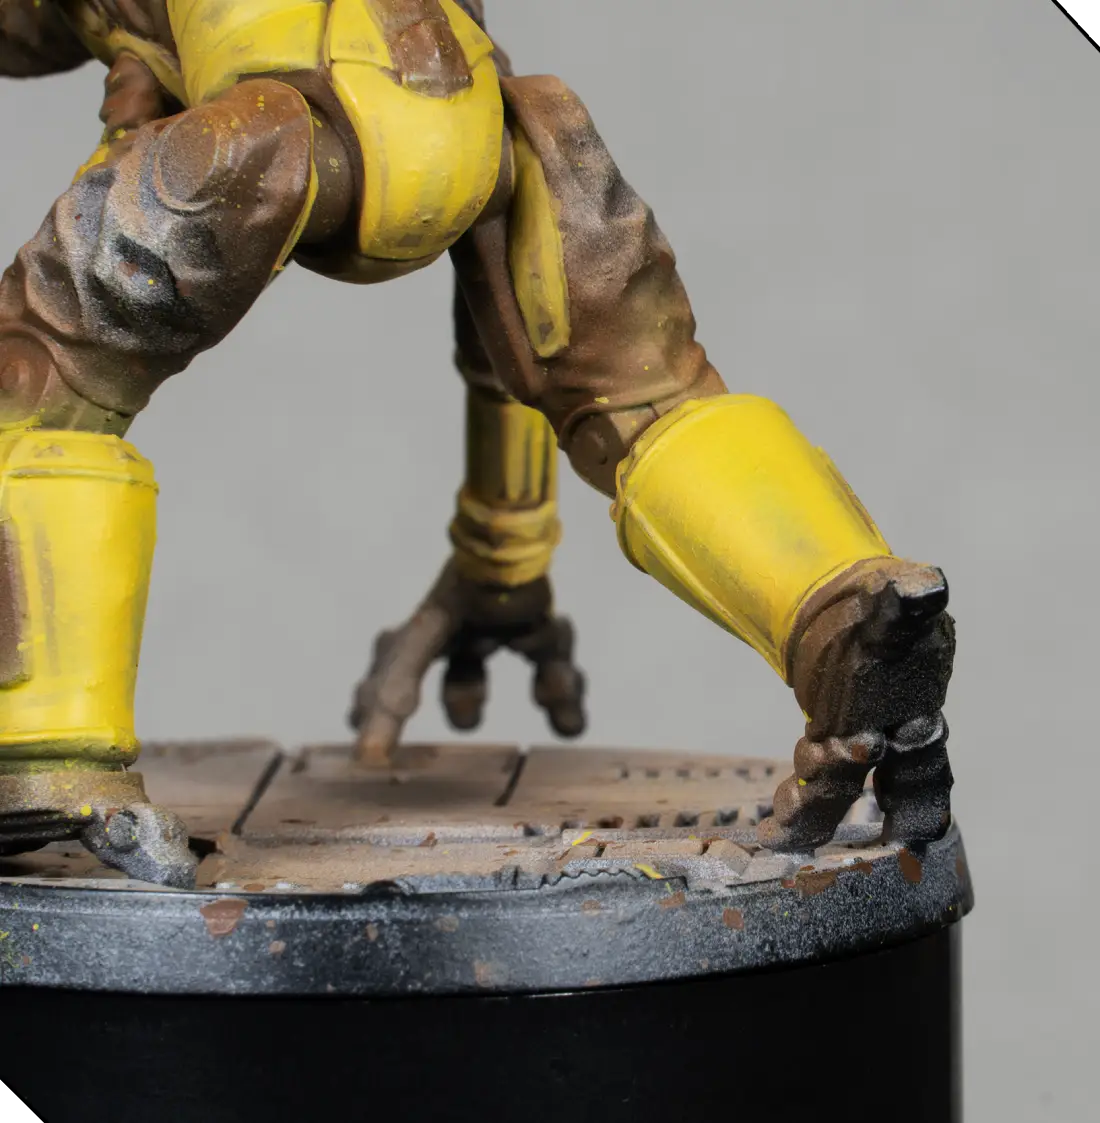
Final details
Using the same orange, I add small rust spots on the miniature itself—on dark metal areas, joints, plate edges, and recesses. These must be very minimal to keep the model clean.

To finish, I add fluorescent orange on the head and two more tiny points on the base. Spreading the fluorescent orange across several spots helps balance it so it doesn’t overpower the model.

Fluorescent colors always go over a white base layer, which acts like a reflector and makes the fluorescents much more vibrant.
Final Thoughts
And that brings us to the end of the tutorial. I hope you found it helpful and inspiring for your own models. Remember that this is just a guide—adapt it, change it, and experiment as much as you like.

What really matters is understanding the thinking behind each step and seeing how another painter approaches a result. Take the techniques that help you, mix them with your own style, and enjoy the process.
Happy painting, and see you in the next tutorial!


.webp)
.webp)